| Week 04_ Vasari Beta 3 & VELUX Daylight Visualizer | |
|---|---|
| Course | Arch 100b |
| Date | 2014/02/14 |
| Learning Objectives | This workshop will give an introduction to Vasari Beta 3 and VELUX Daylight Visualizer. The topics encompassed in Vasari will include starting a new document, importing and creating mass model, using analysis tools, etc. In VELUX Daylight Visualizer, the topics will include importing analysis model, using render tools to simulate daylight conditions. The tutorial is meant only to skim the surface allowing the new user to familiarize with these two programs, the visualization results is trying to help users make decision on adjustment of their conceptual cut, not be used as a drawing or diagram. |
| Agenda |
|
| Uses Tool(s) | [[Vasari Beta 3 & VELUX Daylight Visualizer|]] |
Vasari Beta 3
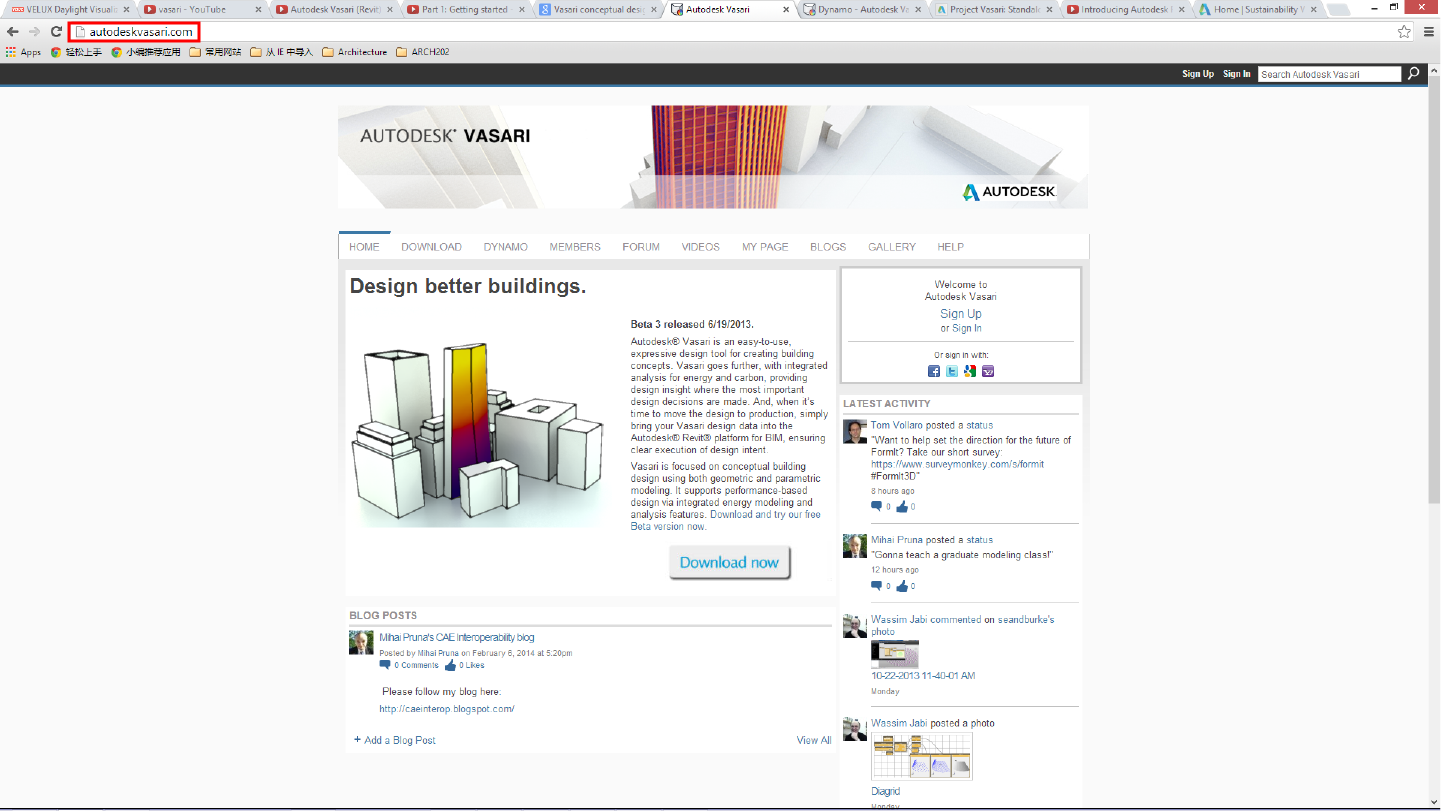
1. Go to the Autodesk Vasari website (autodeskvasari.com) and click the “Download” tab. After filling out some information, you can download Vasari Beta 3 and it will give you a serial number and product key.
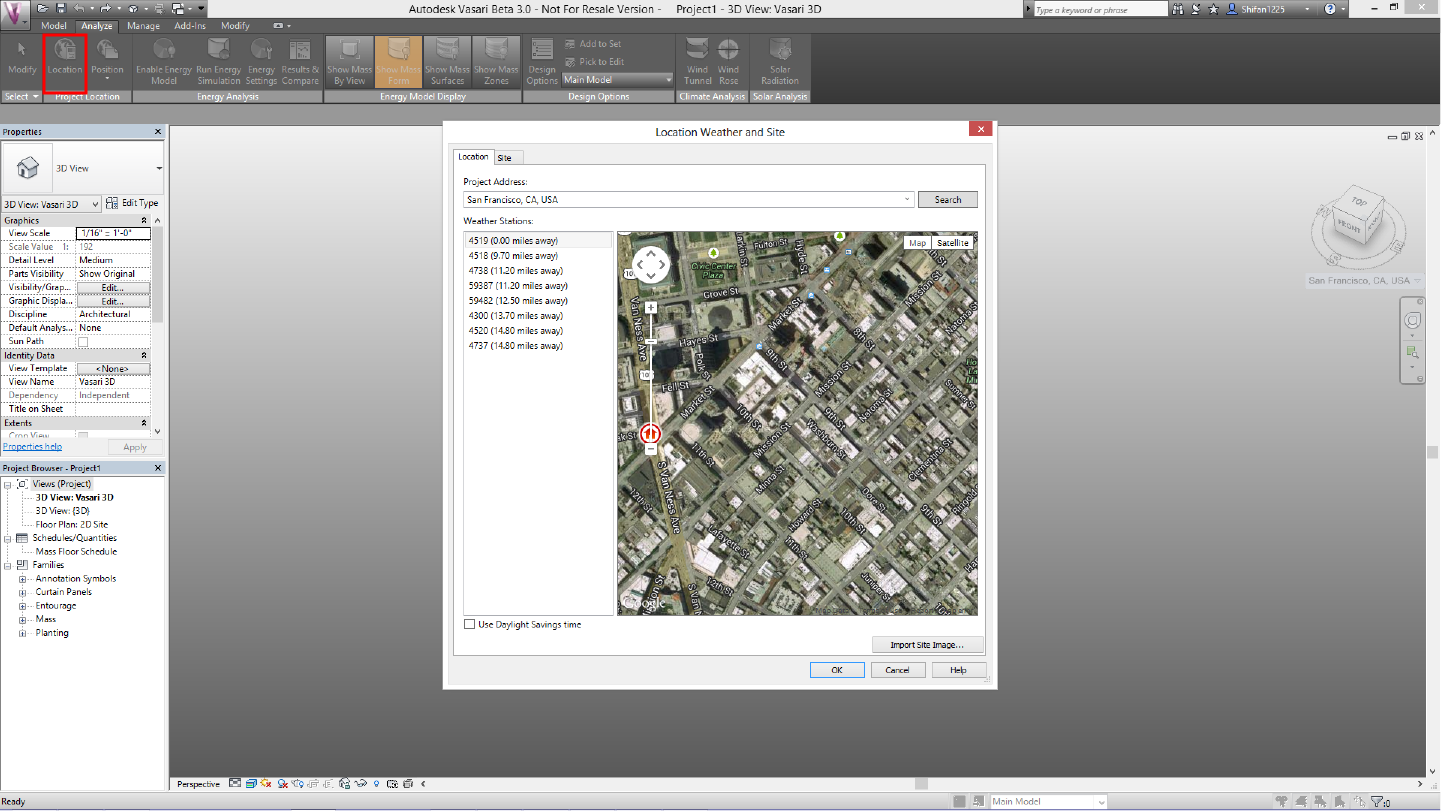
2. Creating a new file by clicking the left top tab "V - New - Project", and then select a location by clicking "Analyze - Location", you have to log in with your autodesk account before choosing a location. When you select a location it will automatically select a closest weather station. If you have a specific site, you can choose import site image, if not, just click OK.
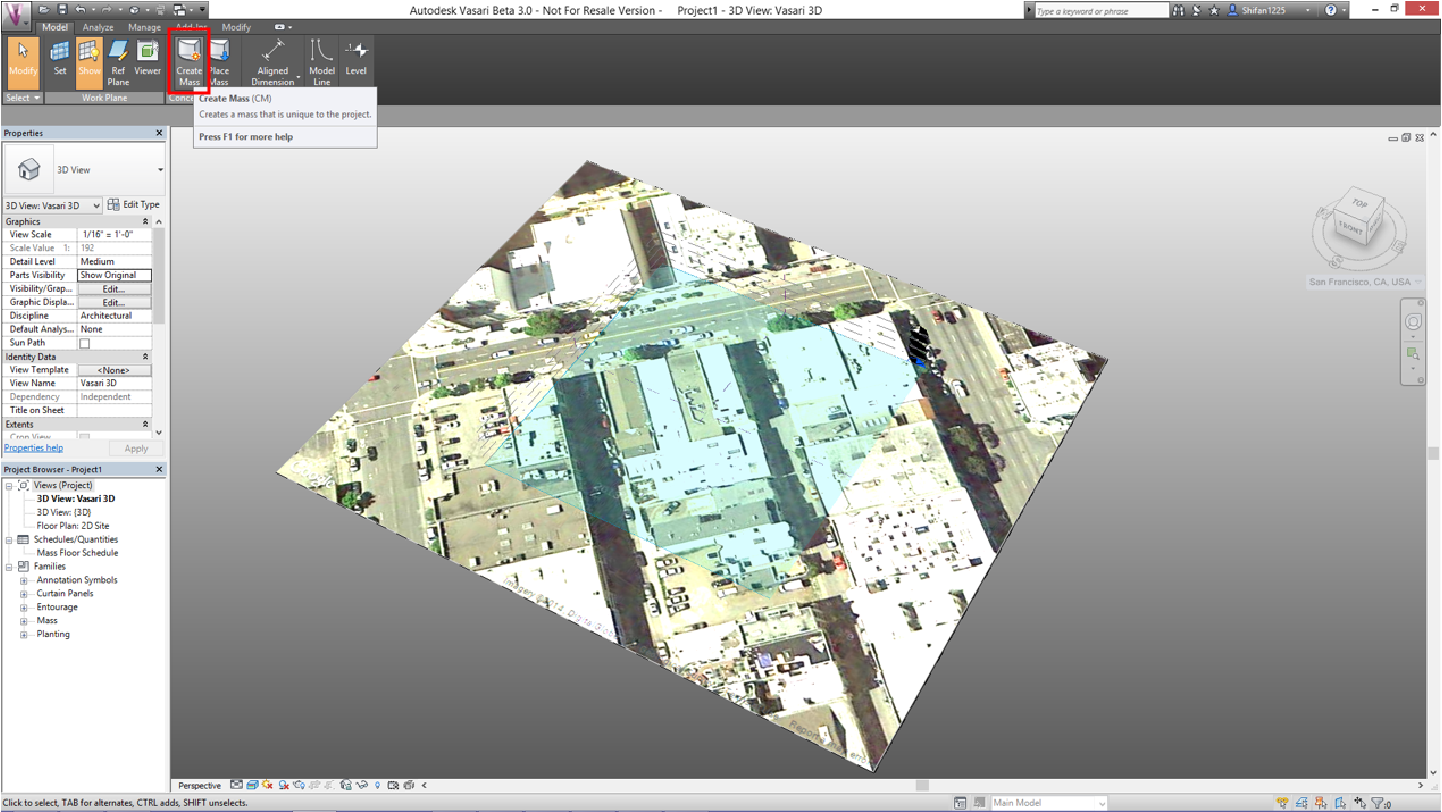
3. You can choose both Rhino or Vasari to build your model. Before you build any mass model in Vasari, you should click "Create Mass".
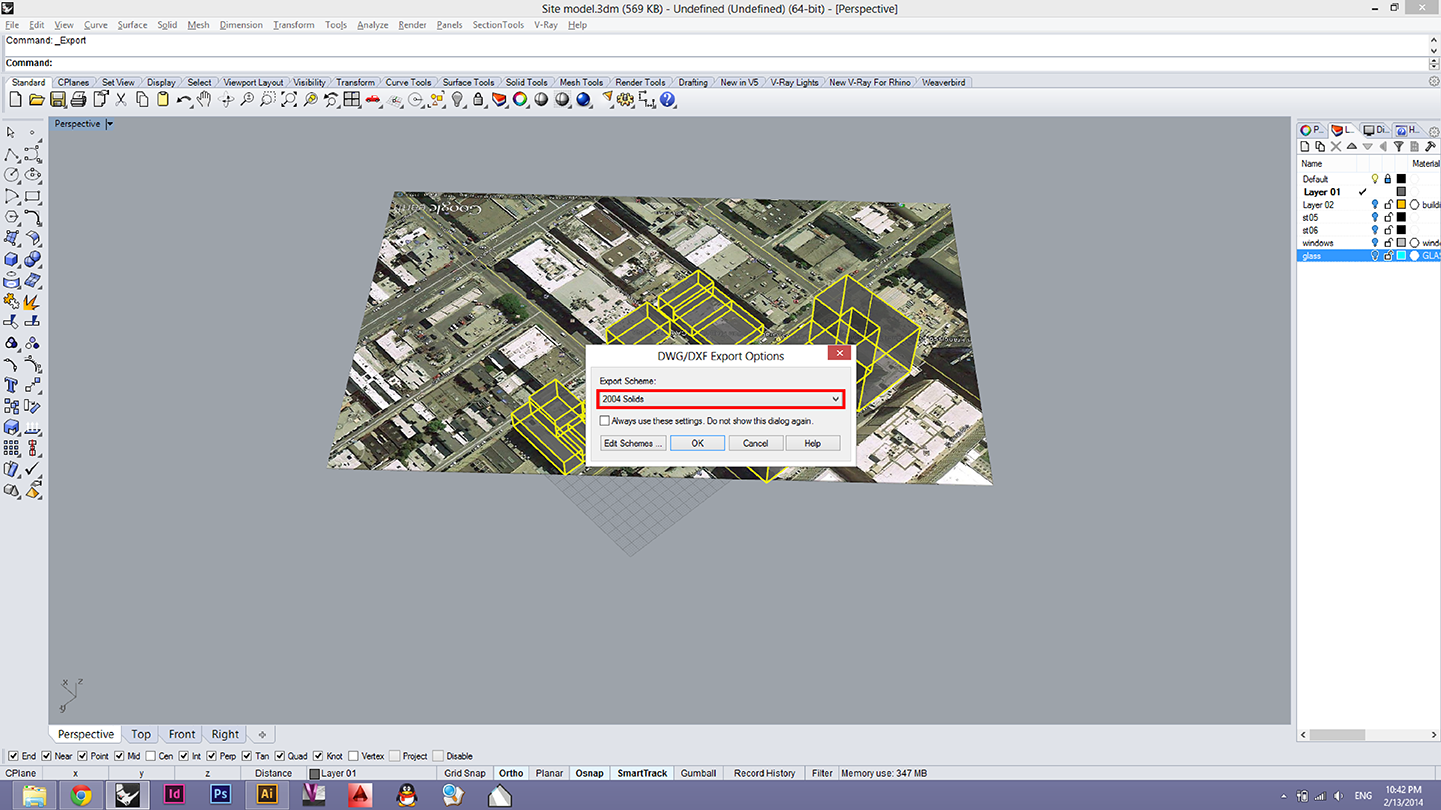
If you choose Rhino to build your mass model, then export rhino file into dwg by clicking "File - Export selected", then make sure select the "2004 solids".
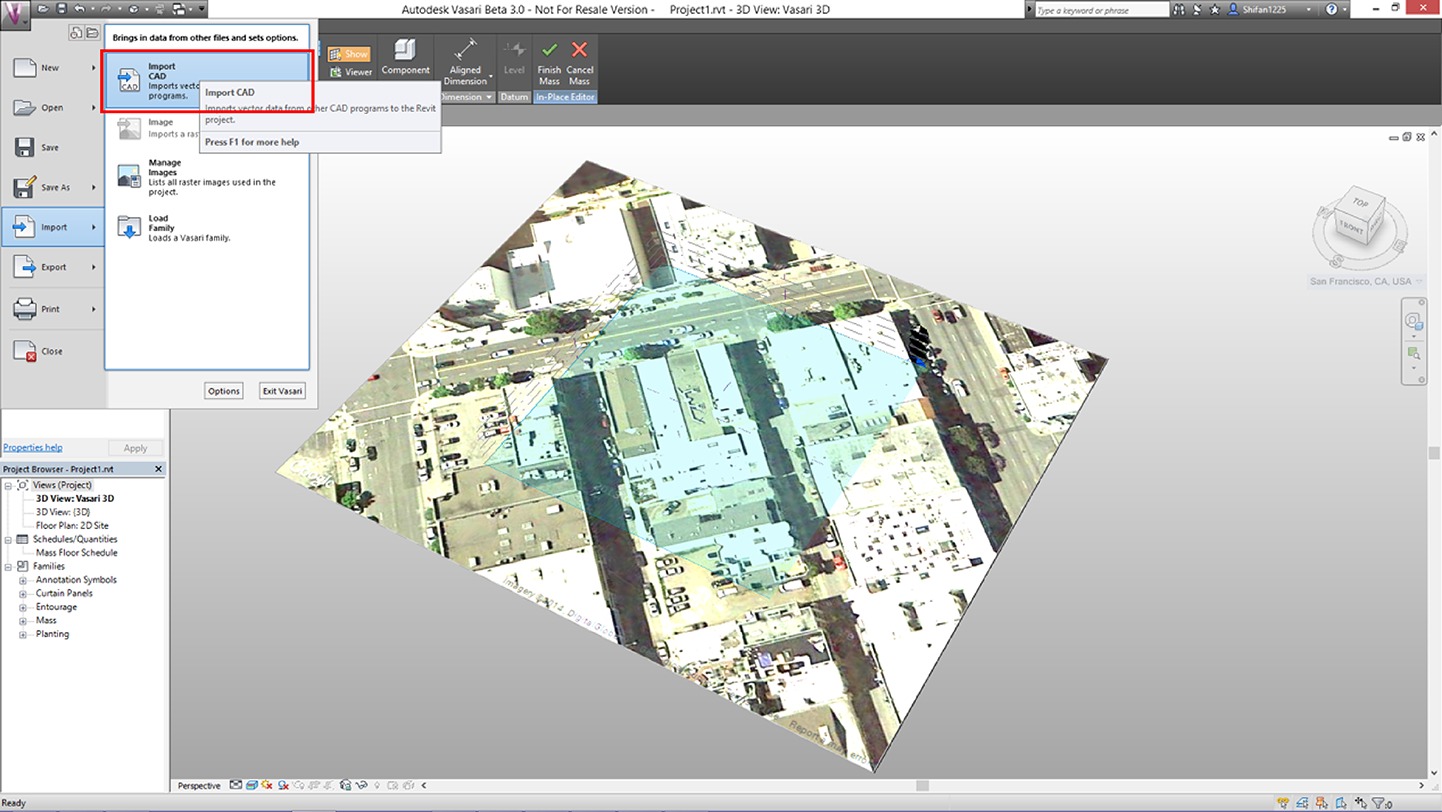
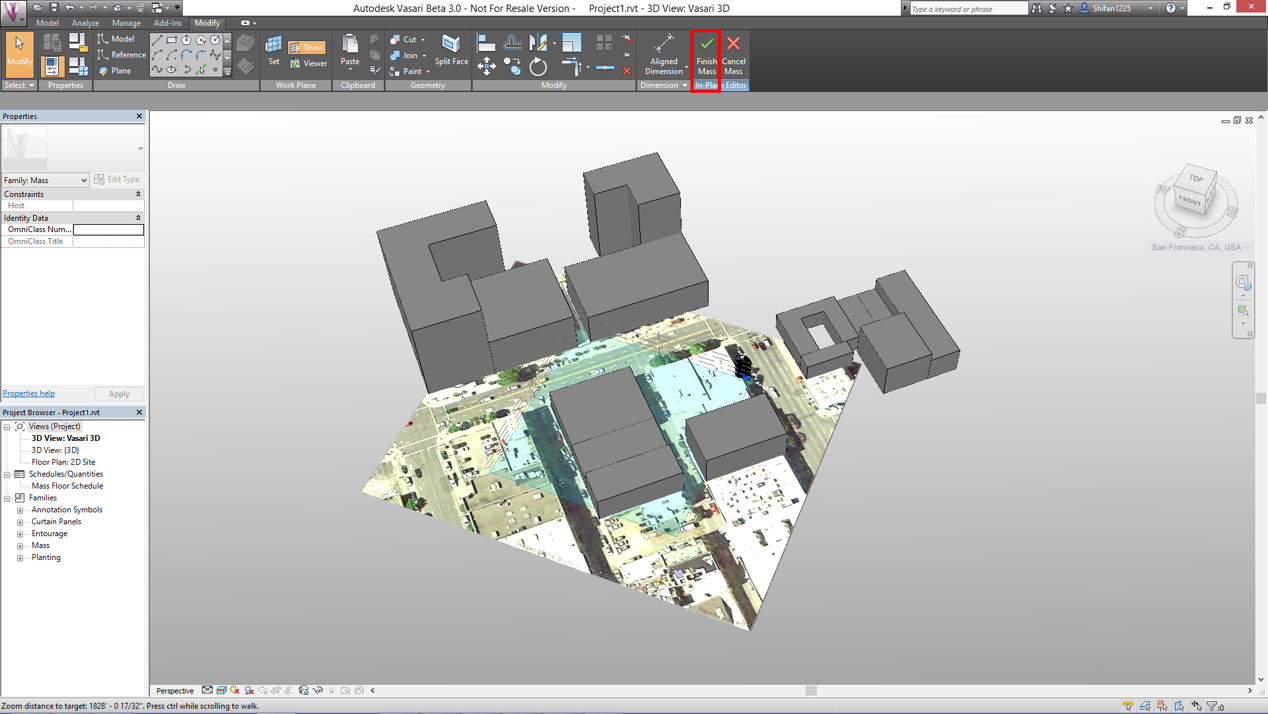
4. Go back to Vasari, click left top tab "V - Import - Import CAD". Choose your site dwg file mass model and then click "finish mass".
5. In terms of your conceptual cut mass model, you can build it either in Vasari, or in Rhino, and then export it.
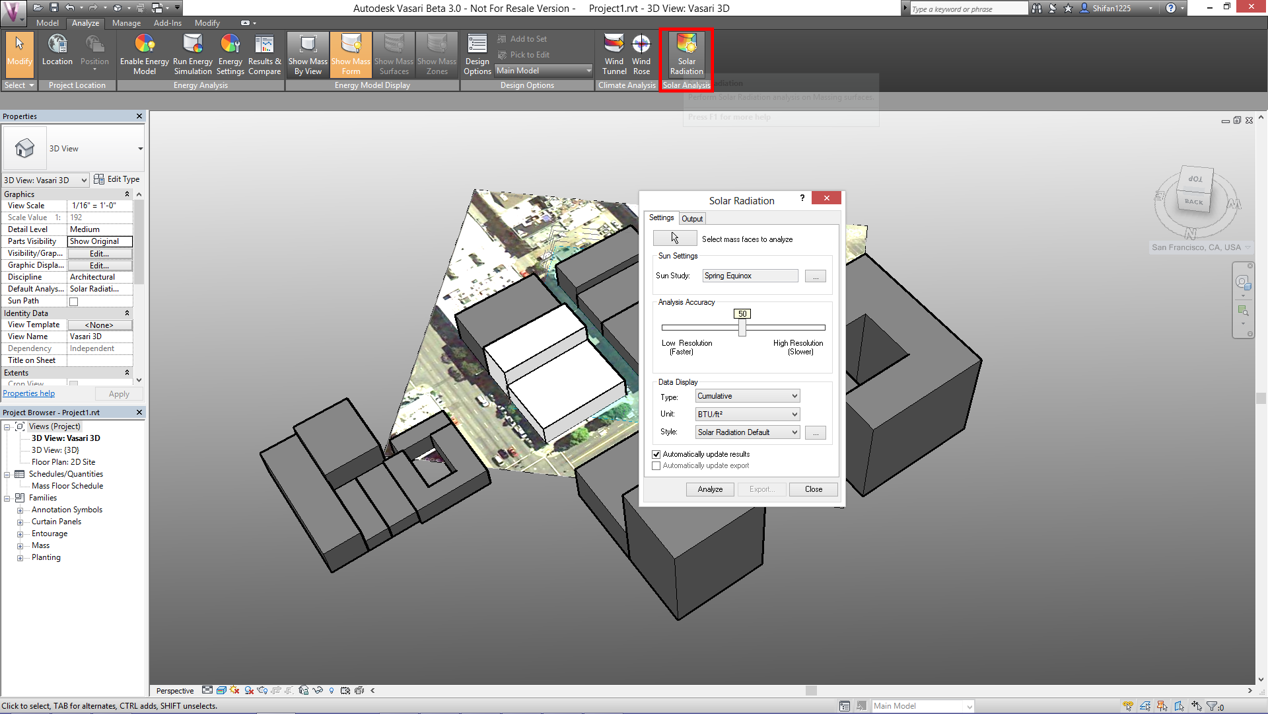
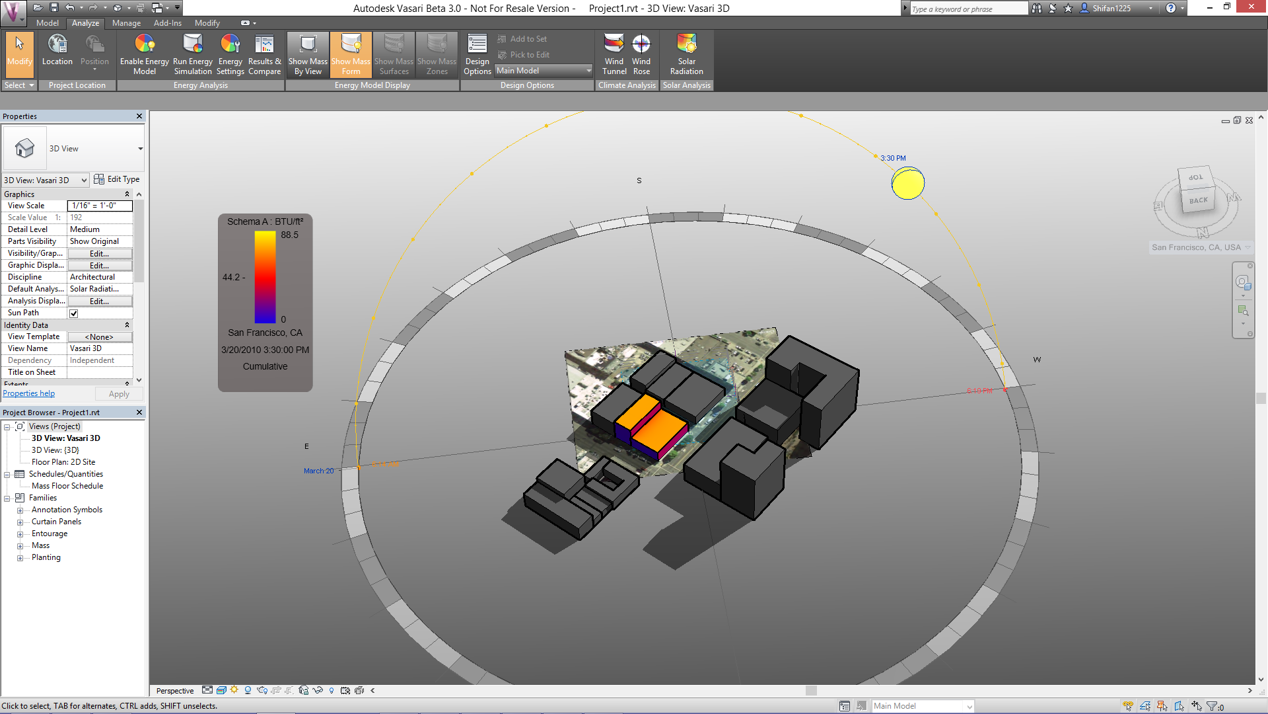
6. Click "Analyze - Solar Radiation", you will see this interface, after clicking analyze the model, it will ask you to choose either all of mass model or specific surfaces, then choose your conceptual cut surfaces.
Based on this solar radiation result, you can make some decision of adjustment your mass model.
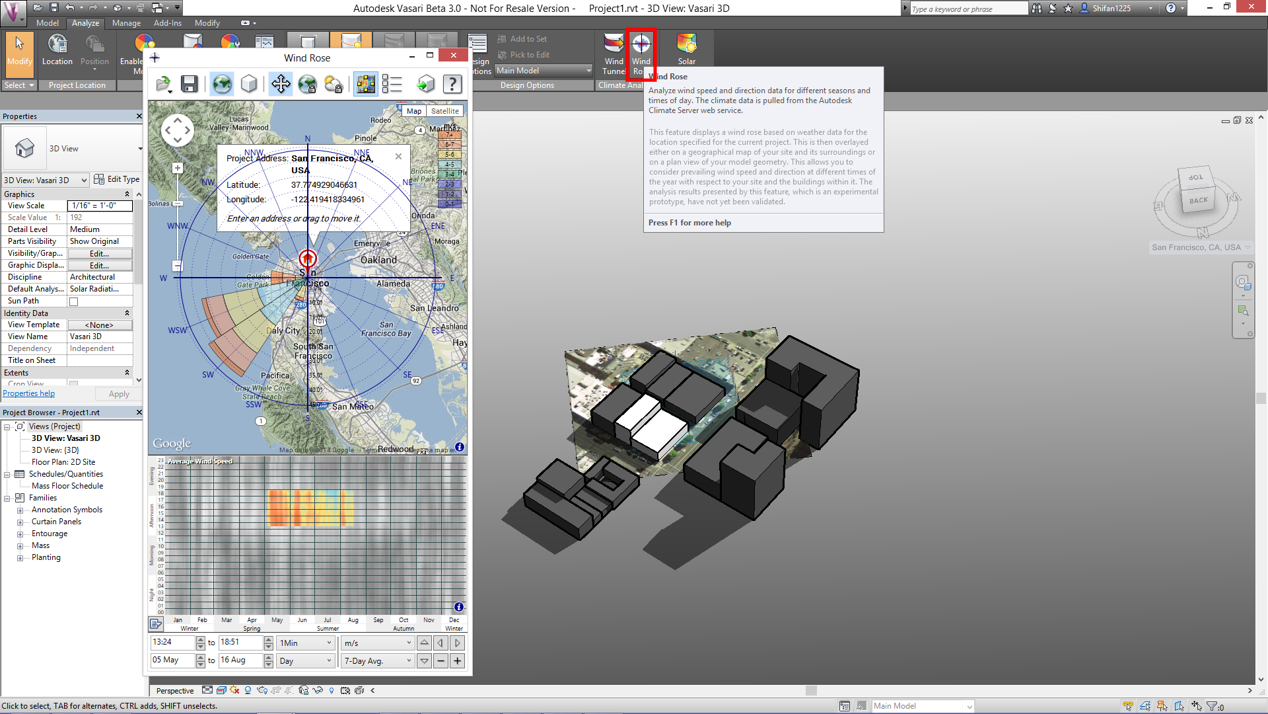
Click "Analyze - Wind Rose" to show the local wind rose which will help you develop some ideas based on local prevailing wind.
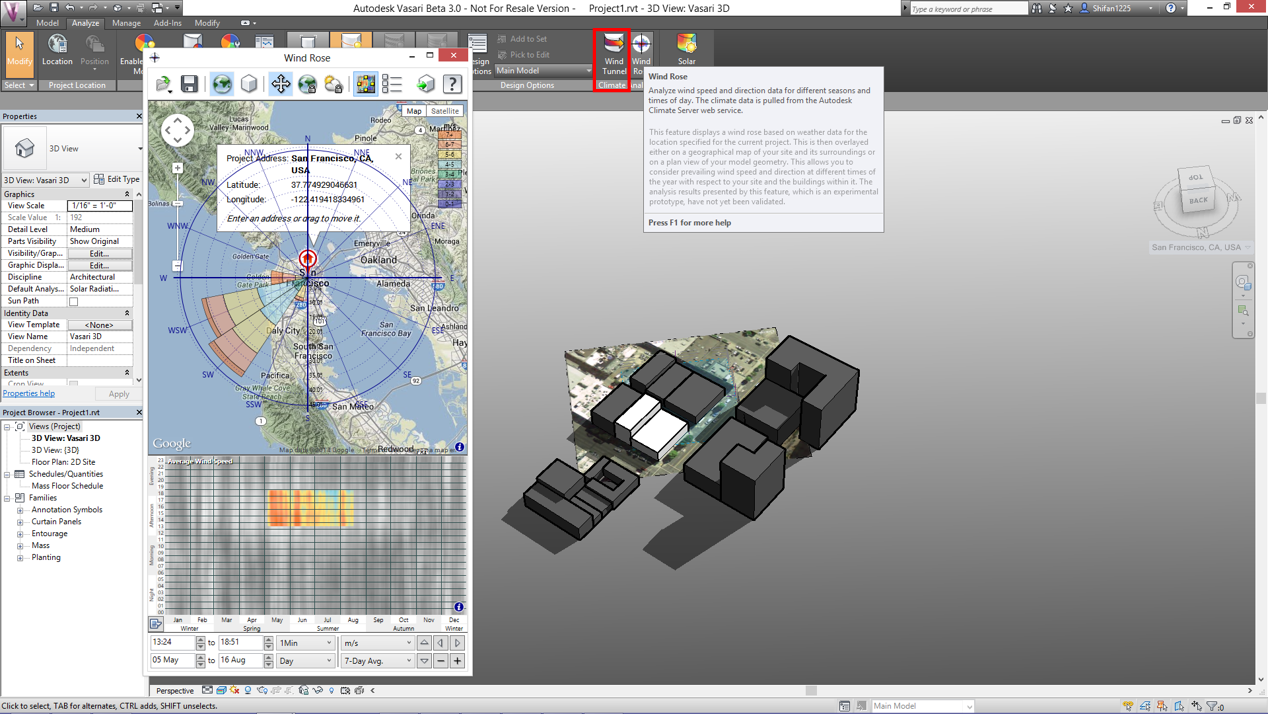
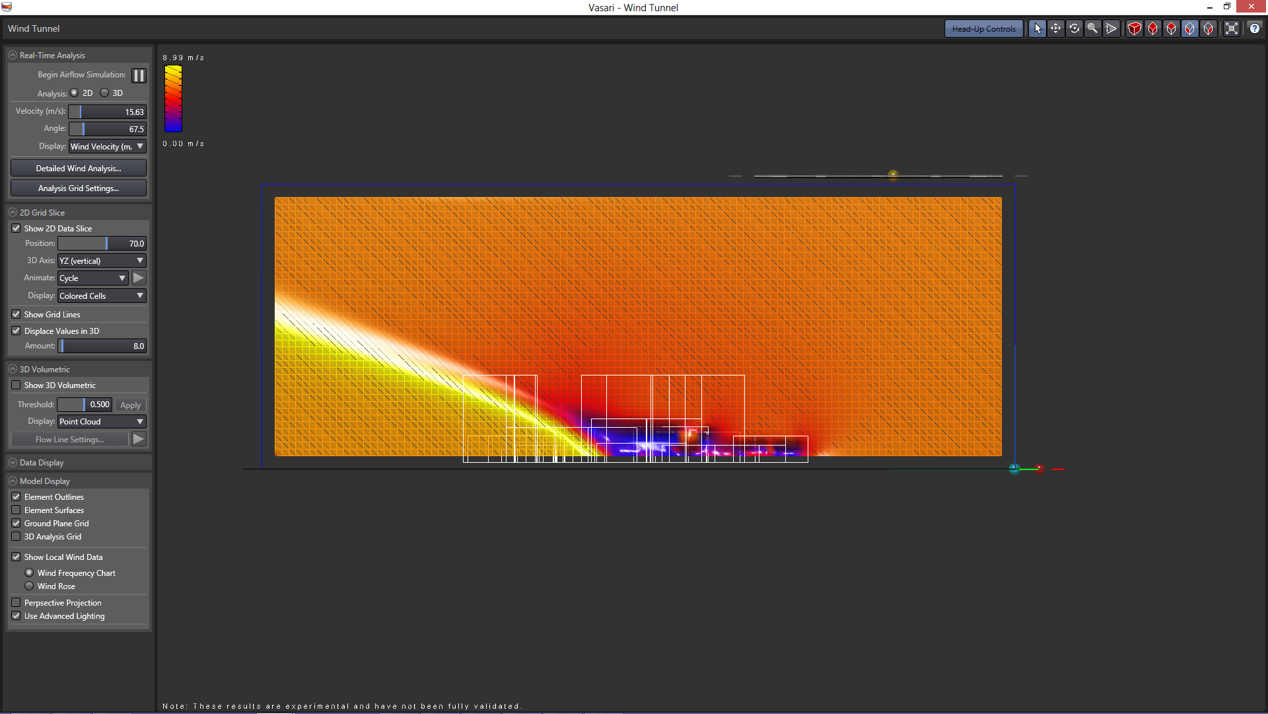
By clicking "Analyze - Wind Tunnel", you can open another wind analysis interface.
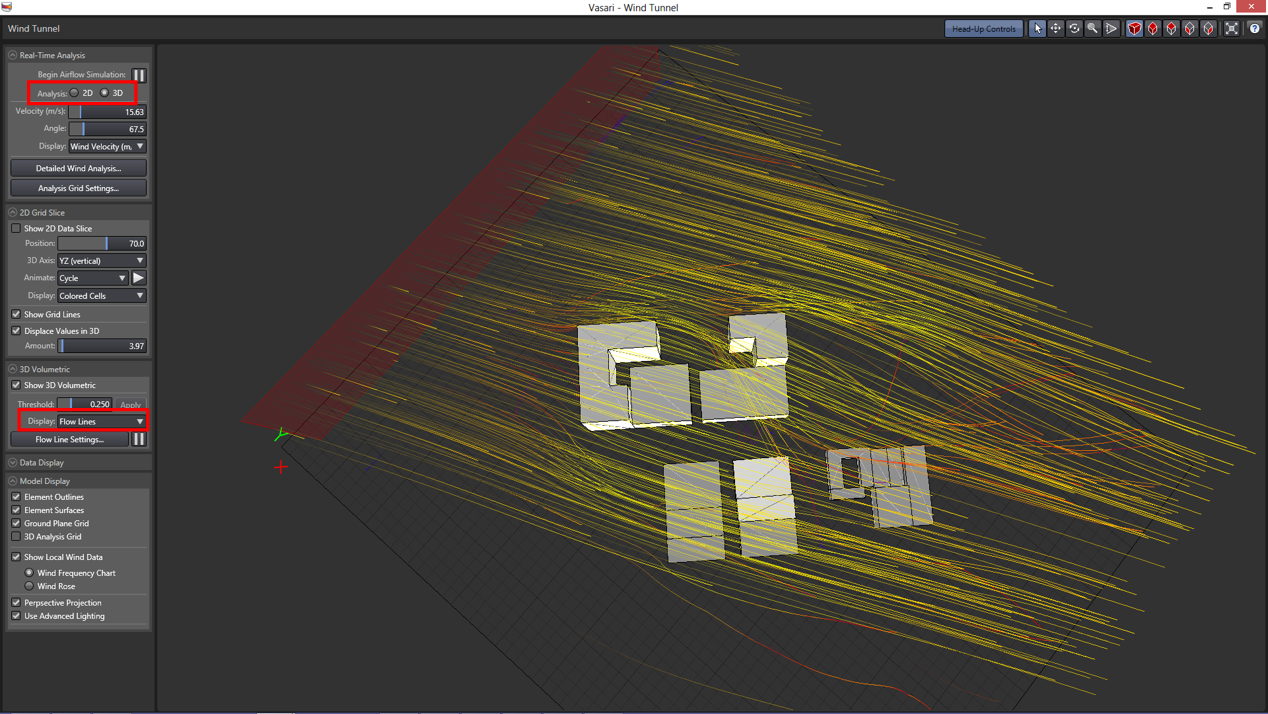
In this interface, you can choose different visualizations to help you make decision on how to adjust your conceptual cut.
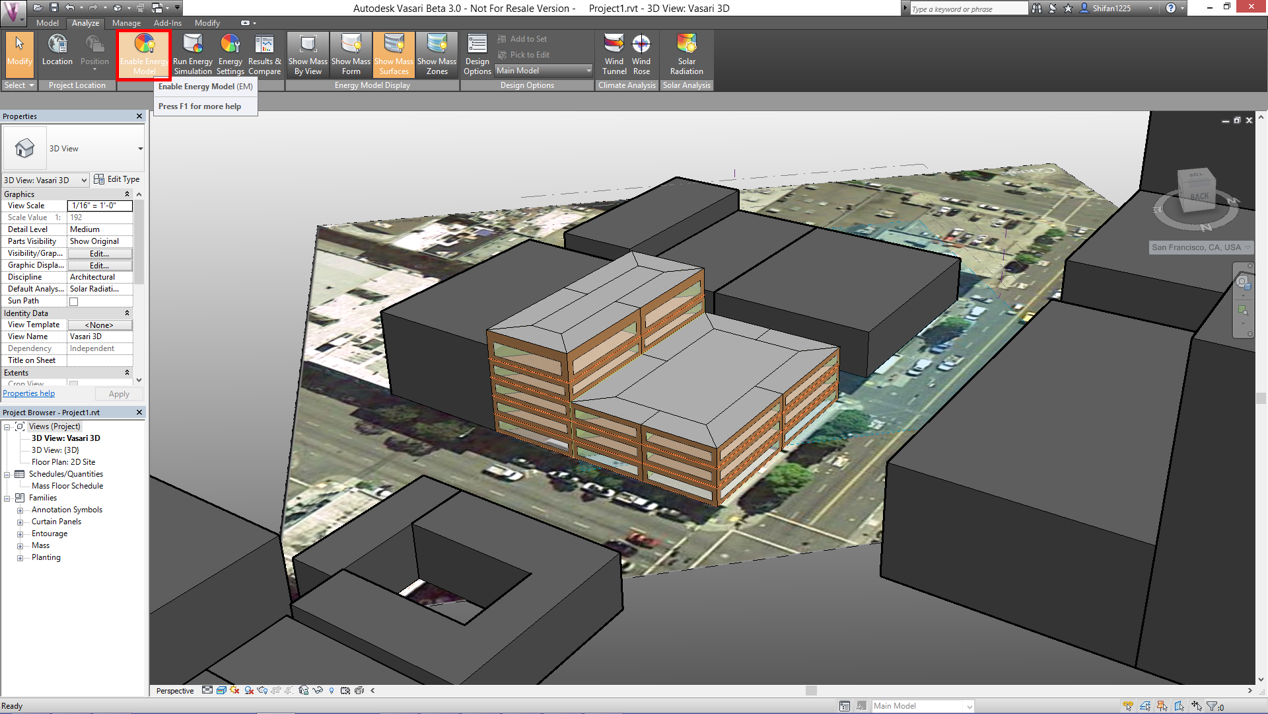
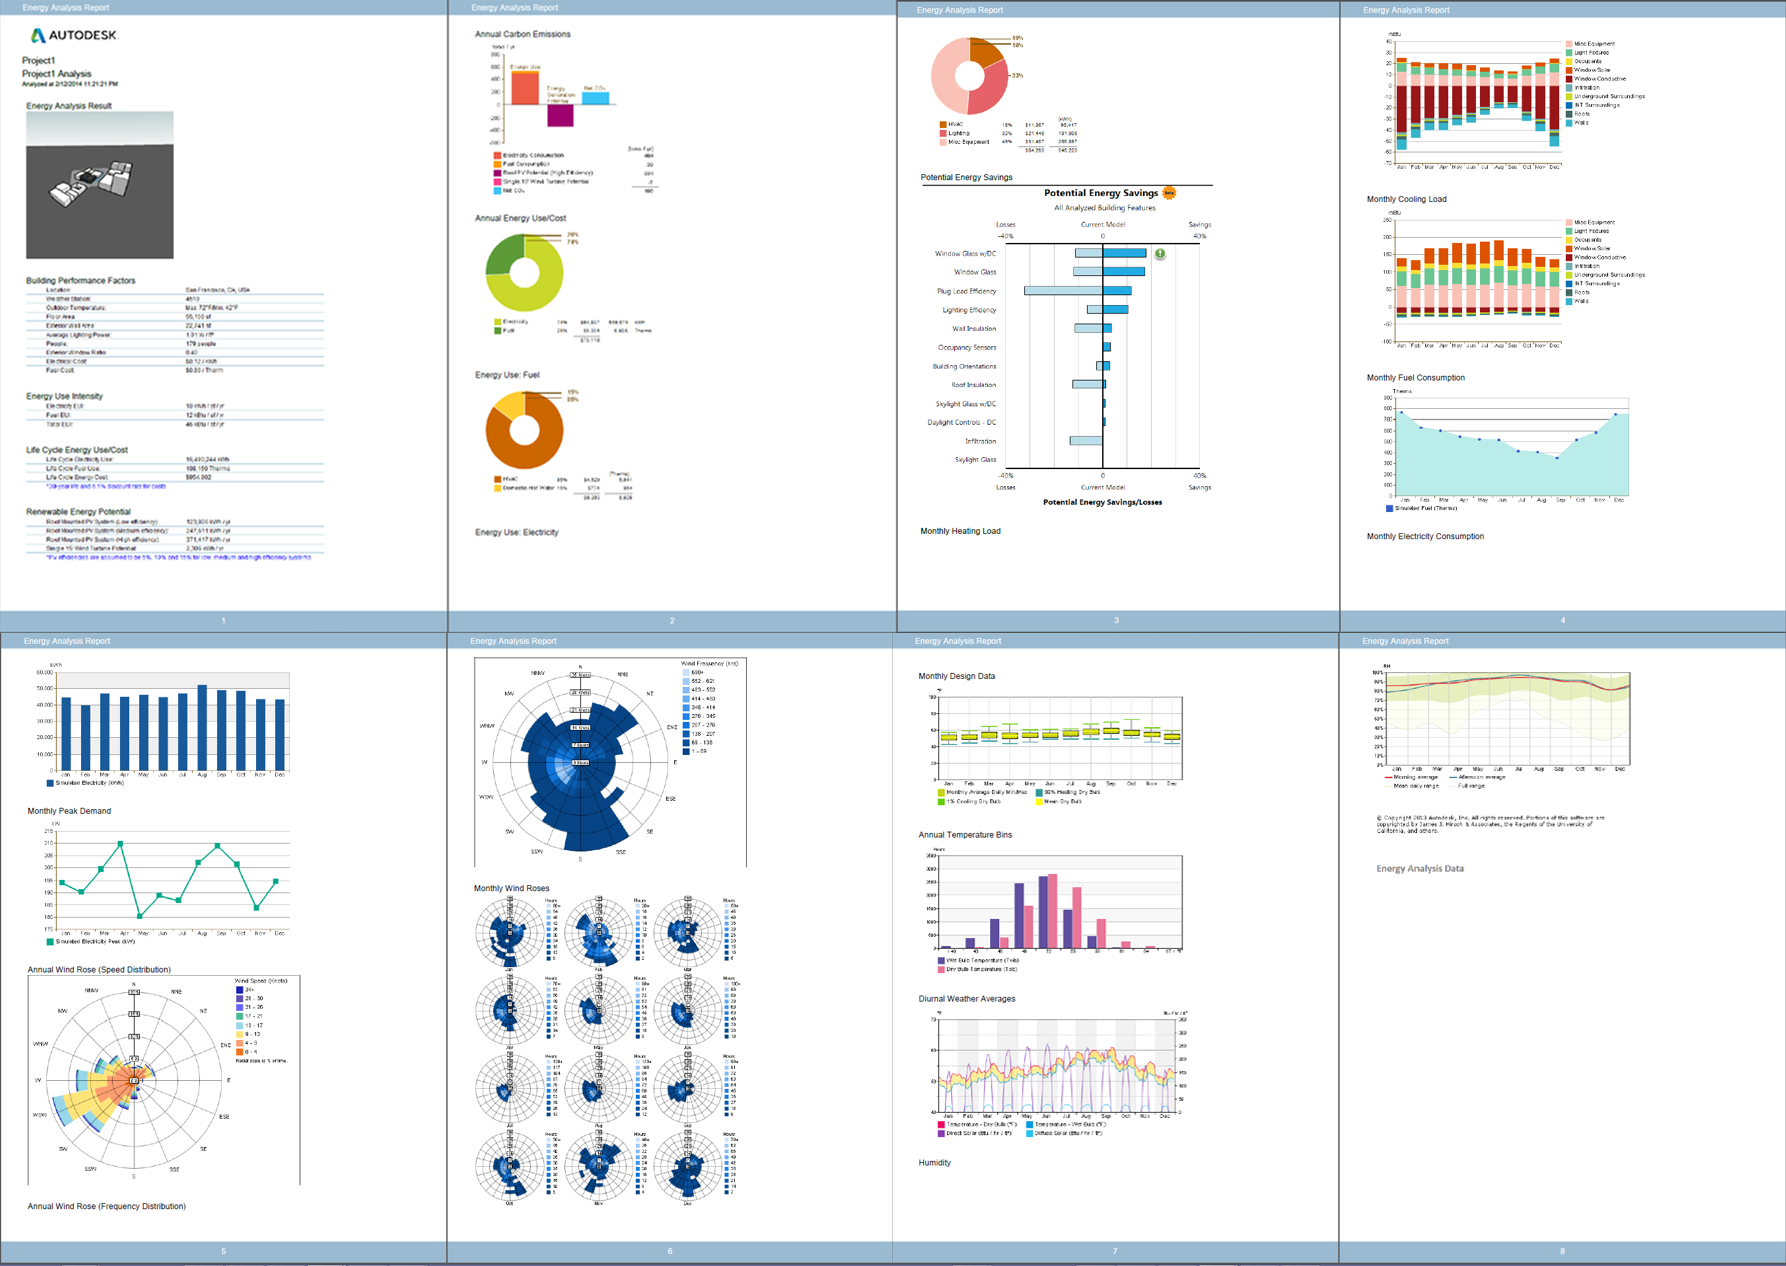
By clicking "Analyze - Run Energy Simulation" you can get a energy simulation report.
VELUX Daylight Visualizer
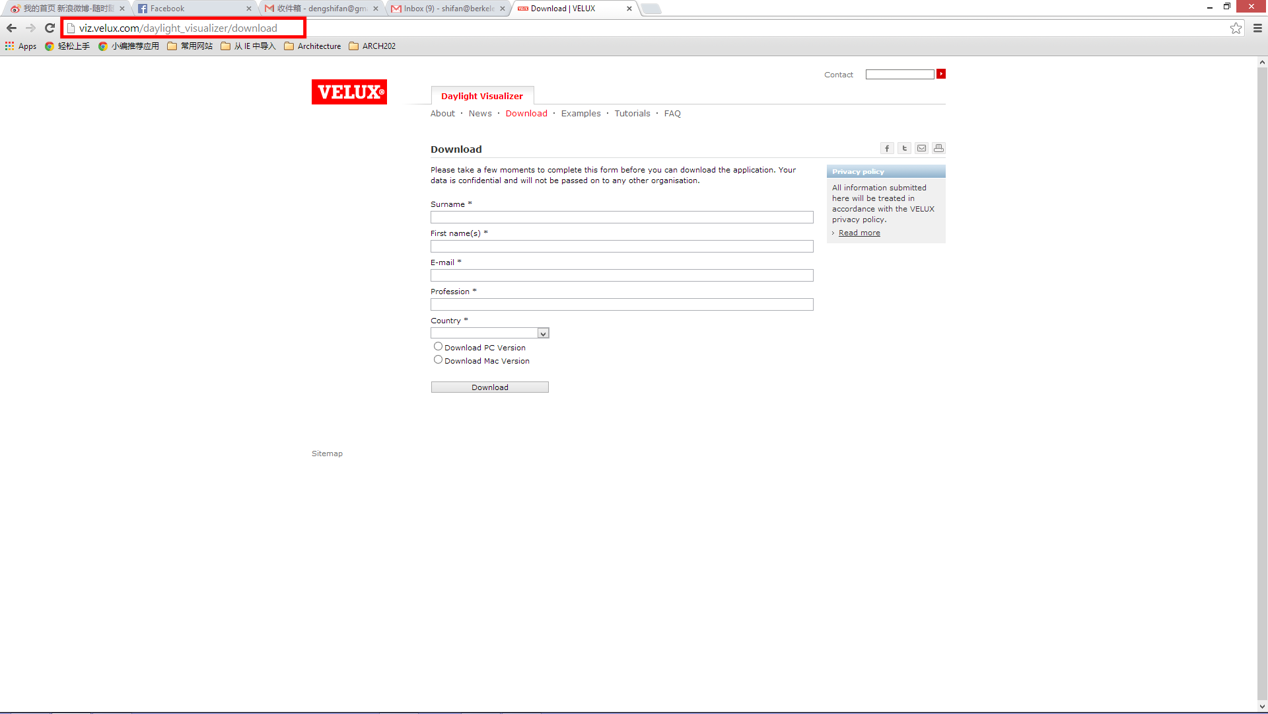
1. Go to the Autodesk Vasari website ( http://viz.velux.com/daylight_visualizer/download ) to download it, VELUX Daylight Visualizer is a free program.
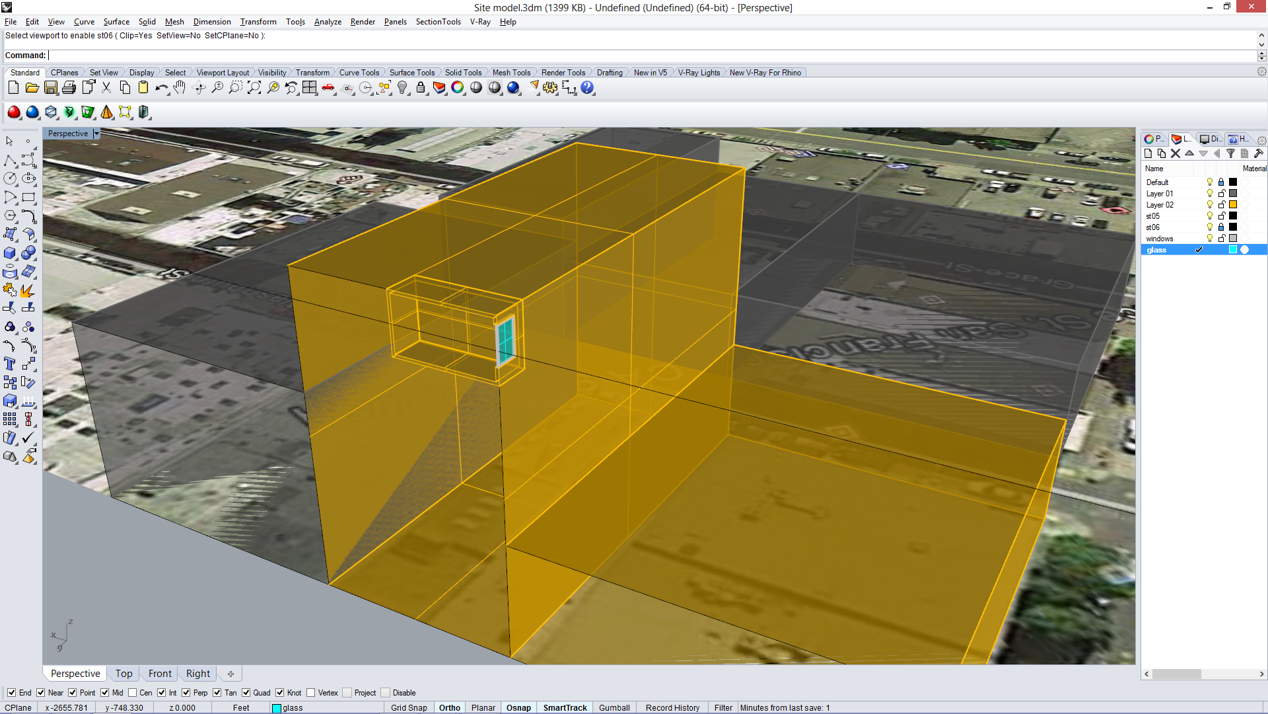
2. You can also build an analysis model in rhino, add different materials on different type surfaces or build model in VELUX Daylight Visualizer.
3. Export to obj file, in this interface select "material definition" option, by doing this, we will be able to edit the material in VELUX Daylight Visualizer.
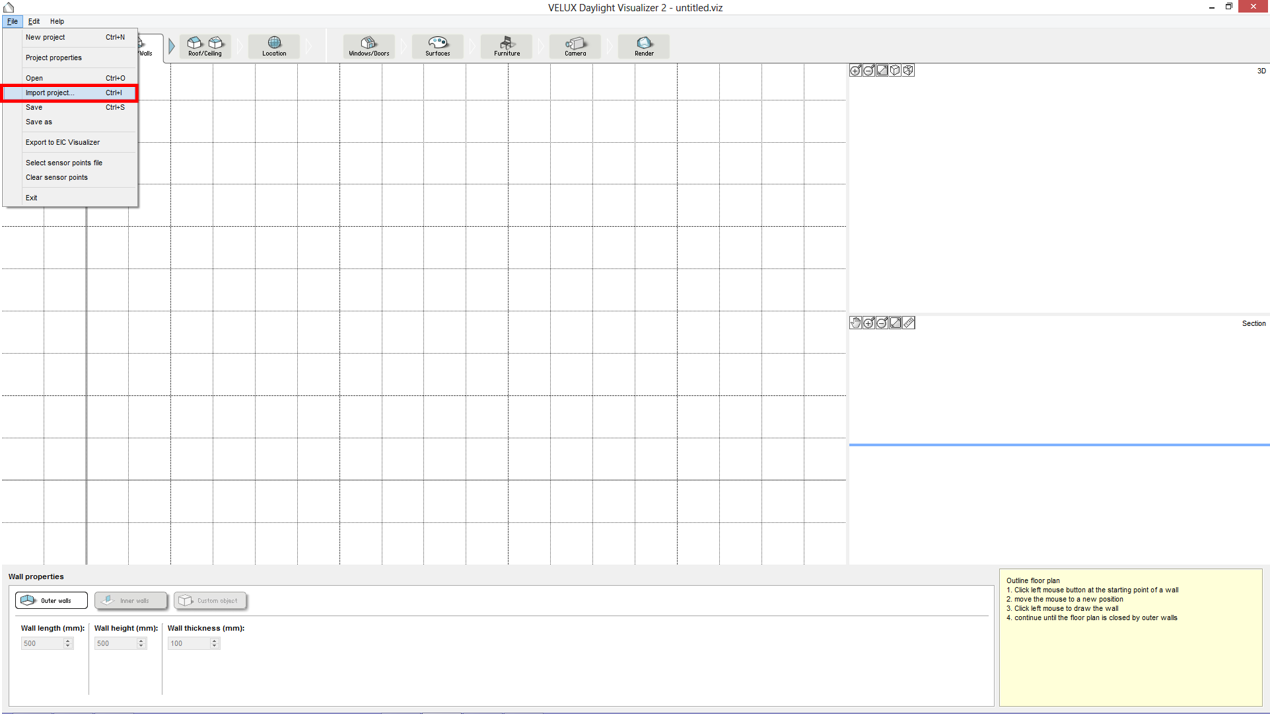
4. Click left top tab "File - Import Project" to import the obj file model.
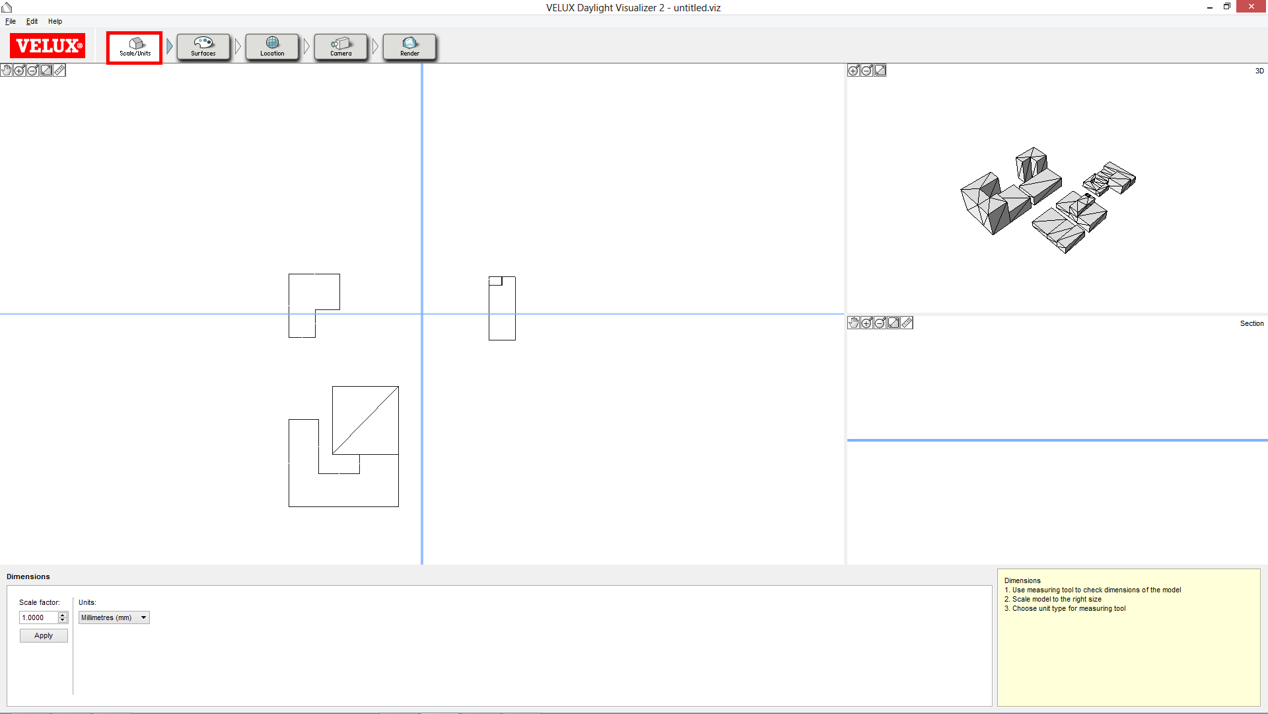
5. Check the dimension of the model by using measuring tool in VELUX Daylight Visualizer.
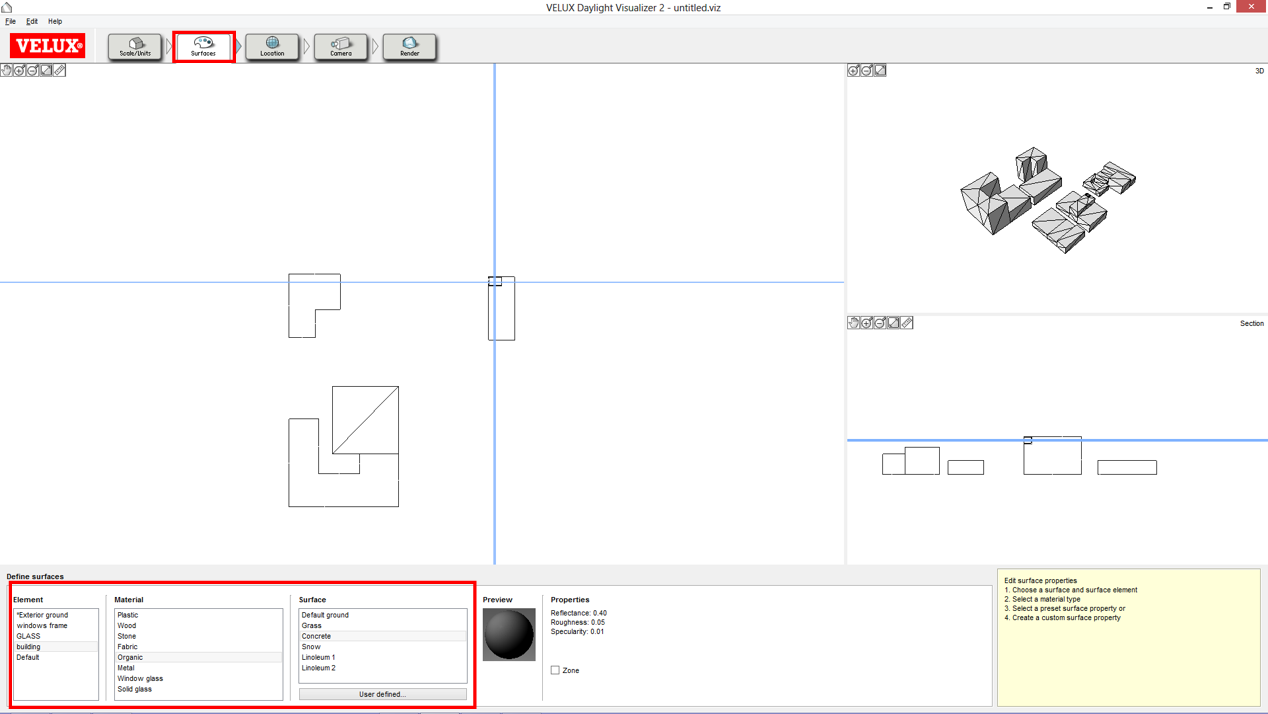
6. Choose a surface element, select a material for it.
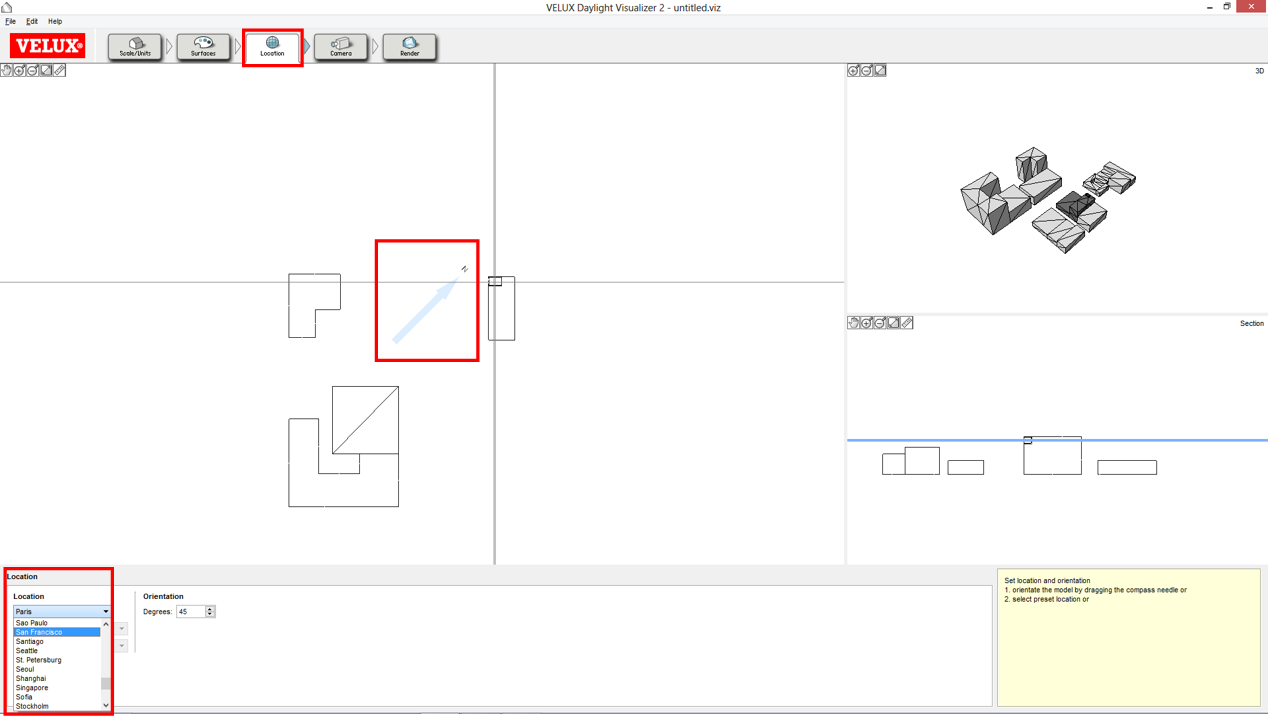
7. Select a location of model, and orientate model by dragging the compass.
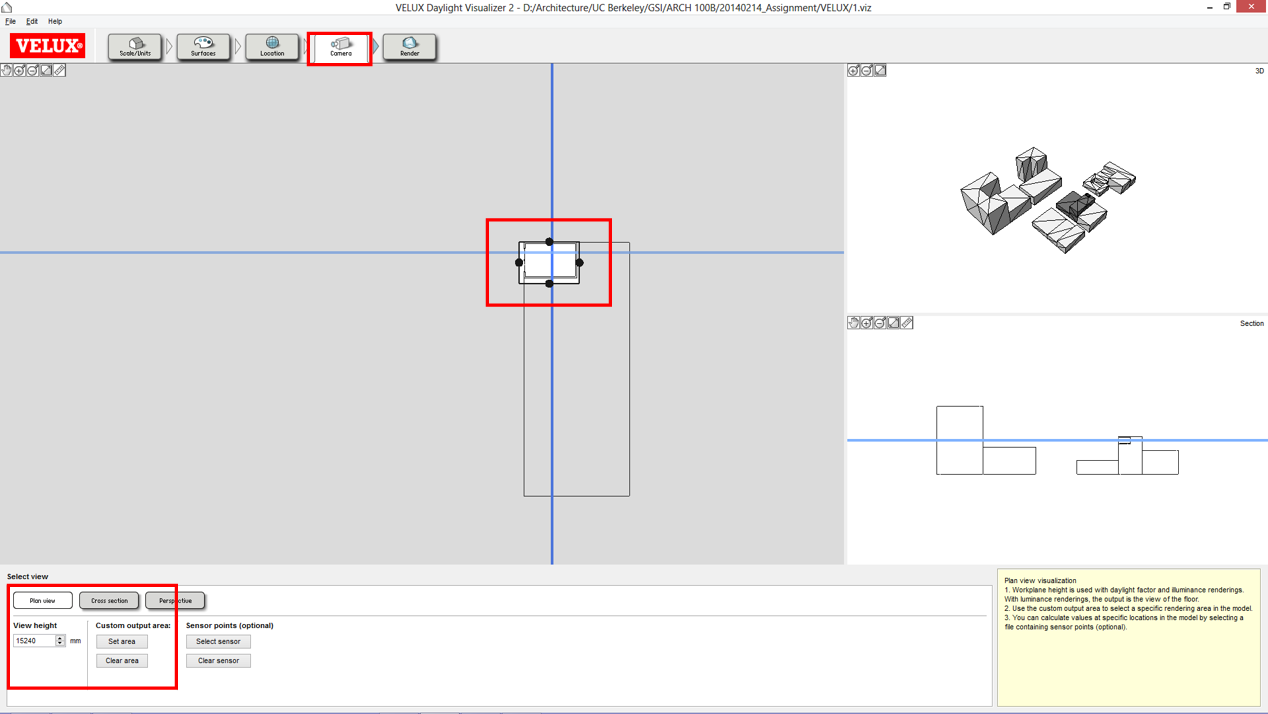
8. Set workplane height and use custom output to select a specific rendering area in model.
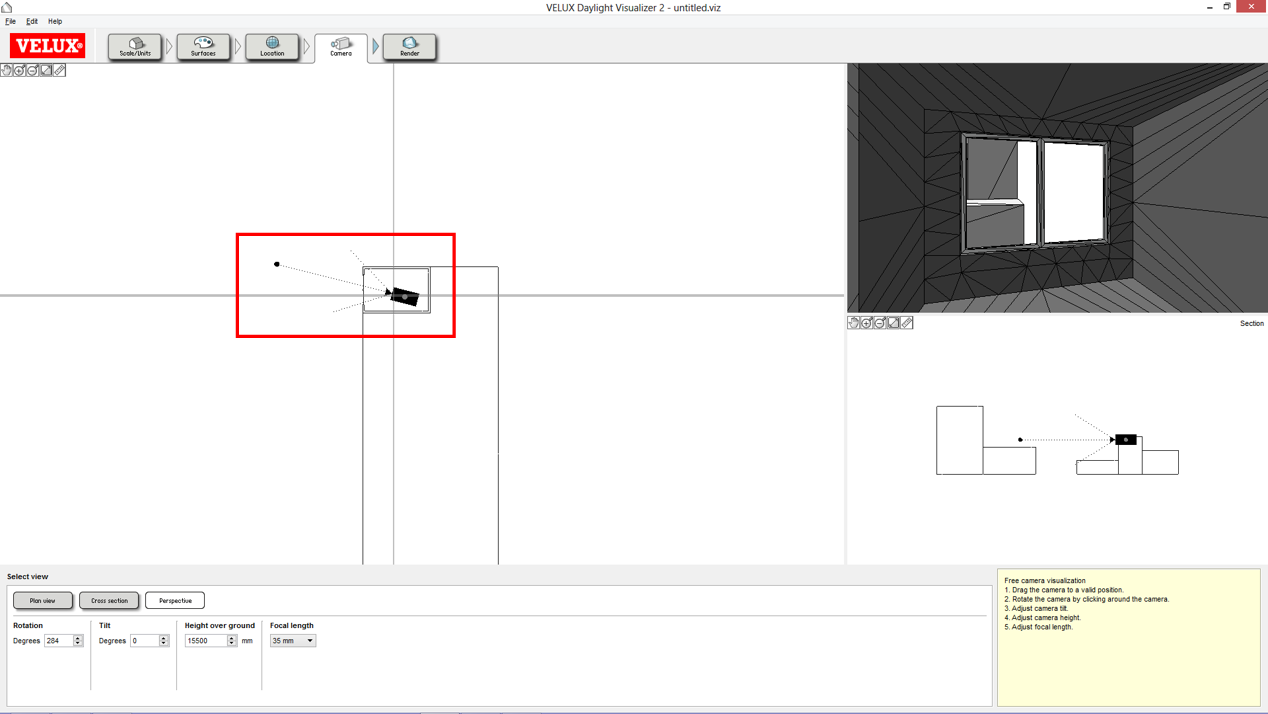
9. Set the camera by dragging it and rotating it, and adjust the camera parameter.
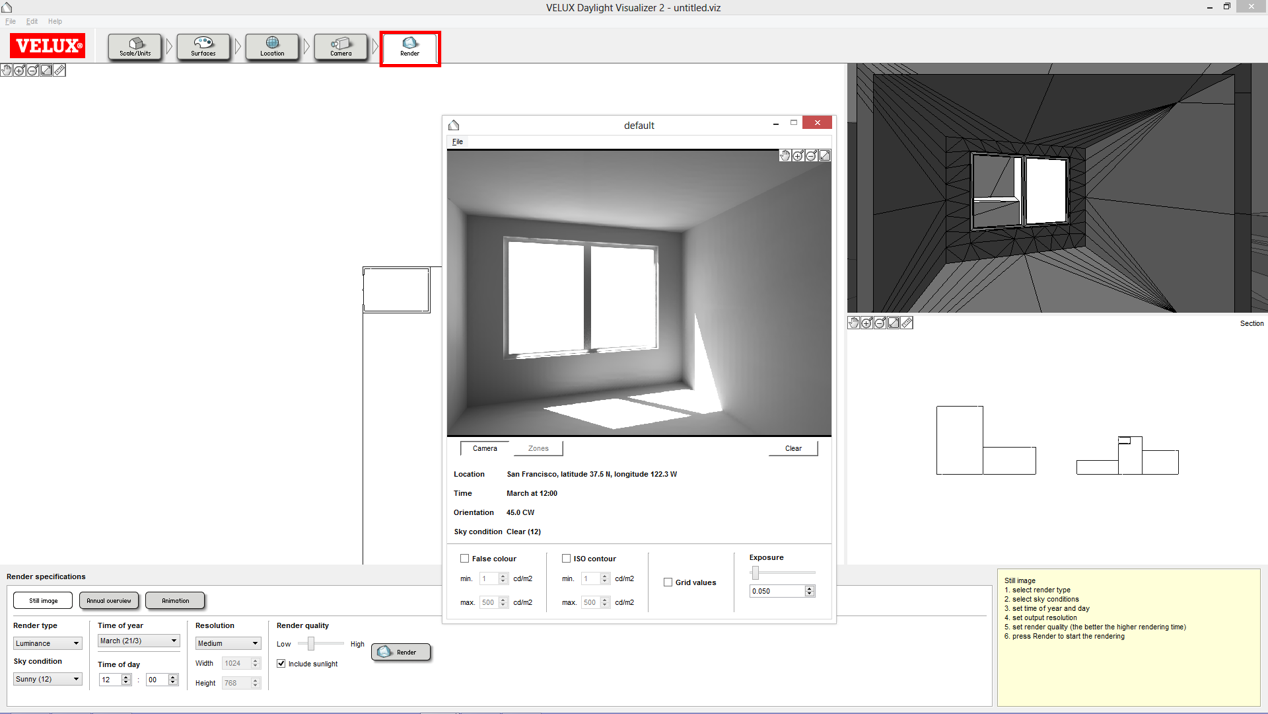
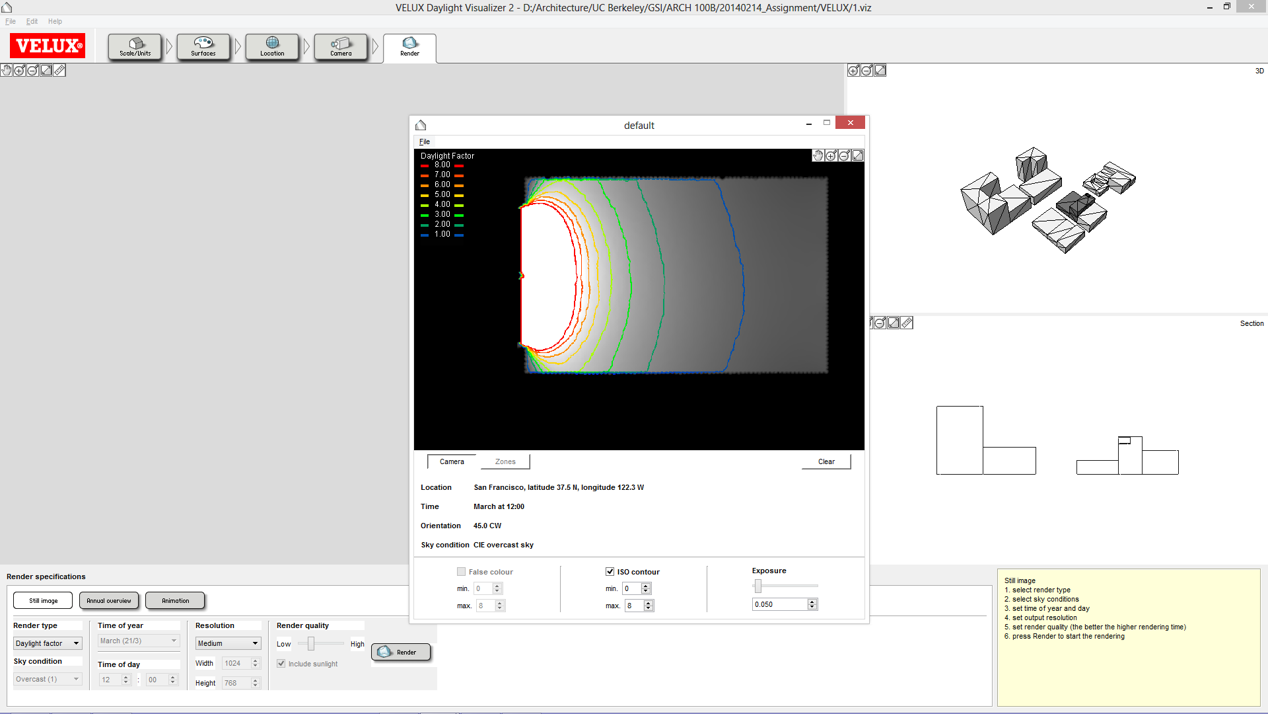
10. Rendering to simulate the interior daylight condition, it will help you to adjust your analysis model.
