| Week 06- VRay Workshop | |
|---|---|
| Course | Arch 100b |
| Date | 2014/02/21 |
| Learning Objectives | This workshop will briefly review what you've learned about VRay rendering and go deep into material and sun lighting manipulation. |
| Agenda |
|
| Uses Tool(s) | |
VRay material setting review
Loading .vismat Materials
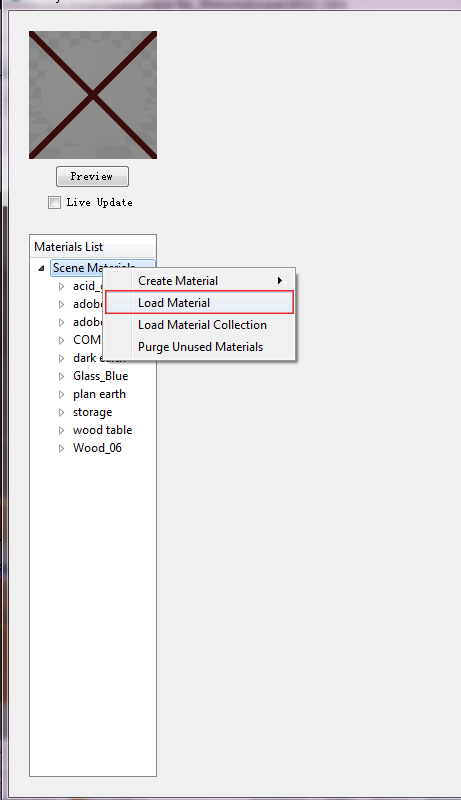
The .vismat file type is specific to V-ray for Rhino and loads directly into the Material Editor by right clicking on Scene Material and selecting "Load material" and loading your desired .vismat file directly into the Material Editor.
A number of pre-made .vismat files can be found from the sources below or through a direct Google search (ie "Concrete .vismat"). V-Ray also comes with a number of pre-loaded materials which can typically found in this file path: Program Data > ASGvis > Materials
- Flying Architecture
- This website has some good materials for free download, such as concrete, wood and glass. Be sure to save the whole unzipped folder in an easy to find location.
-

Create new materials/ Layering effects
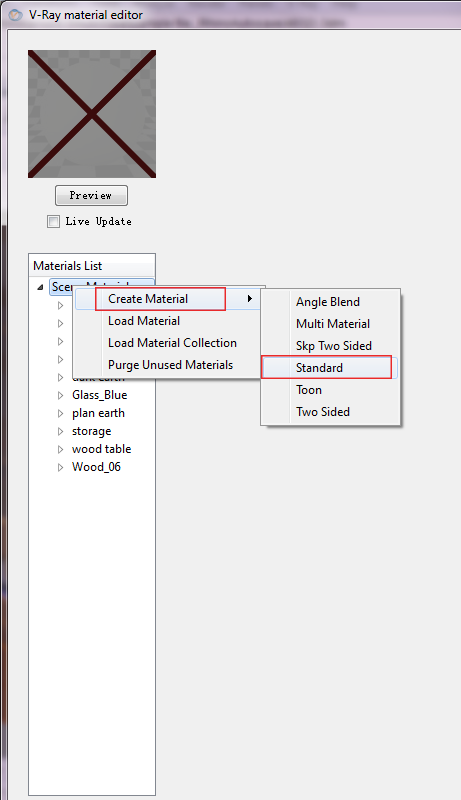
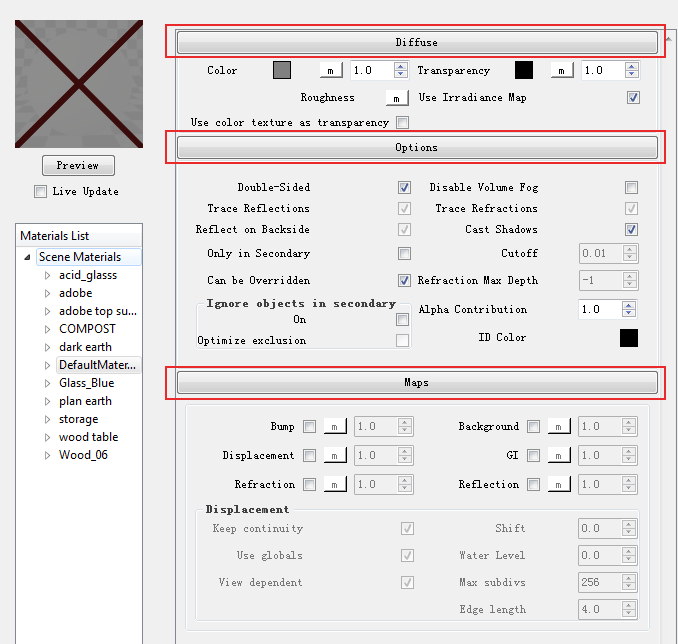
Each V-Ray Material typically consists of the layers. A new default "standard" V-Ray material will only consist of a Diffuse, Options and Maps layer. More complex materials might contain layers that set reflectivity or brightness such as Emissive or Reflection layers.
- To add more layering effects in your material, right click on the material title and go to "create new layer" to select the wanted layering effects.
Layering effects
Each V-Ray Material typically consists of the layers discussed below. A new default V-Ray material will only consist of a Diffuse and Maps layer, more complex materials might contain layers that set reflectivity or brightness such as Emissive or Reflection layers. The "Update Preview" button is useful to give you a rough idea of the material settings.
Transparency
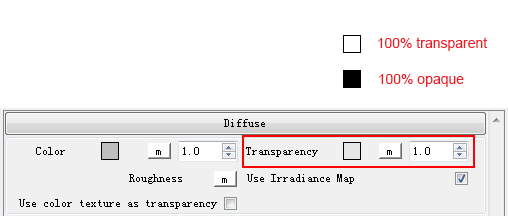
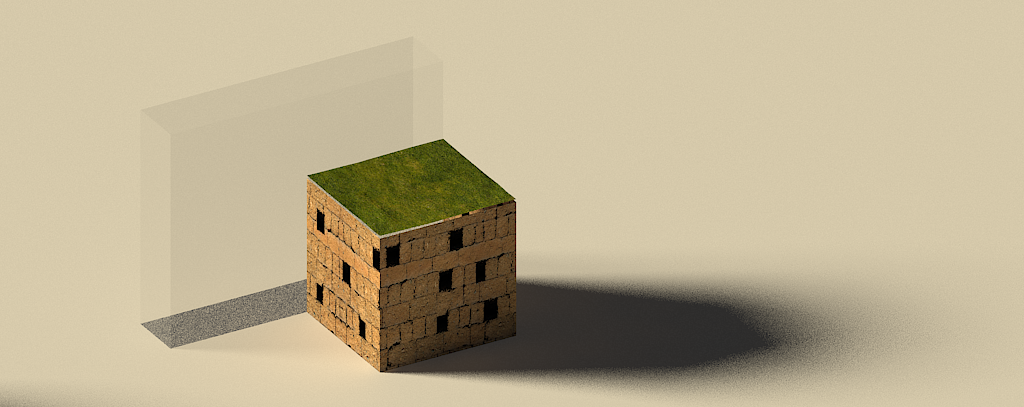
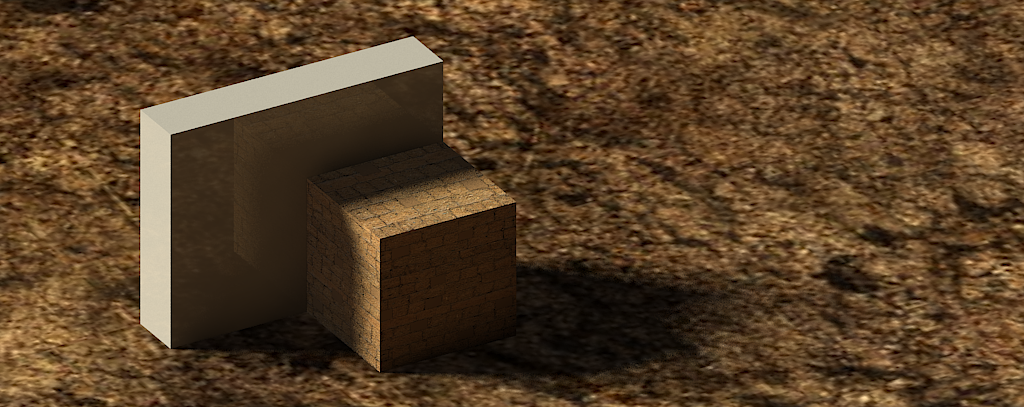
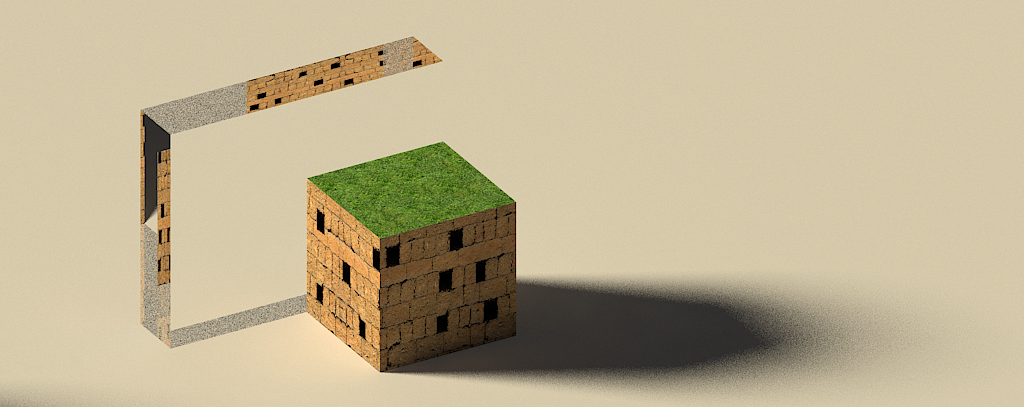
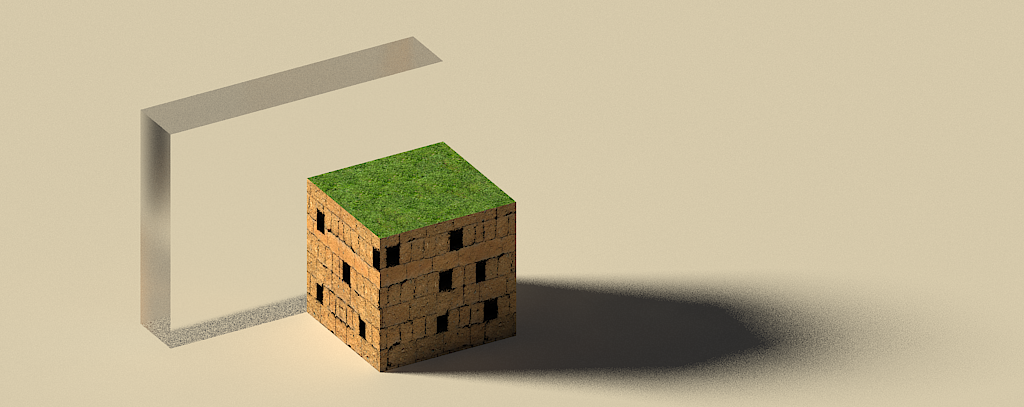
- Change the overall transparency of an object OR map a transparency pattern onto the object. Black is completely opaque and white is completely transparent .
- Opaque volume
- transparent volume
Reflection
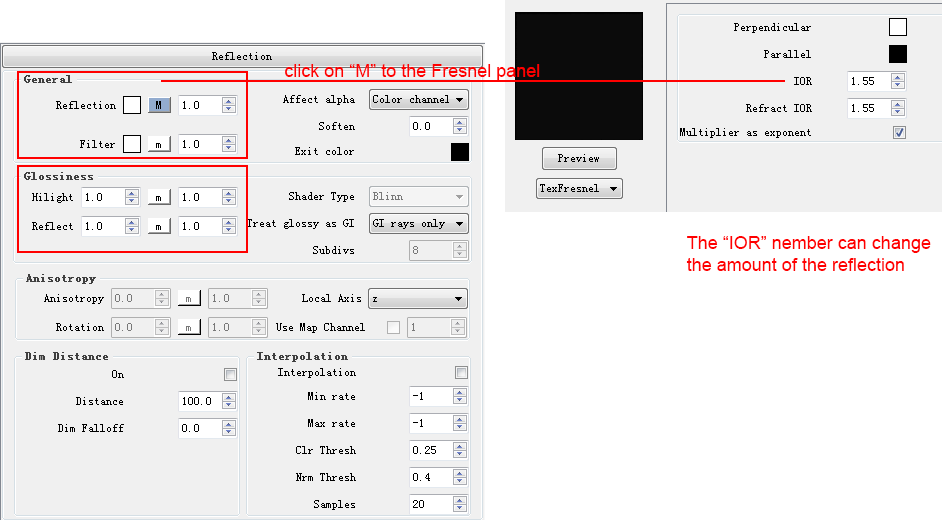
- Adds reflection to the object. White is completely reflective (like a mirror) and black is non-reflective . By Default the reflection layer has a fresnel map which varies the amount of reflection based on the viewing angle (notice the capital M next to the Reflection layer). To make more reflective, increase the Fresnel IOR. More information on Reflection Layers can be found here
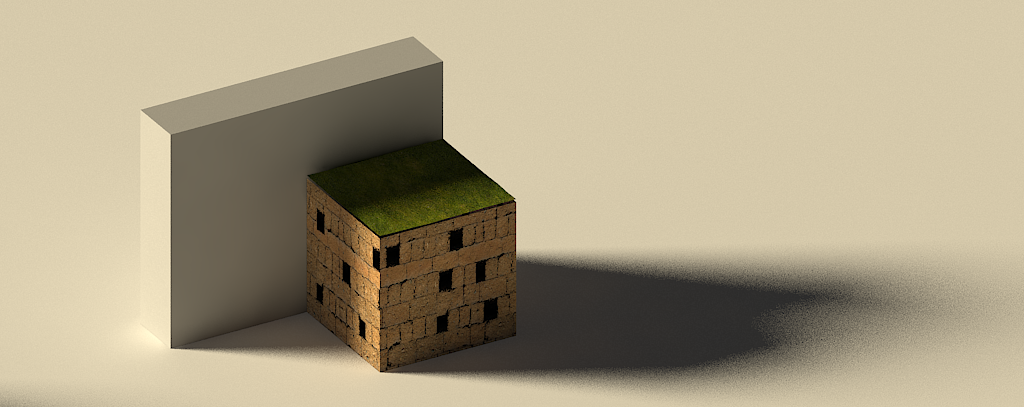
- Without reflect layer
- With default reflection layer
- Default reflection layer with 0.9 Hilight/Reflect Glossiness
Refraction
- Transparency
- The darker the Refraction Transparency, the more the material references the edges of the objection (although transparent).
- Fog Color
- Use this rather than Refraction Color to change the color of the transparent material. Fog color is dependent upon the multiplier, the color and the size of the object. Be sure to pick a color that is slightly less saturated that you desire.
- Glossiness
- Helps change the frostiness of the transparent material. The lower the number, the more blurry the refraction.
- IOR (Index of Refraction)
- Essentially the degree to which the angle of light entering the material changes upon exiting the material. Calculated the light refracted from the tranparent object. Lowering the IOR decreases the intensity of the Refraction settings.
- Default refraction
- Refraction with 0.8 Glossiness/ 22 subdivision/ 1.52 IOR
More information on the Refraction Layer can be found here
MAPS
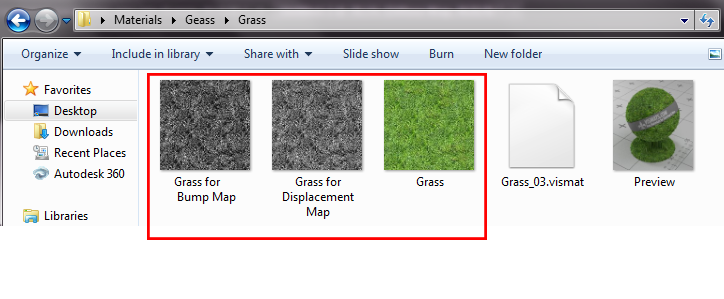
- Bump Map
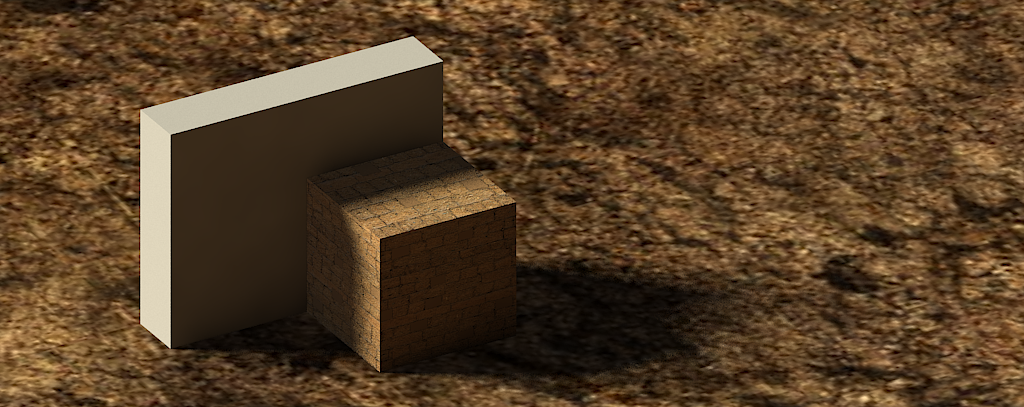
- Changes the way the surface texture appears three-dimensionally, changes the surface normal to create the illusion of surface detail.
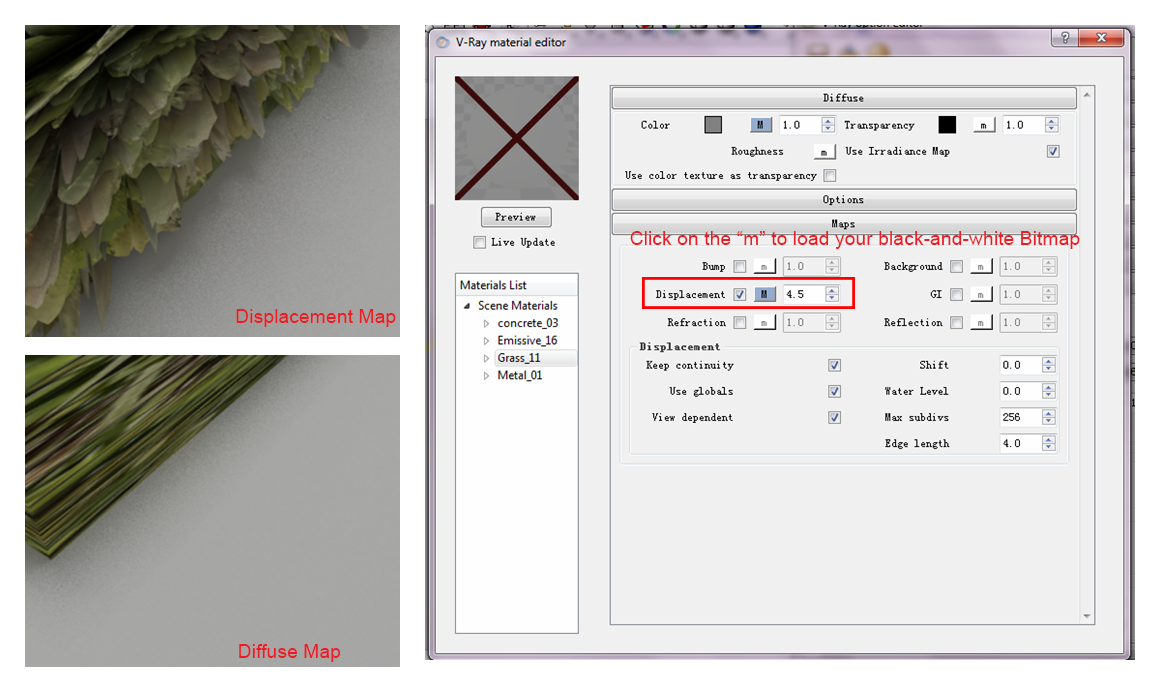
- Displacement Map
- Actually changes the way the surface appears three-dimensionally (such as outlines and edges of the surface) to represent a textured surface
To apply either Bump Map or Displacement Map for material texture,
you need to create a black- and - white image from your Bit-map image to describe the varying hight of the material. VRay will shift the surface according the image you import into the displacement map.
Material mapping and scaling
Depending on the scale of the model, the way the model was built, and the default settings in V-Ray, the image map and transparency map may not be rendered in V-Ray accurate to the scale of the building in real life. The image map may be enlarged and look stretched out, or the transparency map may not create the right effect because of its size relative to the building.
The test render should reveal whether or not the image map and transparency map are mapping at the right scale.
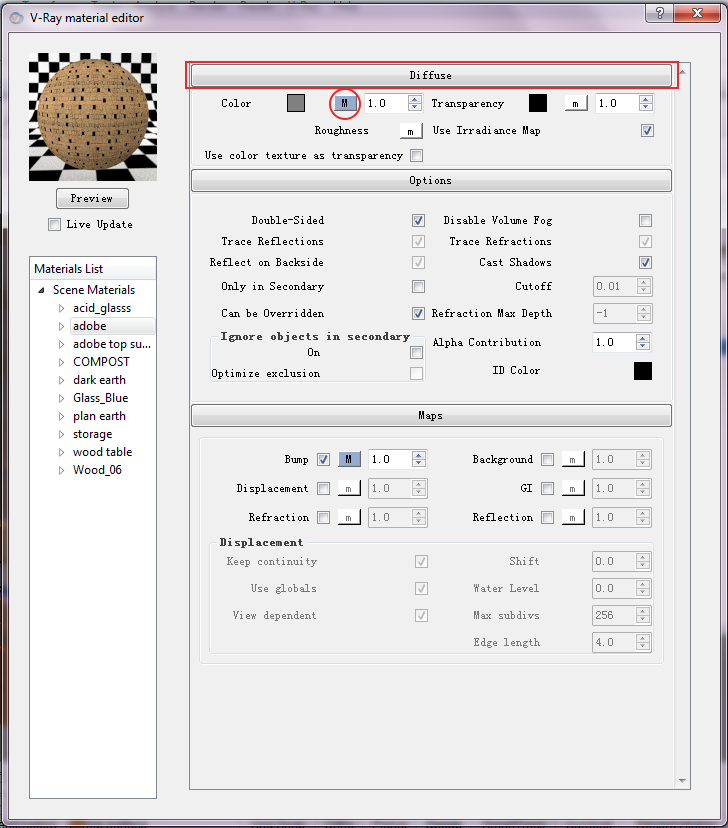
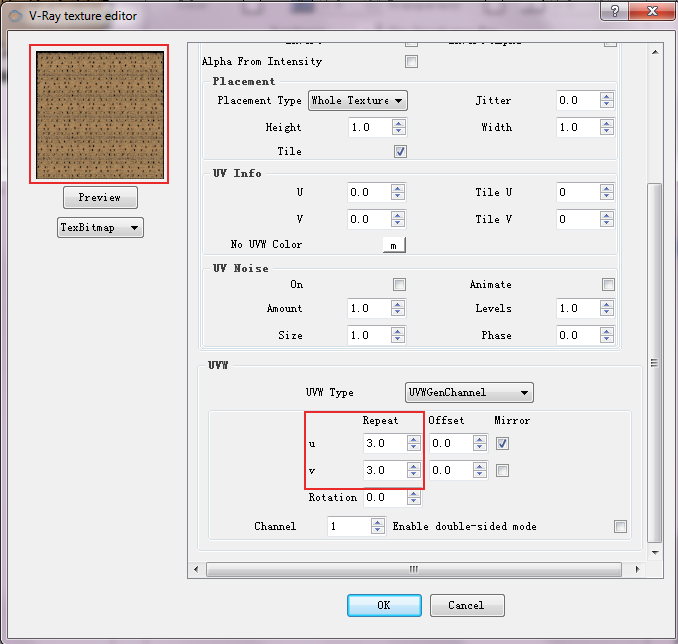
Material scale can be adjusted natively within the Material Editor. To change the scale of the perforations, edit the UVW in Diffuse layer in the Material Editor
VFB Channels_Material ID
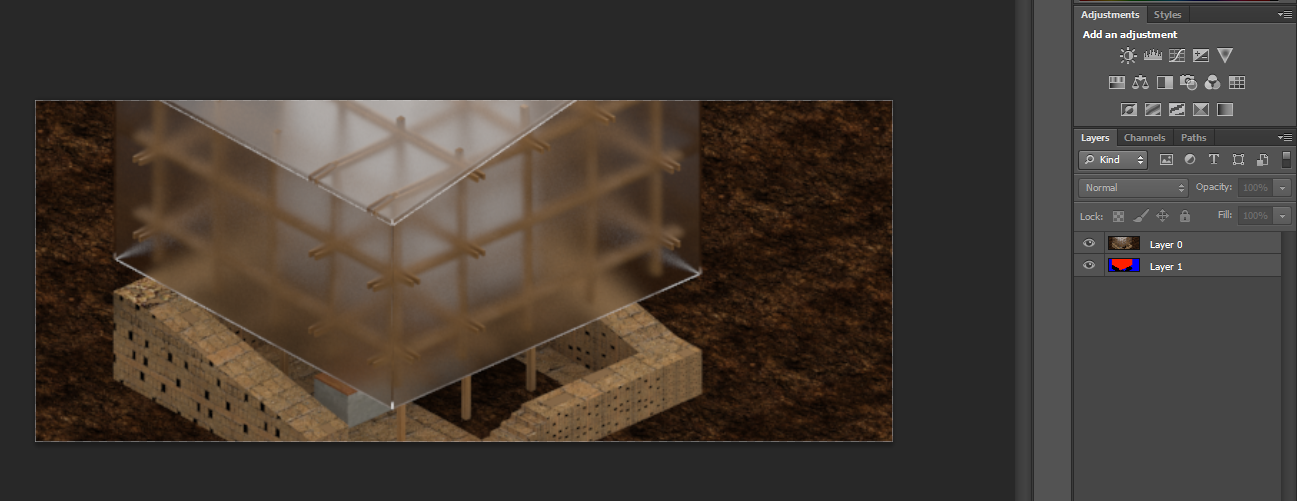
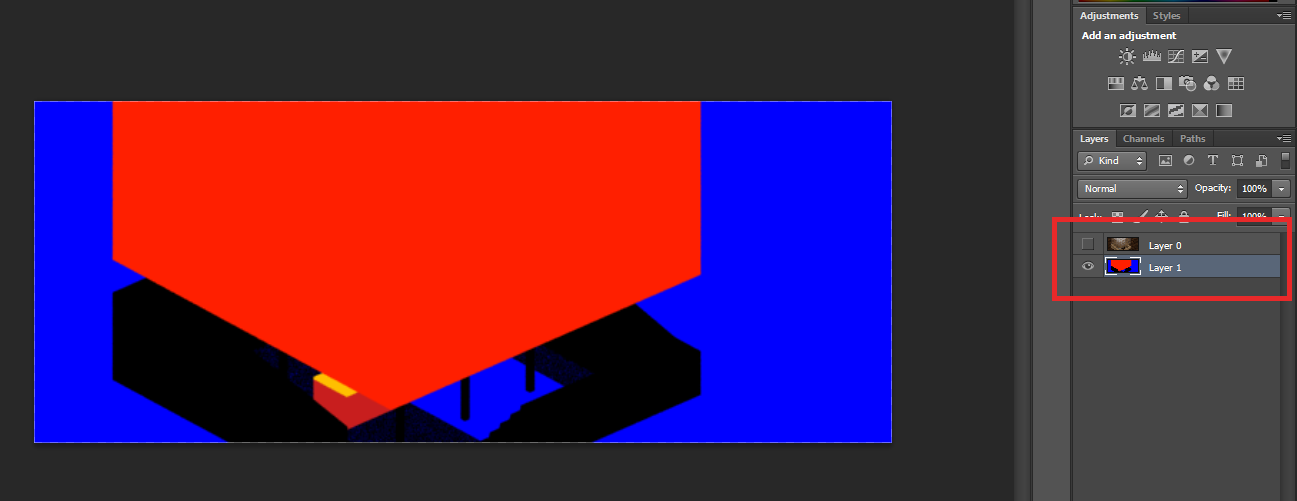
A useful step in V-Ray that will also save time when rendering in Photoshop is adding Material ID channel, especially when you are working with detailed selections. Open the material editor and go to the "options" tap, then change the color of the ID color for each material you want in Material ID channel.
Options
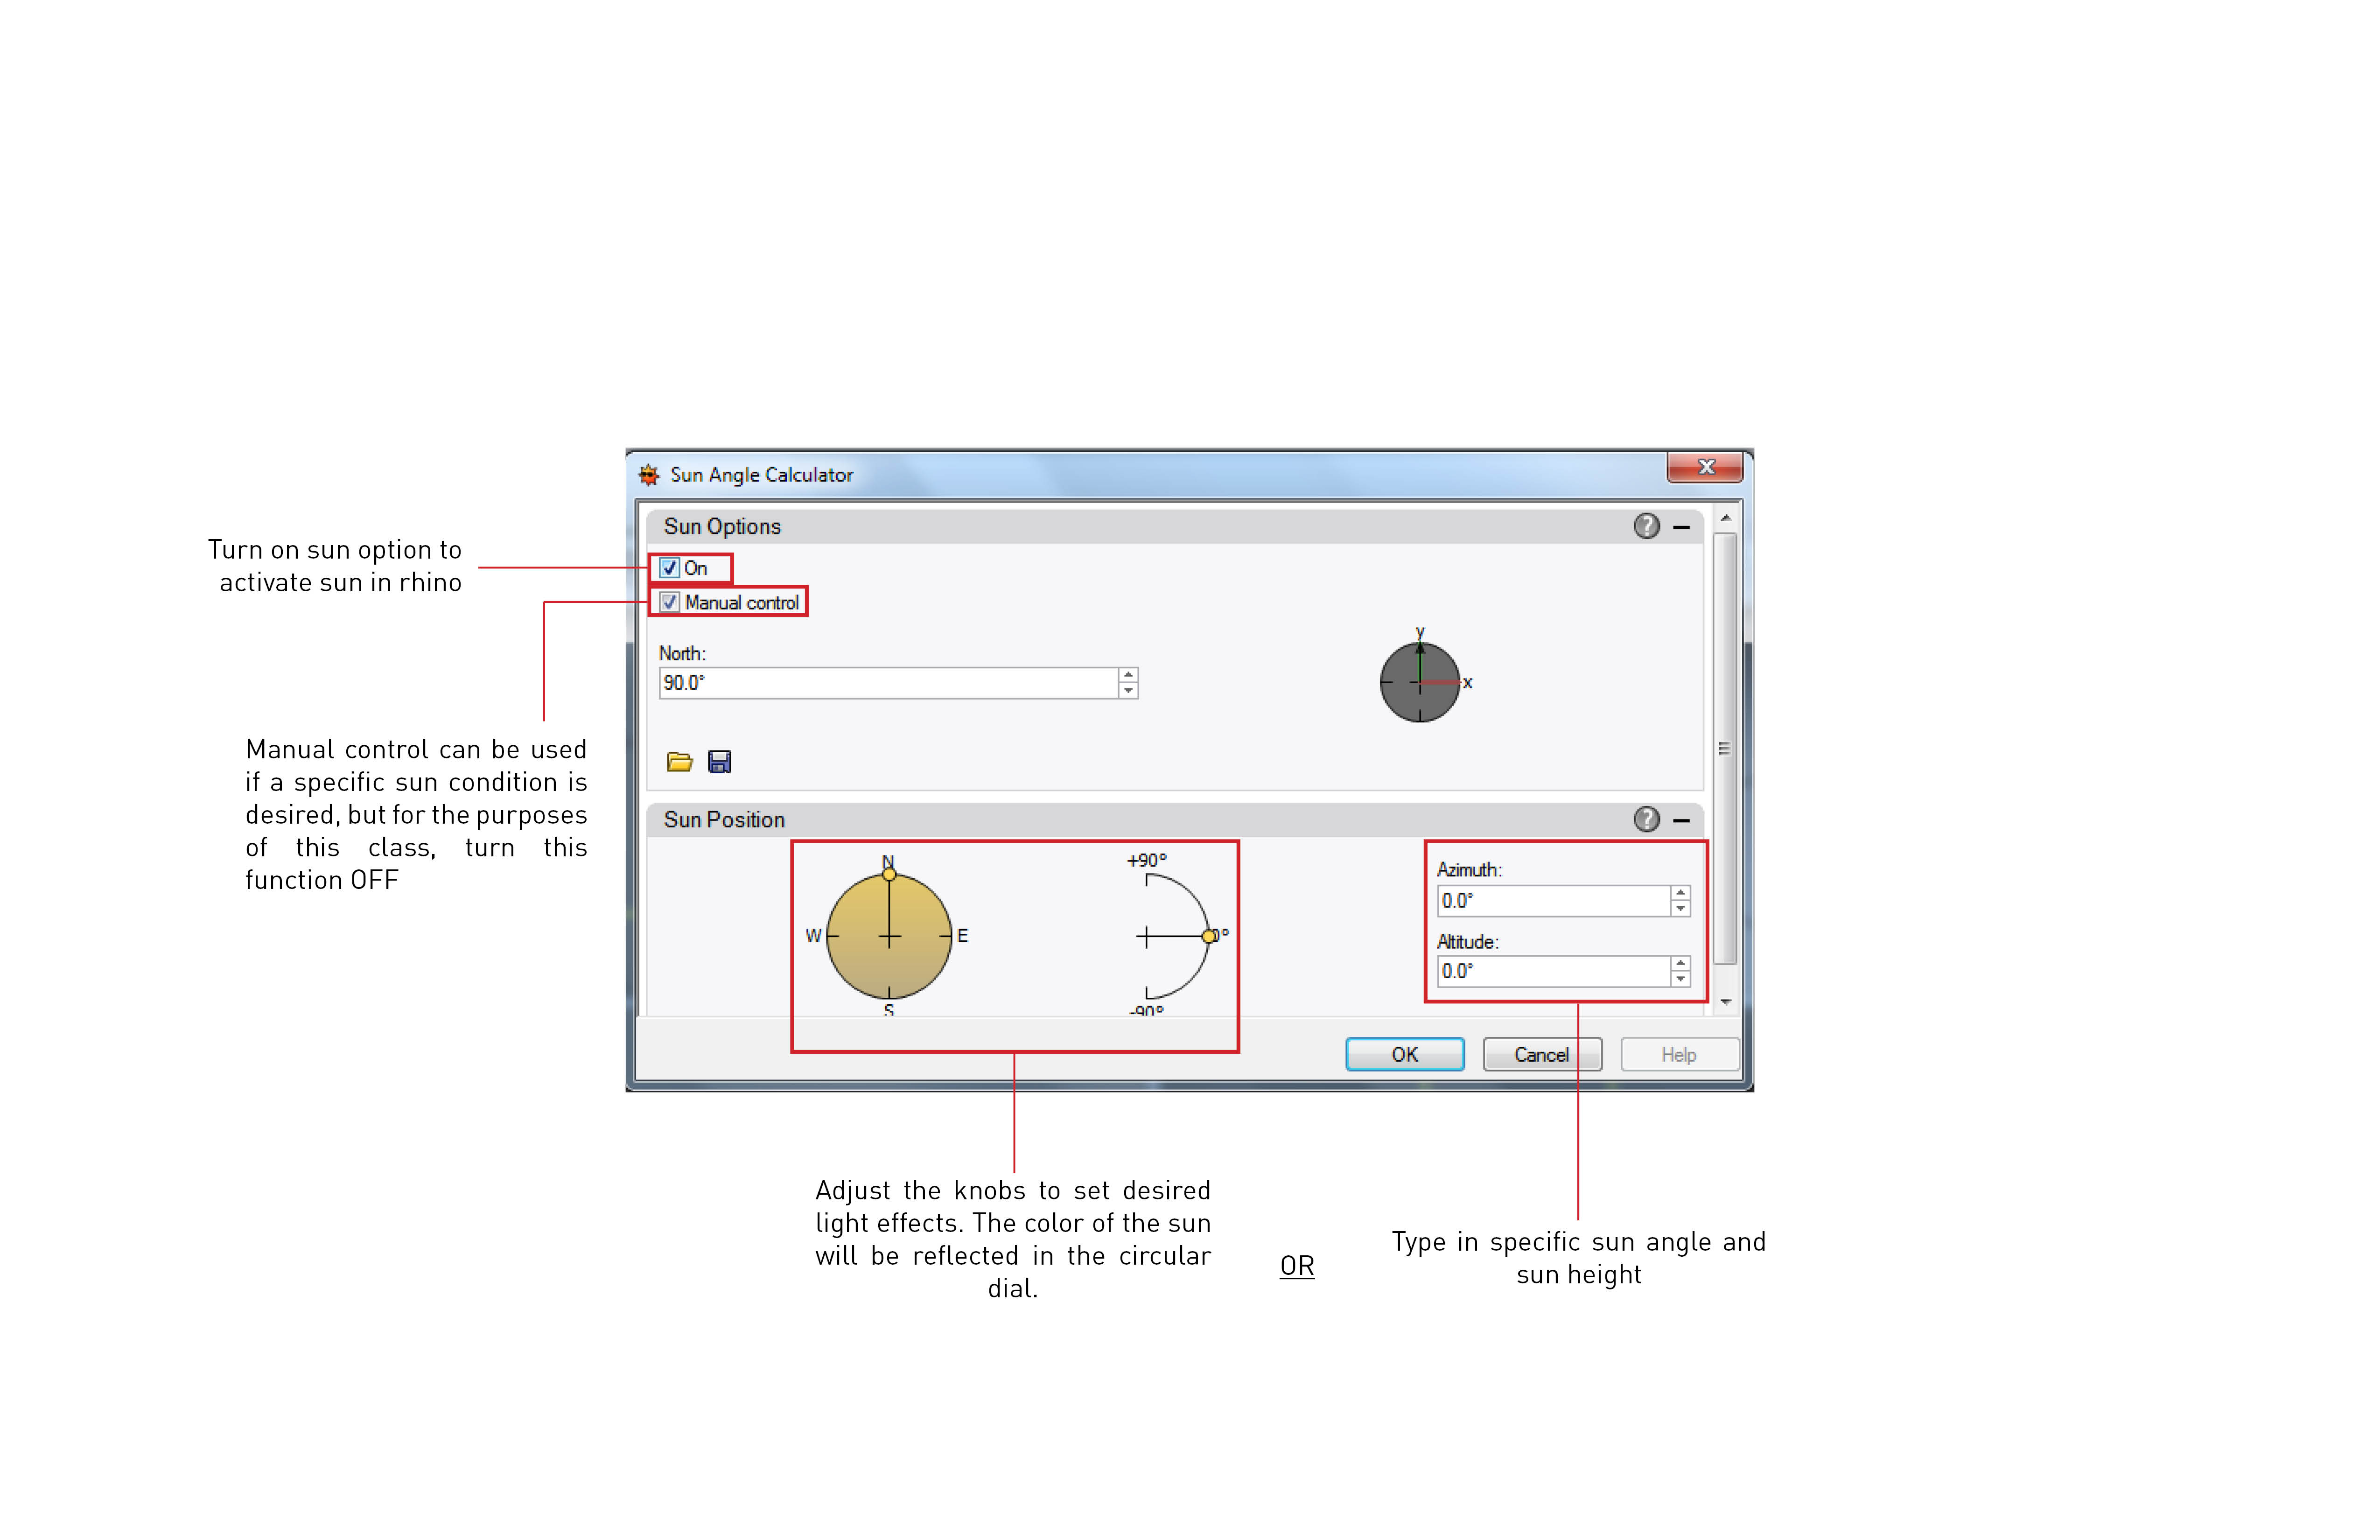
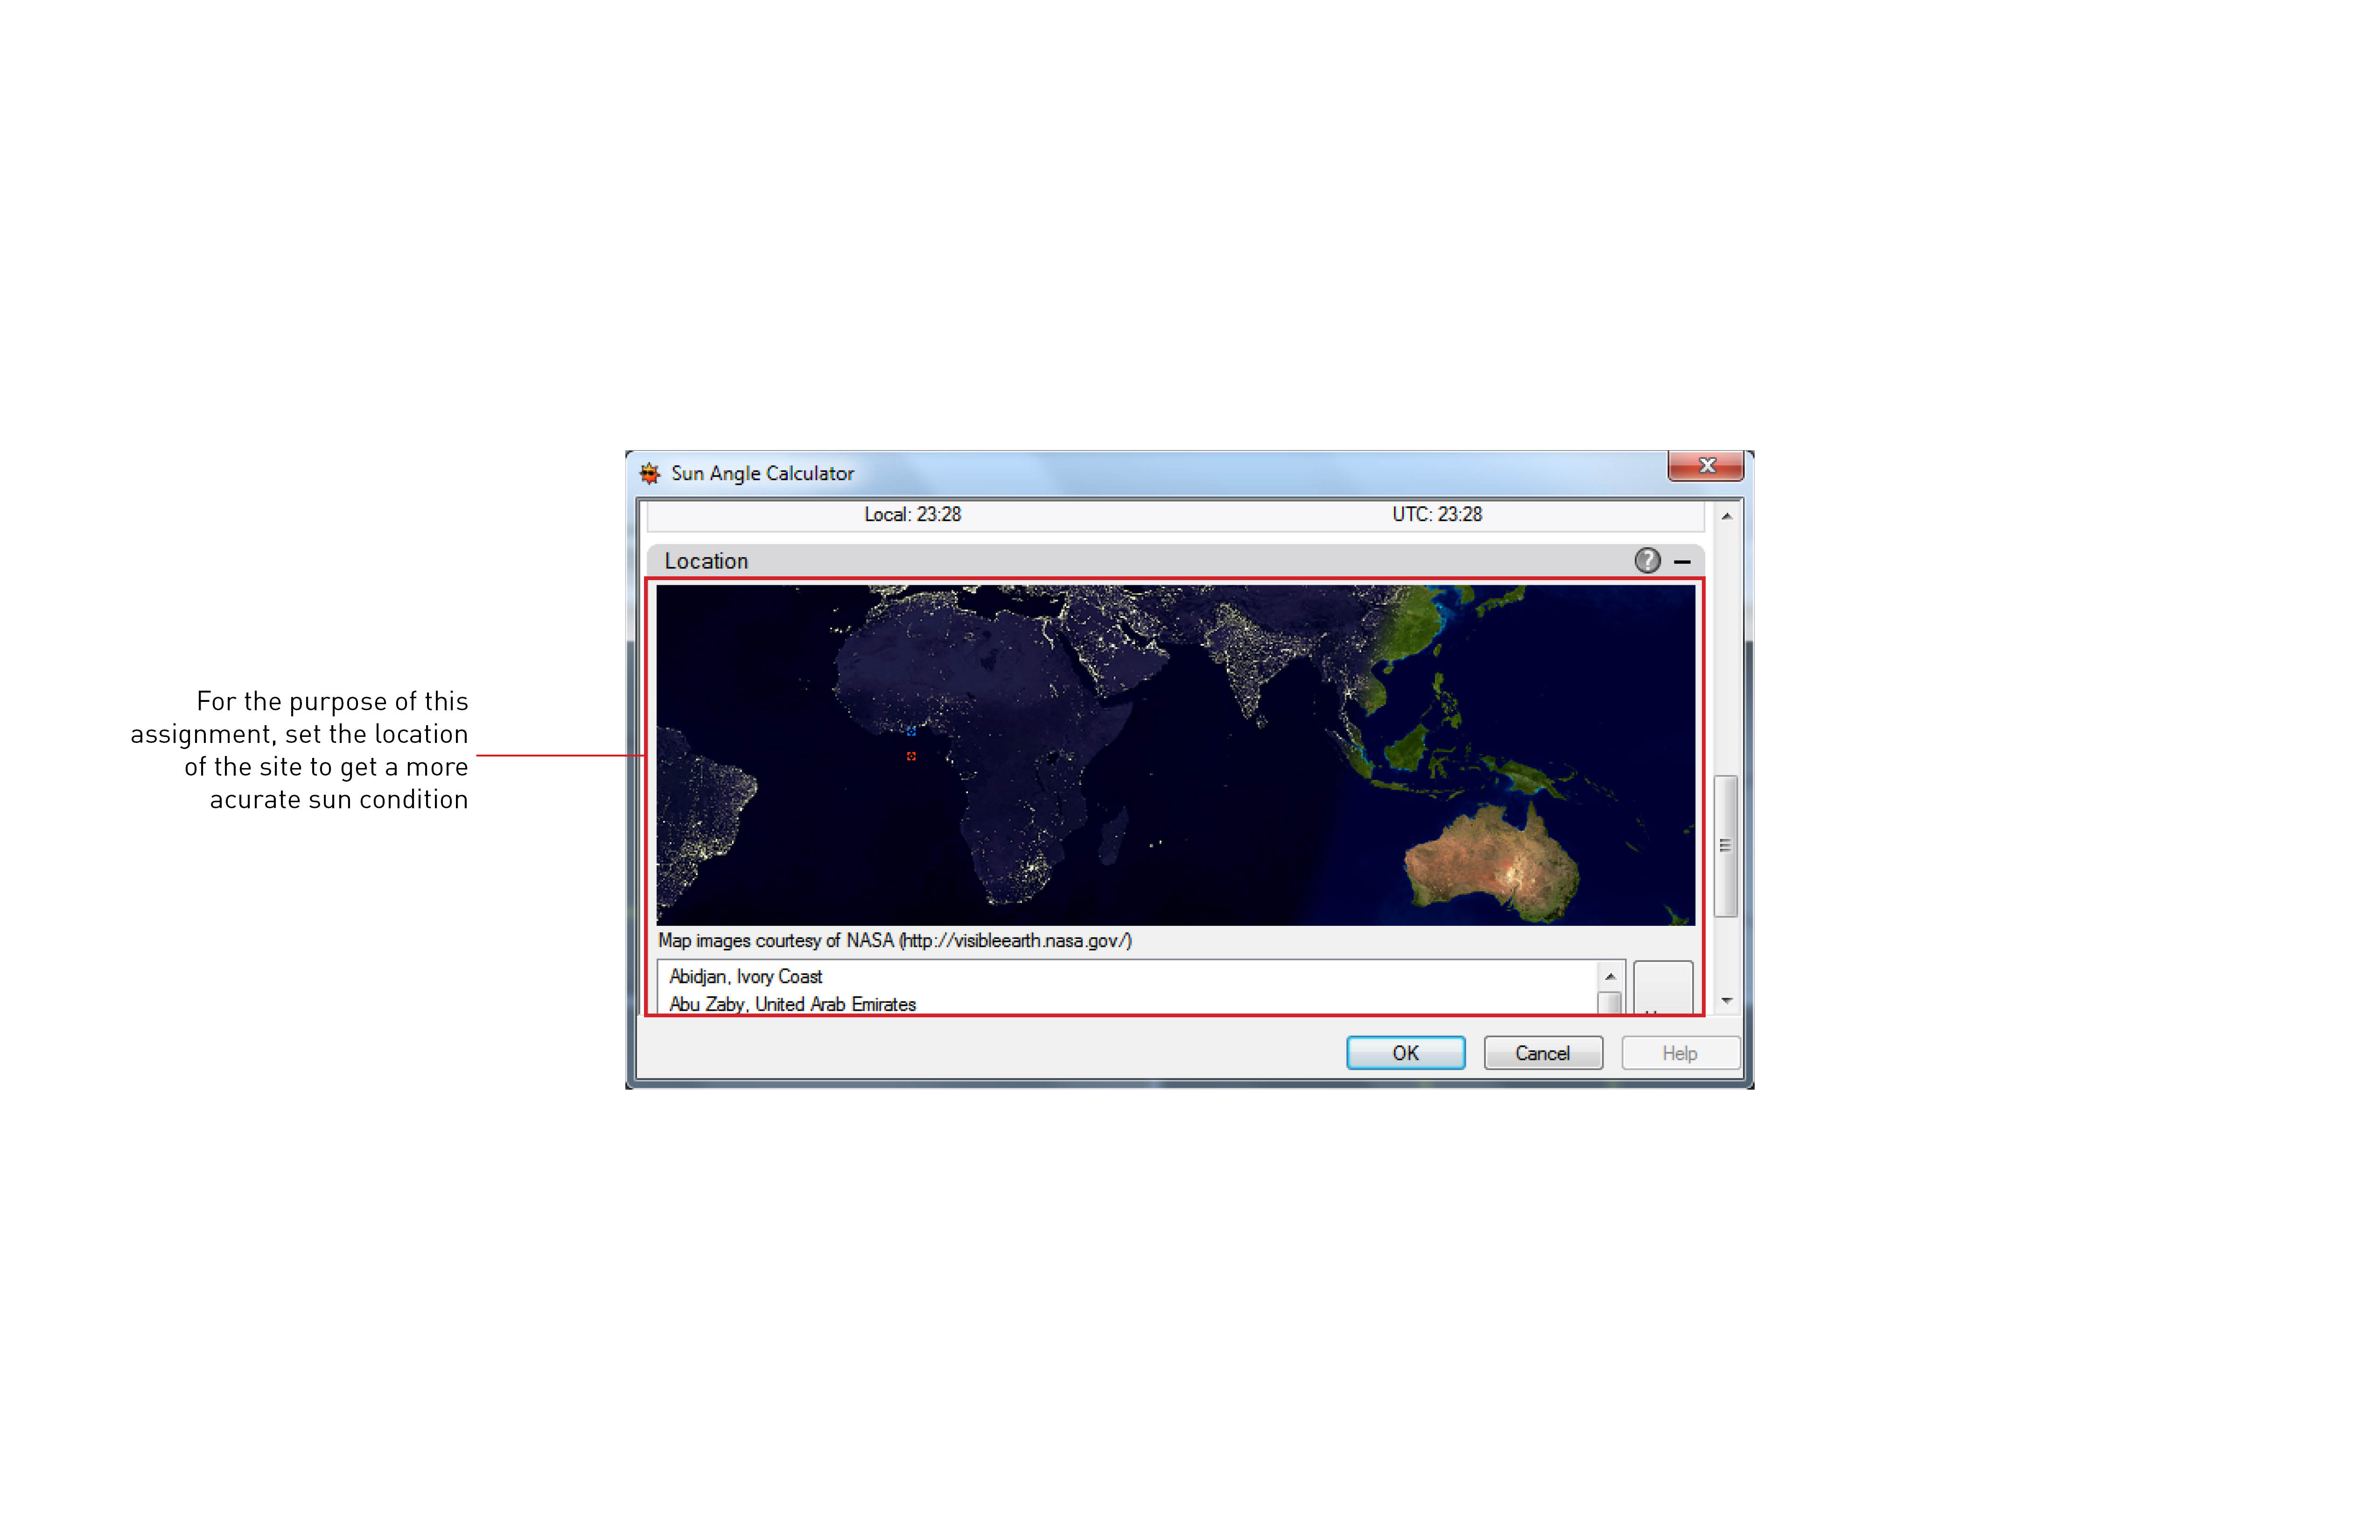
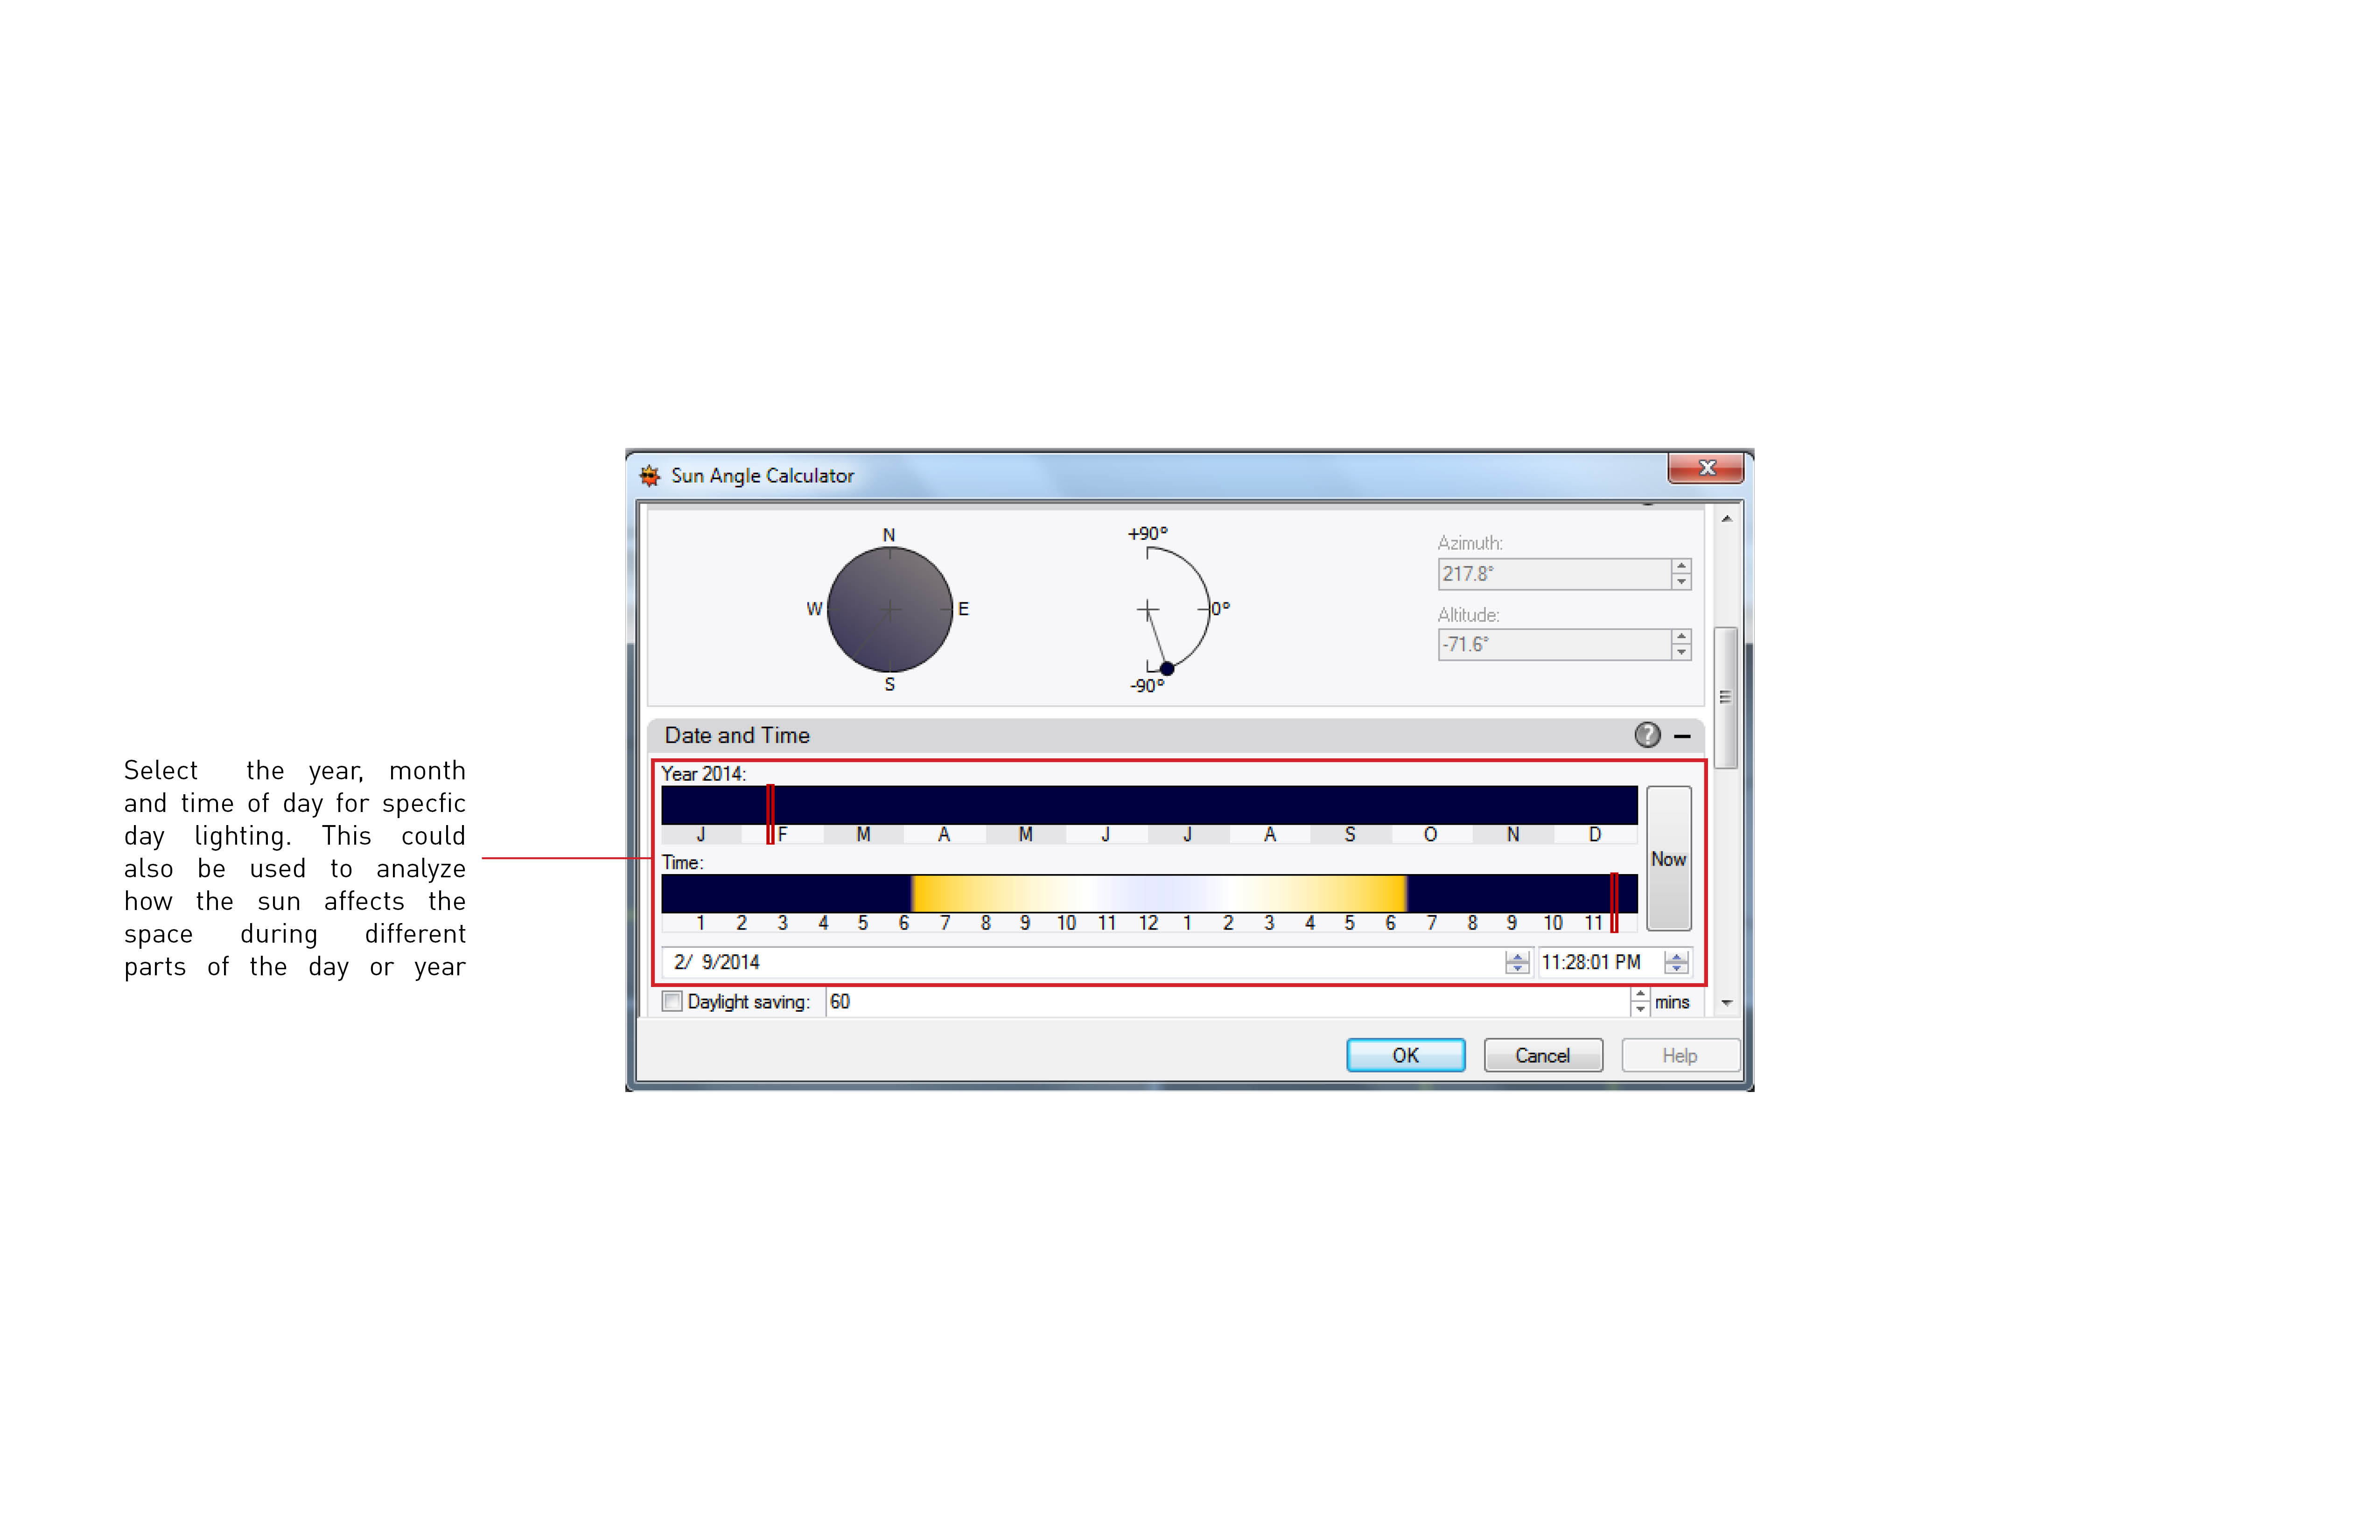
Sunlight setting
