| Adjustments | |
|---|---|
| Adjustments and Adjustment Layers allow you to effect layers in a variety of ways, mostly dealing with light and color. | |
| Part of | Photoshop CS5 |
| Part Type | Interface |
| Screenshot |
|
Introduction to Adjustments
Adjustments are changes made directly to a layer. They are not editable after you've accepted them and are to be used only on layers that are specific to the particular adjustment. They can be found Layer>Adjustments
Adjustment Layers , on the other hand, allow me to make changes to all of the layers beneath the adjustment layer without changing the individual layers themselves. The adjustment layer, like the layer mask, creates a black and white canvas (black for hidden and white for shown) that applies the adjustment only to the white area. Layer>New Adjustment Layer
Light and Color Adjustments
There are quite a few adjustments in Photoshop that are useful. Some of the most common are explained below. All of these can be found under Image>Adjustments menu, or in the Adjustments panel to create Adjustment Layers.
Brightness and Contrast
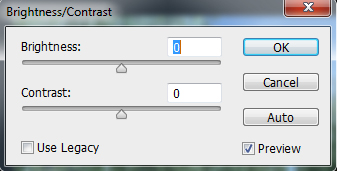
Brightness and Contrast is a basic tool for quick fixes in Photoshop. It's not detail-oriented and generally doesn't get used unless the preciseness of your image is not a big deal. Image>Adjustments>Brightness and Contrast
Levels
Levels is an adjustment that will generate a histogram of the light values in your image, which you can adjust in order to incorporate more light or dark into your layer. How much lightness and darkness can be individually adjusted with levels to bring out a range of fine adjustments. Image>Adjustments>Levels
Curves
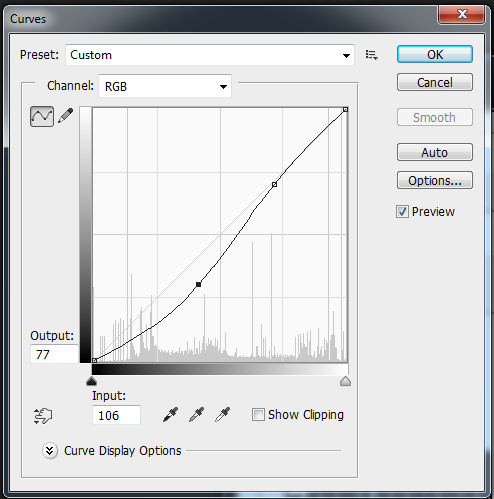
Curves allows for a graphic representation of the levels tool, whereby you can adjust a "curved" path histogram, leveling potential sharp shifts in light values. Image>Adjustments> Curves
Exposure
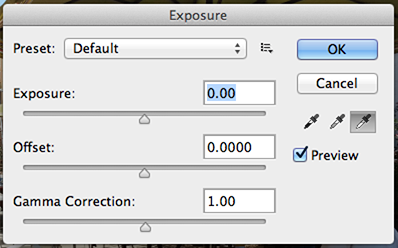
Exposure adjusts the exposure levels by adjusting three sliders: Exposure, Offset and Gamma. Exposure will adjust the highlights of the image without effecting the dark shadows. Offset will adjust the midtones and Gamma will adjust the dark tones without modify the highlights. Image>Adjustments>Exposure
Vibrance
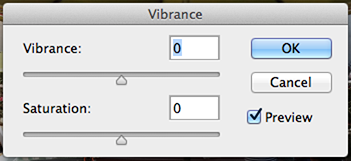
The Vibrance Adjustment is an easy way to edit the color saturation. Add it by clicking on the Vibrance icon on the Adjustment Panel. This adjustment increases the saturation of less-saturated colors more than the colors that are already saturated. This filter is really useful when you’re editing skin colors. Image>Adjustments>Vibrance
Hue and Saturation
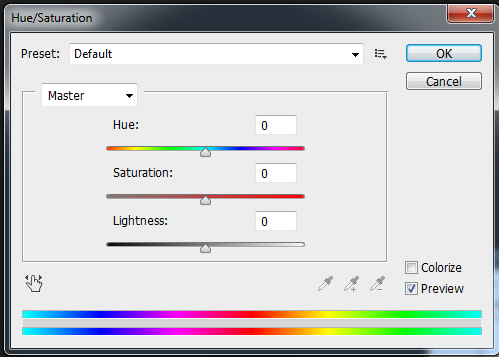
Hue and Saturation is commonly used to either add a specific layer of color to your layer that can be adjusted in terms of saturation and brightness. If too much color is going on, you can also decrease or increase the color values in either your entire layer or image or within a certain selected area by just using the saturation slider. If you wanted to completely remove all color, you can also select "Desaturate" in the Adjustments Layer. Image>Adjustments>Hue and Saturation; Layer>Desaturate
Color Balance
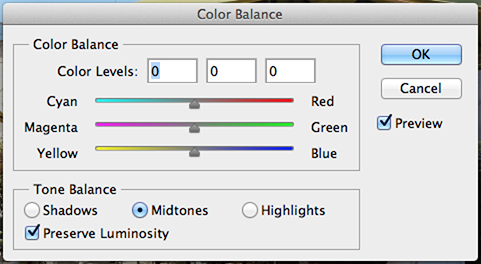
This adjustment changes the overall mixture of colors in an image for generalized color correction. It basically adds something like a tint over the Shadows, Midtones and Highlights of the image. Image>Adjustments>Color Balance
Black & White
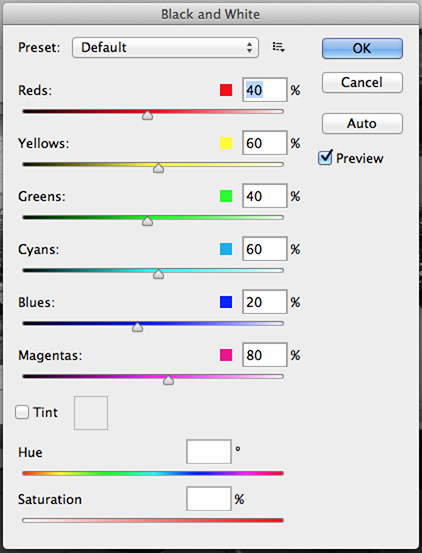
Maybe one of my favorites, the Black & White adjustment allows you to create quick and beautiful grayscale images. Add this filter by clicking on the B/W icon on the Adjustments Panel. This filter allows you to maintain full control over how individual colors are converted. Select the Default mode to create an automatic black and white image, or chose one of the many presets. Click on the auto Button to automate the adjustment. Besides you can mark the Tint checkbox and colorize the grayscale image.
Photo Filter
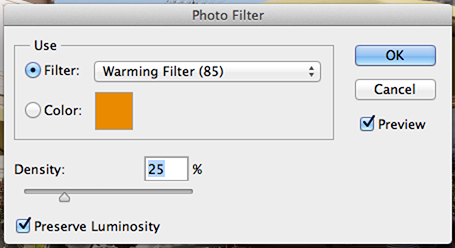
This Adjustment is just like if you put a color filter in front of the camera lens. Add it by clicking on the Photo filter icon in the Adjustment Panel. The are are several presets based on standards (see 9.1 below), increase/decrease the filter’s density to adjust the color intensity. Image 9.2 shows a warming filter by using an orange tone, and 9.3 shows a cooling filter by using a blue tone. You can easily customize a color filter by selecting the color radio button and selecting a color from Photoshop’s color picker.
Channel Mixer
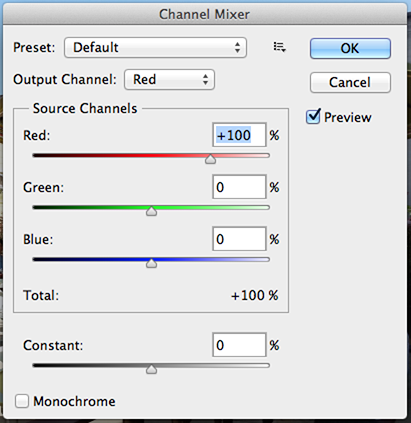
This Adjustment makes it easy to create high quality tinted or grayscale images. Add it by clicking the Channel Mixer icon in the Adjustments Panel. On the Adjustment Panel, select an Output channel as shown in the image 10.1 below. You’ll see the slider associated to the selected channel is 100%, then you can modify the color values by using the sliders (see 10.2).
Invert
Invert will directly invert the color values of the image or layer like a camera film negative.
Posterize
Posterize is a rapid way to adjust the number of tonal levels. Add this Adjustment by clicking on the Posterize icon in the Adjustments Panel. The Posterize works this way, you chose a Levels’ value, e.g. 5 (see the image 12.1 below) that means the image will have 15 colors, 5 for red, 5 for green and 5 for blue. The higher the levels, the better the better quality the image.
Threshold
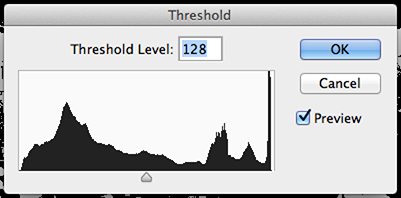
You specify a Threshold Level, all the pixels darker than that level will turn into black and all the pixels lighter into white.
Gradient Map
The Gradient Map adjustment maps the grayscale range of an image to the colors of a custom gradient fill. The way this adjustment works is really simple, one of the sides of the gradient replaces the dark areas of the image, the other side replaces the highlights, and all the middle tones of the gradient replaces the midtones of the original image.
Selective Color
With this adjustment you can modify the amount of a primary color selectively without affecting the other primary colors. This filter works extremely well on CMYK images, but it works on RGB as well. Add it by clicking on the Selective Color icon in the Adjustments Panel.
Shadows/Highlights
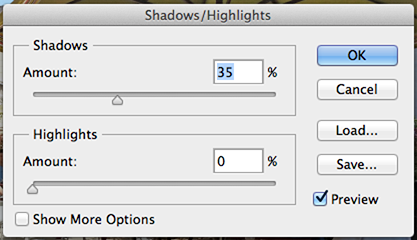
Increase the amount of shadow and highlight of an image.
