| Align | |
|---|---|
| The Align tool in Illustrator is a quick and easy way to arrange various objects on your art board. It allows you to determine not only the precise alignment of multiple objects, but also the spacing between them. | |
| Part of | Illustrator CS5 |
| Part Type | Method |
| Screenshot |
|
Introduction
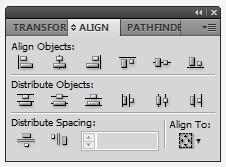
In Illustrator, Align is a valuable tool for determining the exact alignment, distribution, and spacing of multiple objects on an art board. The Align tool actually consists of many different parts, but they are all contained within a single panel for easy access. To use these tools, make sure that the Align panel is open; if it is not already open, go to Window > Align to open it.
Each icon in the panel represents a different tool, and they are grouped together under 4 sub-headings: Align Objects, Distribute Objects, Distribute Spacing and Align To.
Part Components and Use
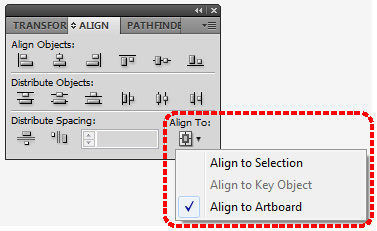
Align To
The most important icon in the Align panel is the box in the lower right corner, under the subheading Align To. This box is actually a drop-down menu that determines what object or entity your alignment will be based on. It's helpful to think of this icon as an OPTION, whereas the other icons in the Align panel are all TOOLS. Moreover, the Align To option affects how the other tools in the Align panel are used. It can be selected prior to performing any other Align command, and will change the resulting action.
There are three options: Align to Selection, Align to Key Object, and Align to Artboard. The default option is set to "Align to Artboard." If you want to change this option, select the objects you want to align and click on this drop down menu BEFORE clicking on one of the other Align tool icons. In the following definitions, I use the Horizontal Align Left tool as an example, but the same is true when using any of the other Align tools.
Align to Selection
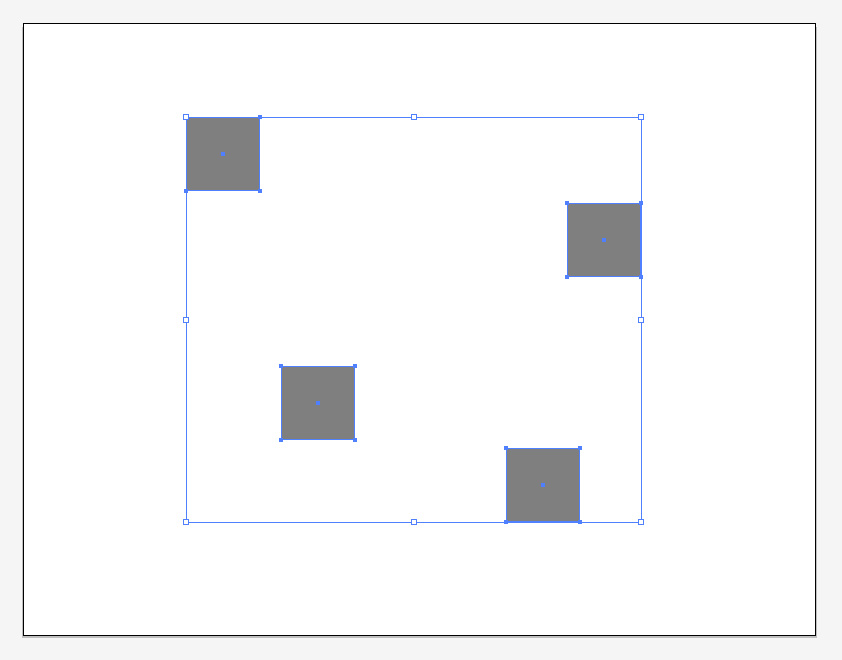
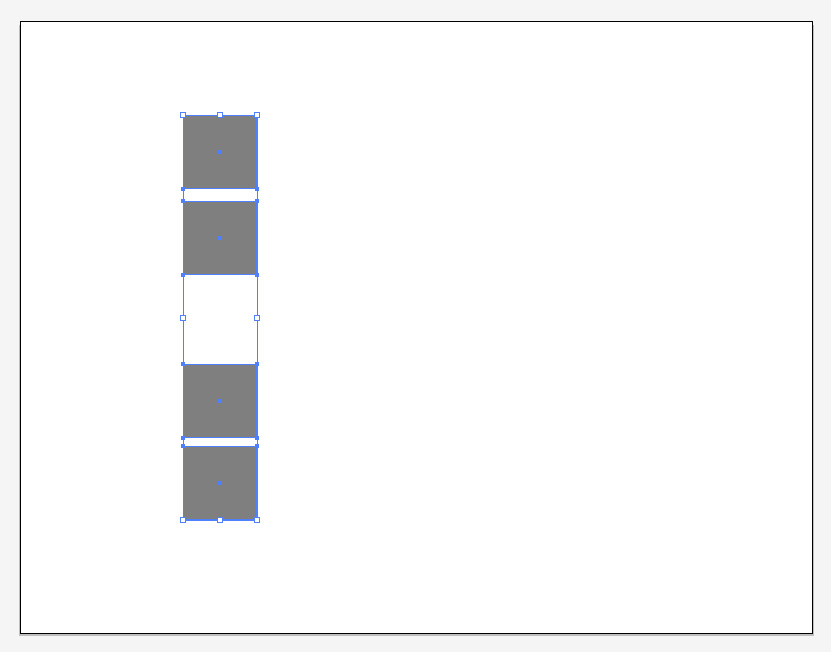
This command refers to the bounding box of the selected objects. When multiple objects are selected, a blue bounding box will appear around them. This box represents the furthermost limits of the objects in each direction, and this is what the objects will be aligned to.
For example, if this option is selected before performing the Horizontal Align Left tool, the objects will all move so that they align with the left edge of the bounding box.
Align to Key Object
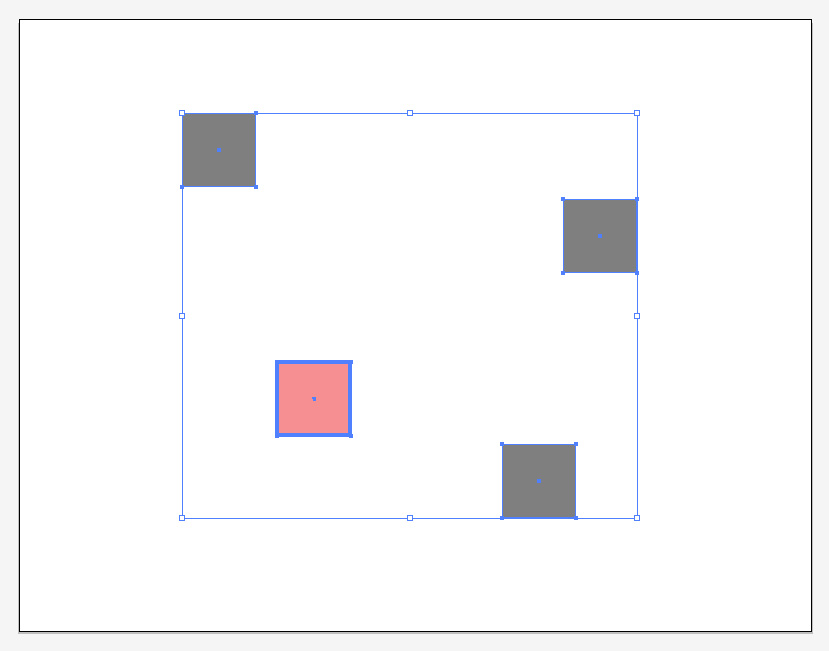
This tool allows you to select a single object, to which all other objects will align. To use this feature, select the objects you wish to align, select Align to Key Object from the drop-down menu, and then click once on the object you want to select. The object you clicked on should now have a bold outline around it. If you accidentally selected the wrong object, just click once more on the correct object, and the bold outline should switch to the new selection. Next, click on the Align tool icon you wish to use. It's important to note that this feature also allows you to choose guide lines, and even anchor points as key objects (as long as they are part of the selected objects).
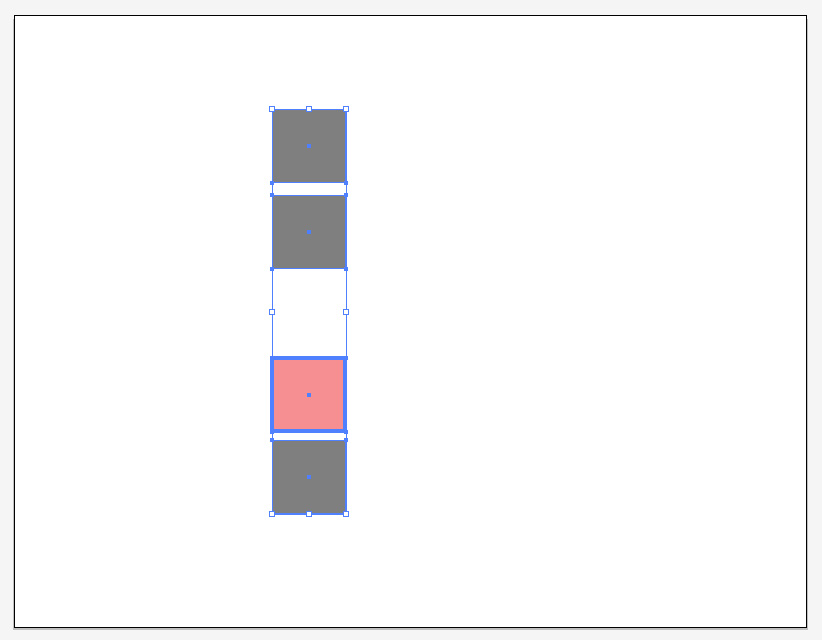
For example, if this option is selected before performing the Horizontal Align Left tool, and I select the red box as my key object, the objects will all move so that they align with the left edge of the red box.
Align to Artboard
This is the default option, which uses the perimeter of the art board as the reference points for alignment and distribution.
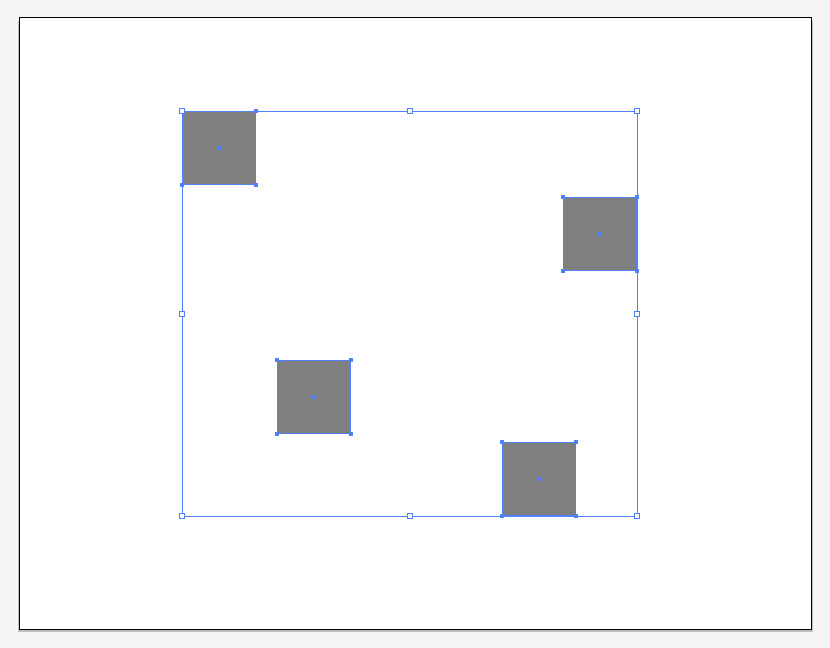
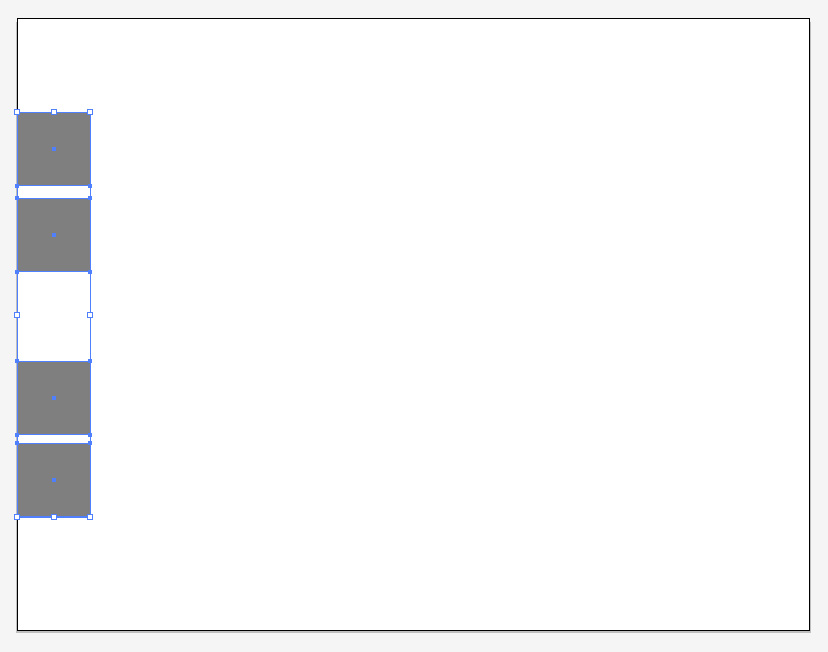
For example, if this option is selected before performing the Horizontal Align Left tool, the objects will all move so that they align with the left edge of the art board.
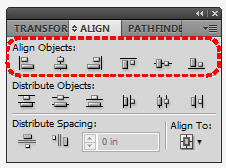
Align Objects
The top row of icons in the Align panel are fairly straightforward tools. Remember, you can change the way each command is performed by switching the "Align To" option in the lower right corner of the panel.Horizontal Align
The Horizontal Align Left tool will move the objects so that the left edge of all objects are aligned (either with the left edge of the art board, the left edge of the selection, or the left edge of the key object). The objects will only move in the horizontal direction; their vertical position will not change.
The Horizontal Align Center and Horizontal Align Right tools work the same, except they will align the center points and right edges of the objects (respectively). The vertical position is unchanged.
Vertical Align
The Vertical Align Top icon will move the objects so that the top edge of all objects are aligned (either with the top of the art board, the top of the selection, or the top of the key object). The objects will only move in the vertical direction; their horizontal position will not change.
The Vertical Align Center and Vertical Align Bottom tools work the same, except they align the center points and bottom edges of the selected objects (respectively). The horizontal position is unchanged.
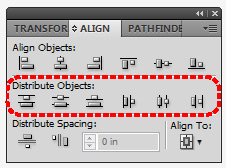
Distribute Objects
The second row of icons work in much the same way as the top row. However, these icons will affect the distribution rather the alignment of the selected objects. The distribution tool determines the spacing between similar edges of adjacent objects, without regard to object size. Again, these tools are affected by which Align To option is selected when you click on the icon.Vertical Distribute
The ' Vertical Distribute Top tool will move the objects so that there is always an equal spacing between the top edges of two adjacent objects (regardless of SIZE). This only affects the vertical distribution of the objects; the horizontal position is unchanged. The overall distribution of the furthermost objects is again subject to the Align To option.
For example, if I select Align to Artboard before using this tool, the top of one object will align with the top of the art board, while the bottom of the other object will align with the bottom of the art board. Any additional objects are placed in between the first two objects, such that the distance between the top edges of two adjacent objects is always the same.
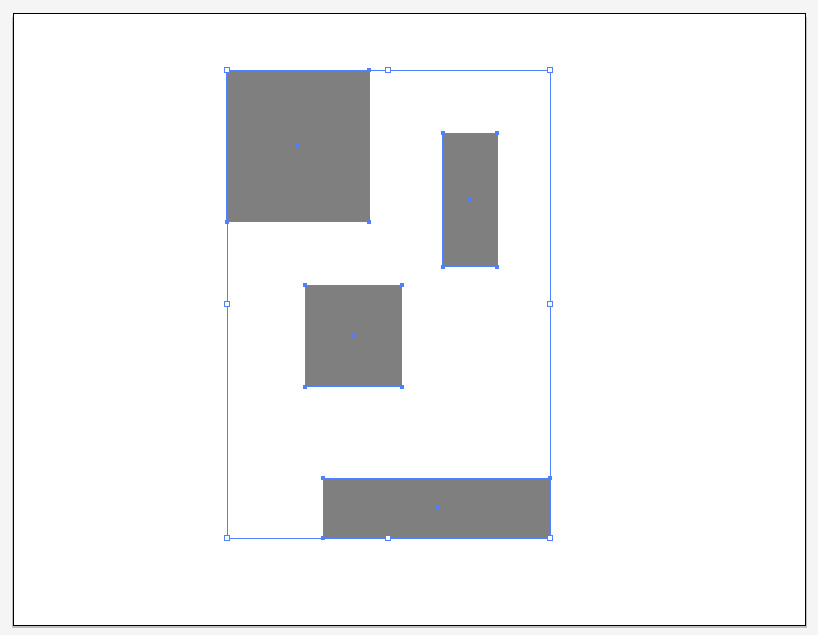
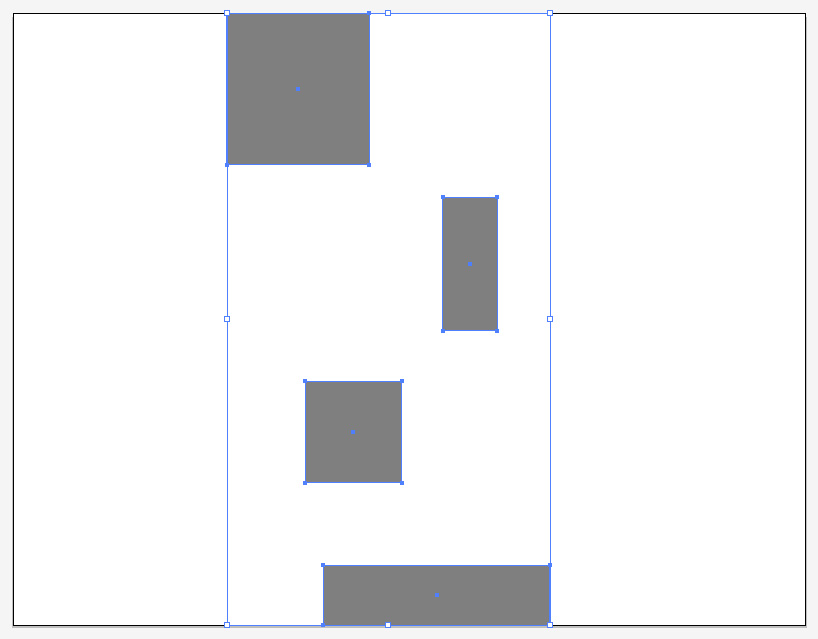
The Vertical Distribute Center and Vertical Distribute Bottom tools work the same way, except they are respectively determined by the distance between the center points and the bottom edges of the objects instead. The horizontal position is unchanged.
Horizontal Distribute
These three icons work the same way as the Vertical Distribute icons, except the spacing is determined by different edges of the objects. Again, the furthermost limits of this distribution are determined by the Align To options. The relative sizes of the objects are not taken into account, and only the horizontal spacing of the objects is affected; the vertical position is unchanged.
For example, if I use the Horizontal Distribute Left tool after selecting Align to Selection from the drop-down menu, the furthermost left and right objects will not move (since they are already located at the edge of the bounding box). The other objects will shift between these two so that the spacing between the left edges of adjacent objects is always equal.
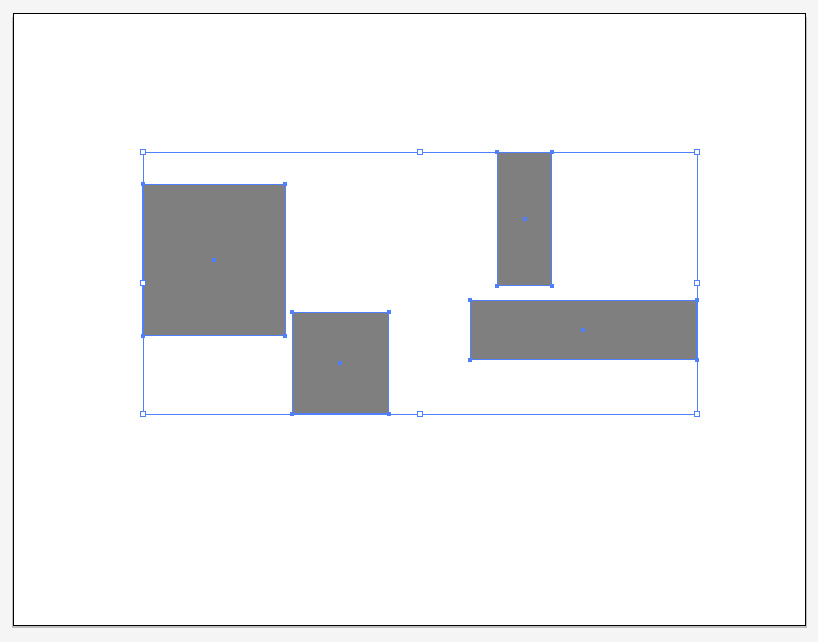
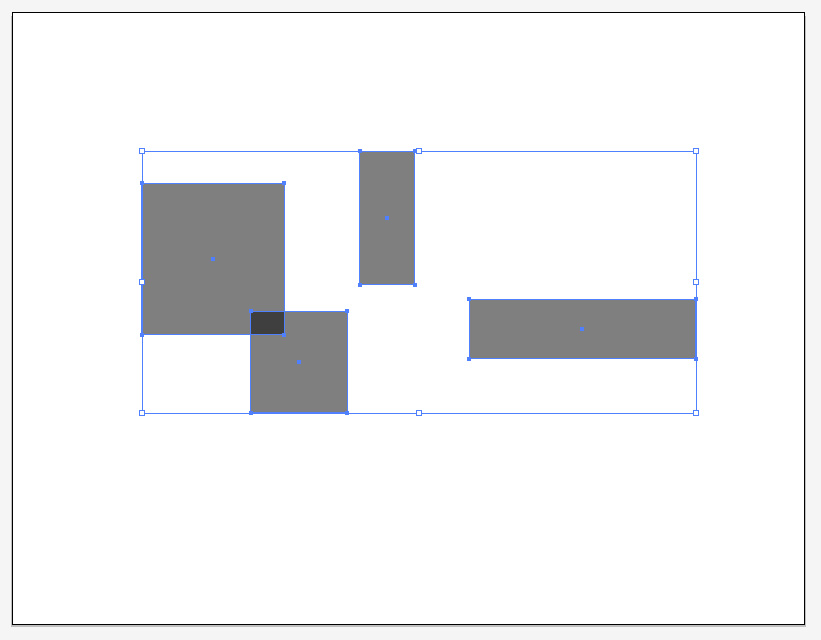
The Horizontal Distribute Center and Horizontal Distribute Right tools work the same, except they are respectively determined by the center points and the right edges of the selected objects.
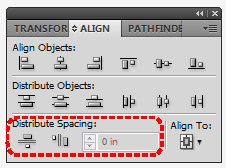
Distribute Spacing
These two icons in the bottom left corner of the panel space out the objects to ensure an even space between (or overlap, depending on the object sizes). Unlike the Distribute Objects tools, the Distribute Spacing tools take the SIZE of each object into account. If the objects are fairly small and fit within the Align To limits without overlapping, then there will be an equal amount of space between adjacent objects. If the objects are larger and must overlap, then the amount of overlap between two adjacent objects will always be the same.
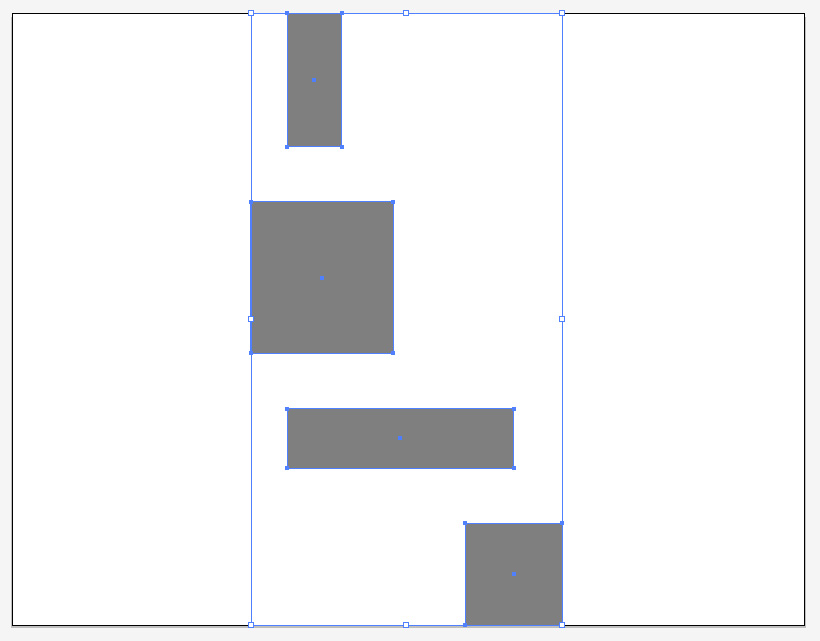
For example, if I use the Distribute Spacing Vertically tool and select Align to Artboard, there will be an equal space between all adjacent objects. Only the vertical spacing is affected; the horizontal position of the objects will not change.
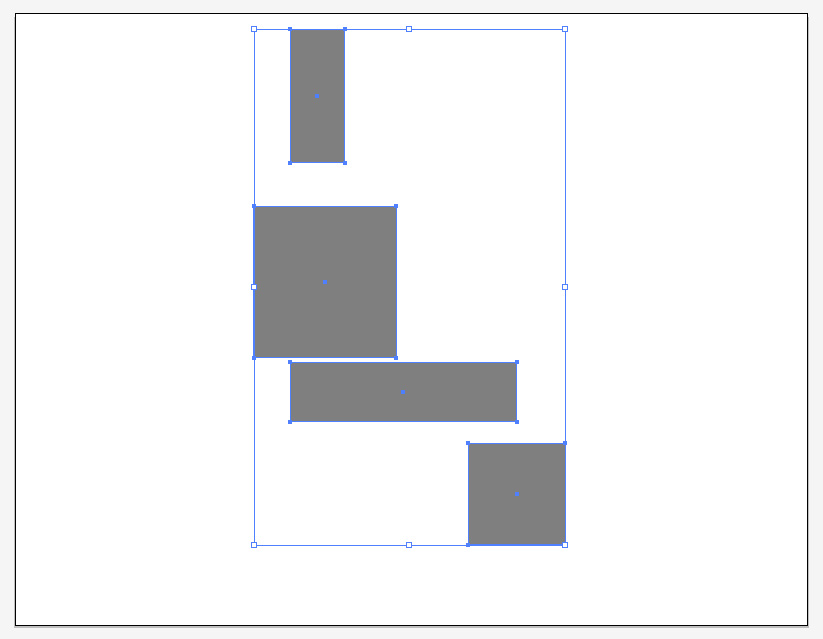
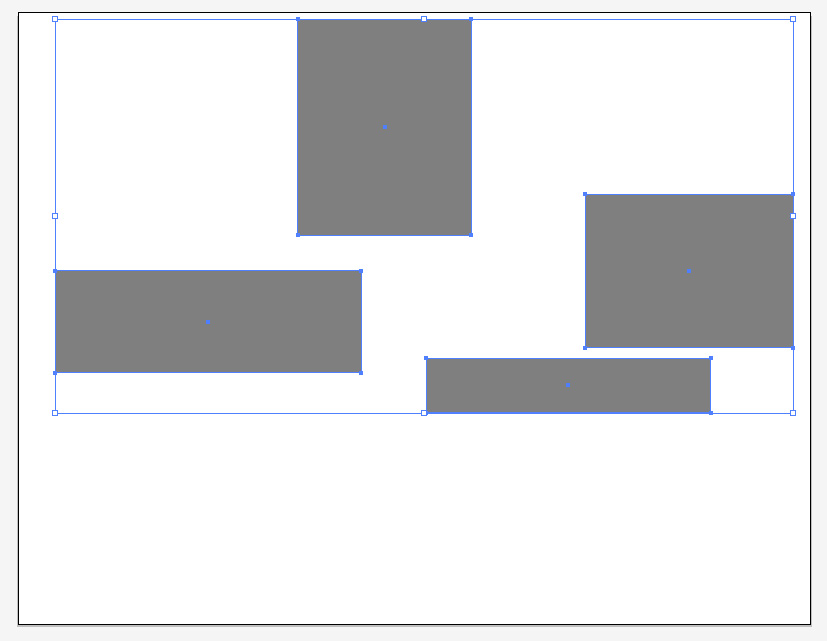
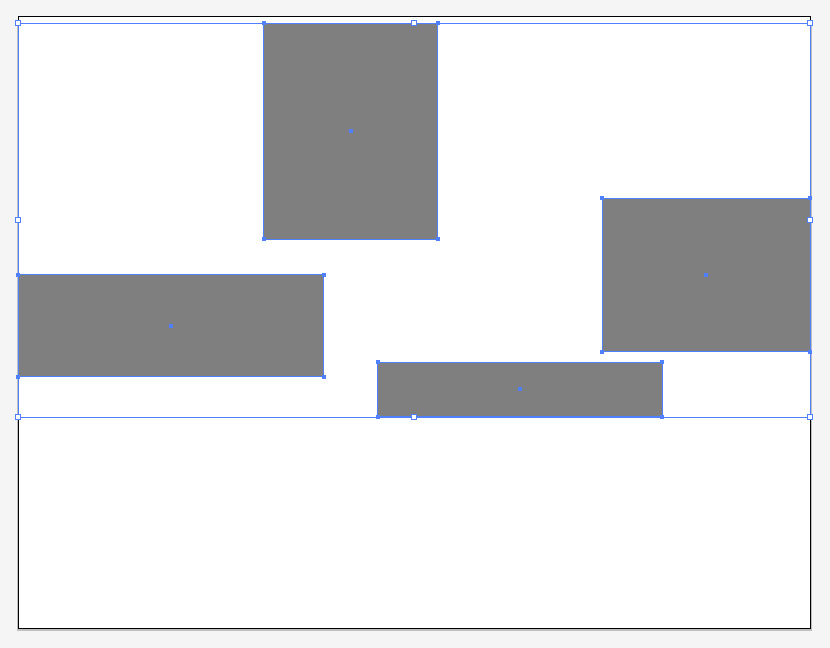
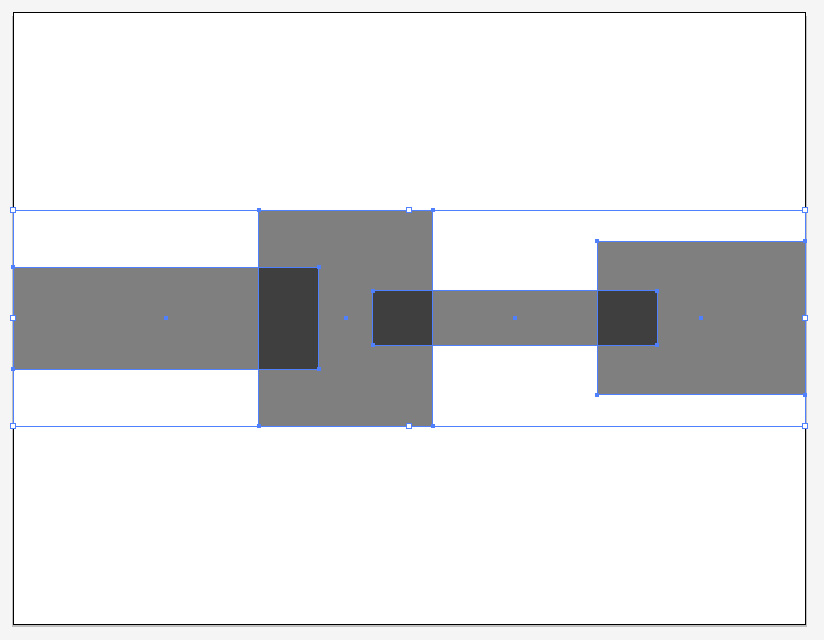
The Distribute Spacing Horizontally tool works the same, except only the horizontal spacing is affected, while the vertical position of the objects will not change. In this example, I use larger objects to demonstrate the equal overlaps.
I can then use the Vertical Align Center tool to make the overlaps more apparent.
Resources
- The Adobe Illustrator support website has a helpful entry on Moving, Aligning and Distributing Objects .
