|
Adding Entourage to Rendered Scene |
|
|---|---|
| Screenshot | |
| This workflow will go through steps necessary for adding context, scaled human figures, furniture, and other entourage elements into a rendered image in a manner that enhances a stylized effect. Emphasis is placed on efficient use of the tools Photoshop and Illustrator to add entourage while understanding the basic principles of adding additional information to perspective renderings. | |
| Uses Tool(s) | Photoshop CS5 , Illustrator CS5 |
Methods covered in this workflow:
- Using Layer Masks in Photoshop
- Using Adjustment Layers in Photoshop
- Editing backgrounds from entourage images
- Adding Environmental Context (Sky, Trees, etc.)
- Adding Scaled Figures and Using a Horizon Line
- Adding Shadows to Scale Figures
- Using Blur Filters in Photoshop
- Using Blend Modes in Photoshop
Adding Stylized Entourage
This workflow will go through steps necessary for adding context, scaled human figures, furniture, and other entourage elements into a rendered image in a manner that enhances a stylized effect. Emphasis is placed on efficient use of the tools Photoshop and Illustrator to add entourage while understanding the basic principles of adding additional information to perspective renderings.
Steps
Step 1: Finding Entourage Material
Choosing Entourage to Represent
Depending on the nature of the rendering, subject, time period, etc., the entourage that is collected should support the overall narrative of the project. For some contemporary renderings, the style of dress in the human scaled figures is less important, but for renderings evoking a certain period of time or location globally, the scaled figures, furniture, and supportive entourage are very important. Entourage can be found from several online resources like Vyonyx for photo-realistic people and all-silhouettes.com for silhouette people and other scaled figures.
Step 2: Editing Entourage Material
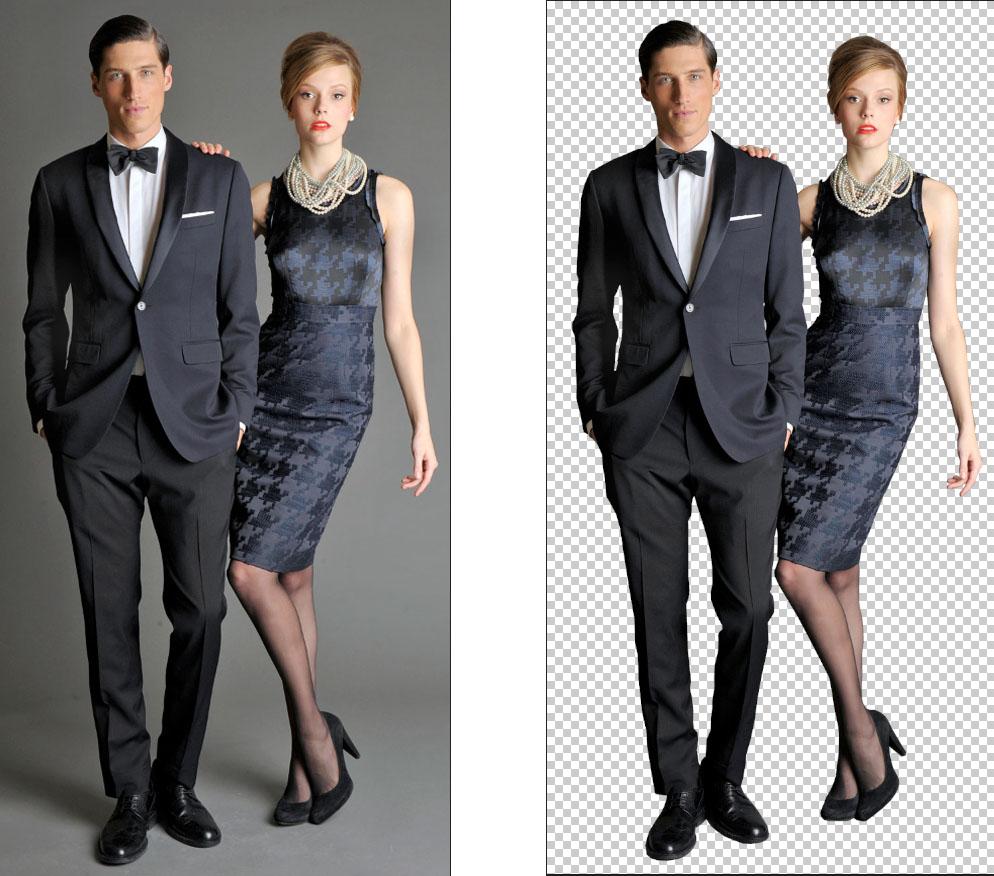
If entourage cannot be found with background information already edited out in Photoshop, you can also find and edit your own set of entourage. This is particularly useful if you are looking to create a rendered scene with very specific entourage figures.
Open in Photoshop
Open the image(s) that need to be edited in Adobe Photoshop. Add a layer mask to the image layer.
Select Background
Using the Polygonal Lasso Tool in Photoshop, select the background or parts of the image that will need to be masked out.
Apply Layer Mask
After creating the selection that will need to be masked out (hidden from view) use the brush tool to paint black over the layer mask on the image layer. This will effectively hide any portion of the image that is not meant to be visible when used as entourage in the rendering.
Save as Photoshop Document
It is important to save the new entourage file as a .PSD file so that the file retains its Photoshop editing capabilities, just in case any revisions to the file need to be made.
Step 3: Apply Environmental Context to Rendering
Add Horizon Line
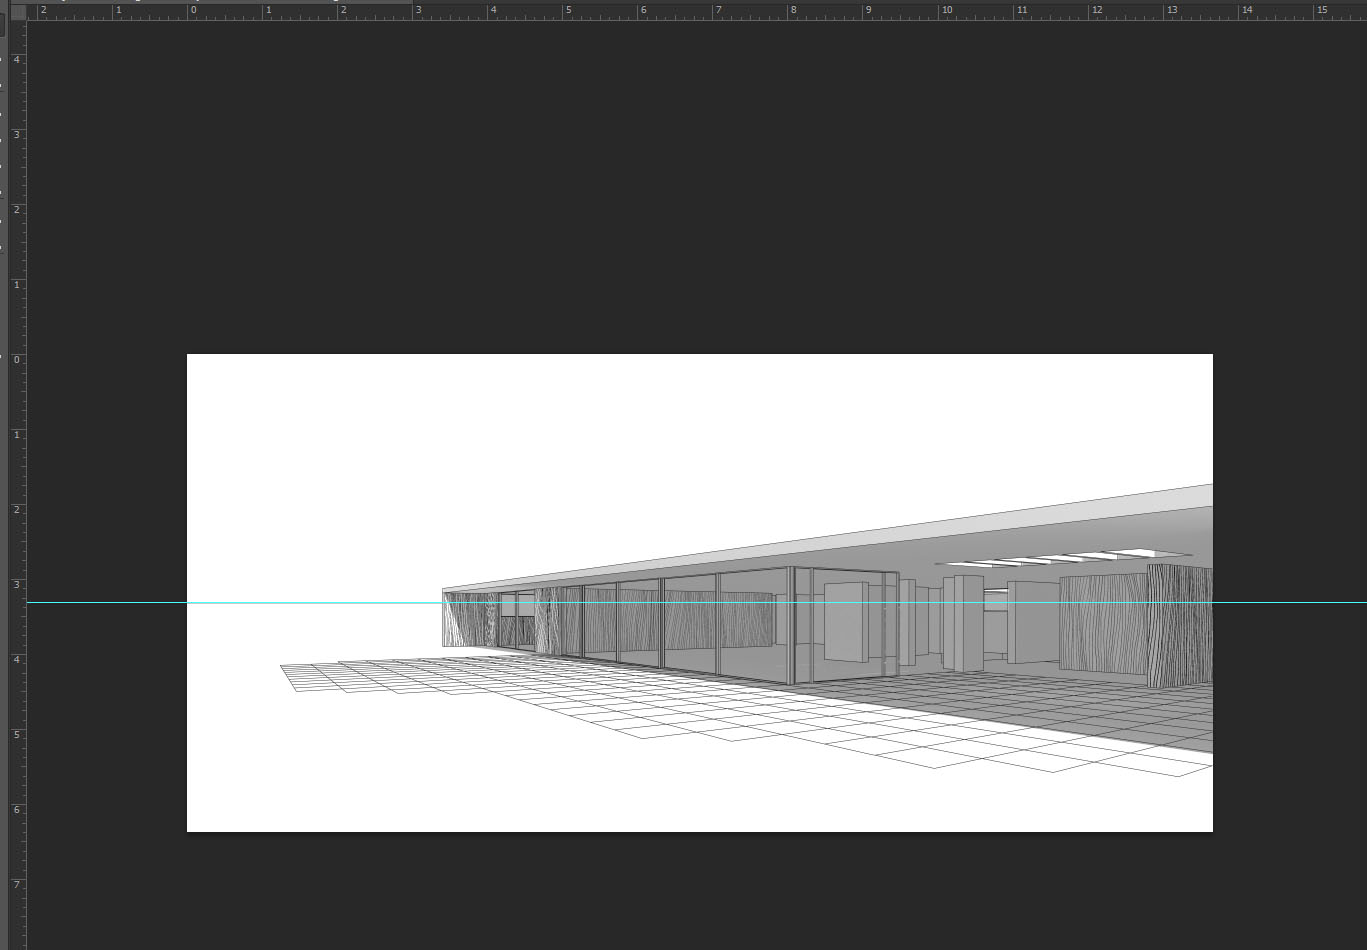
If a horizon line is not already present in linework or a ground plane in the rendering, use a guideline in Photoshop as a temporary horizon line. Making sure that the rulers are on in Photoshop by entering ctrl+r drag and drop a horizon line into the rendered scene. (Horizon lines are typically 5 feet from the ground, where the human eye would be)
Add Sky
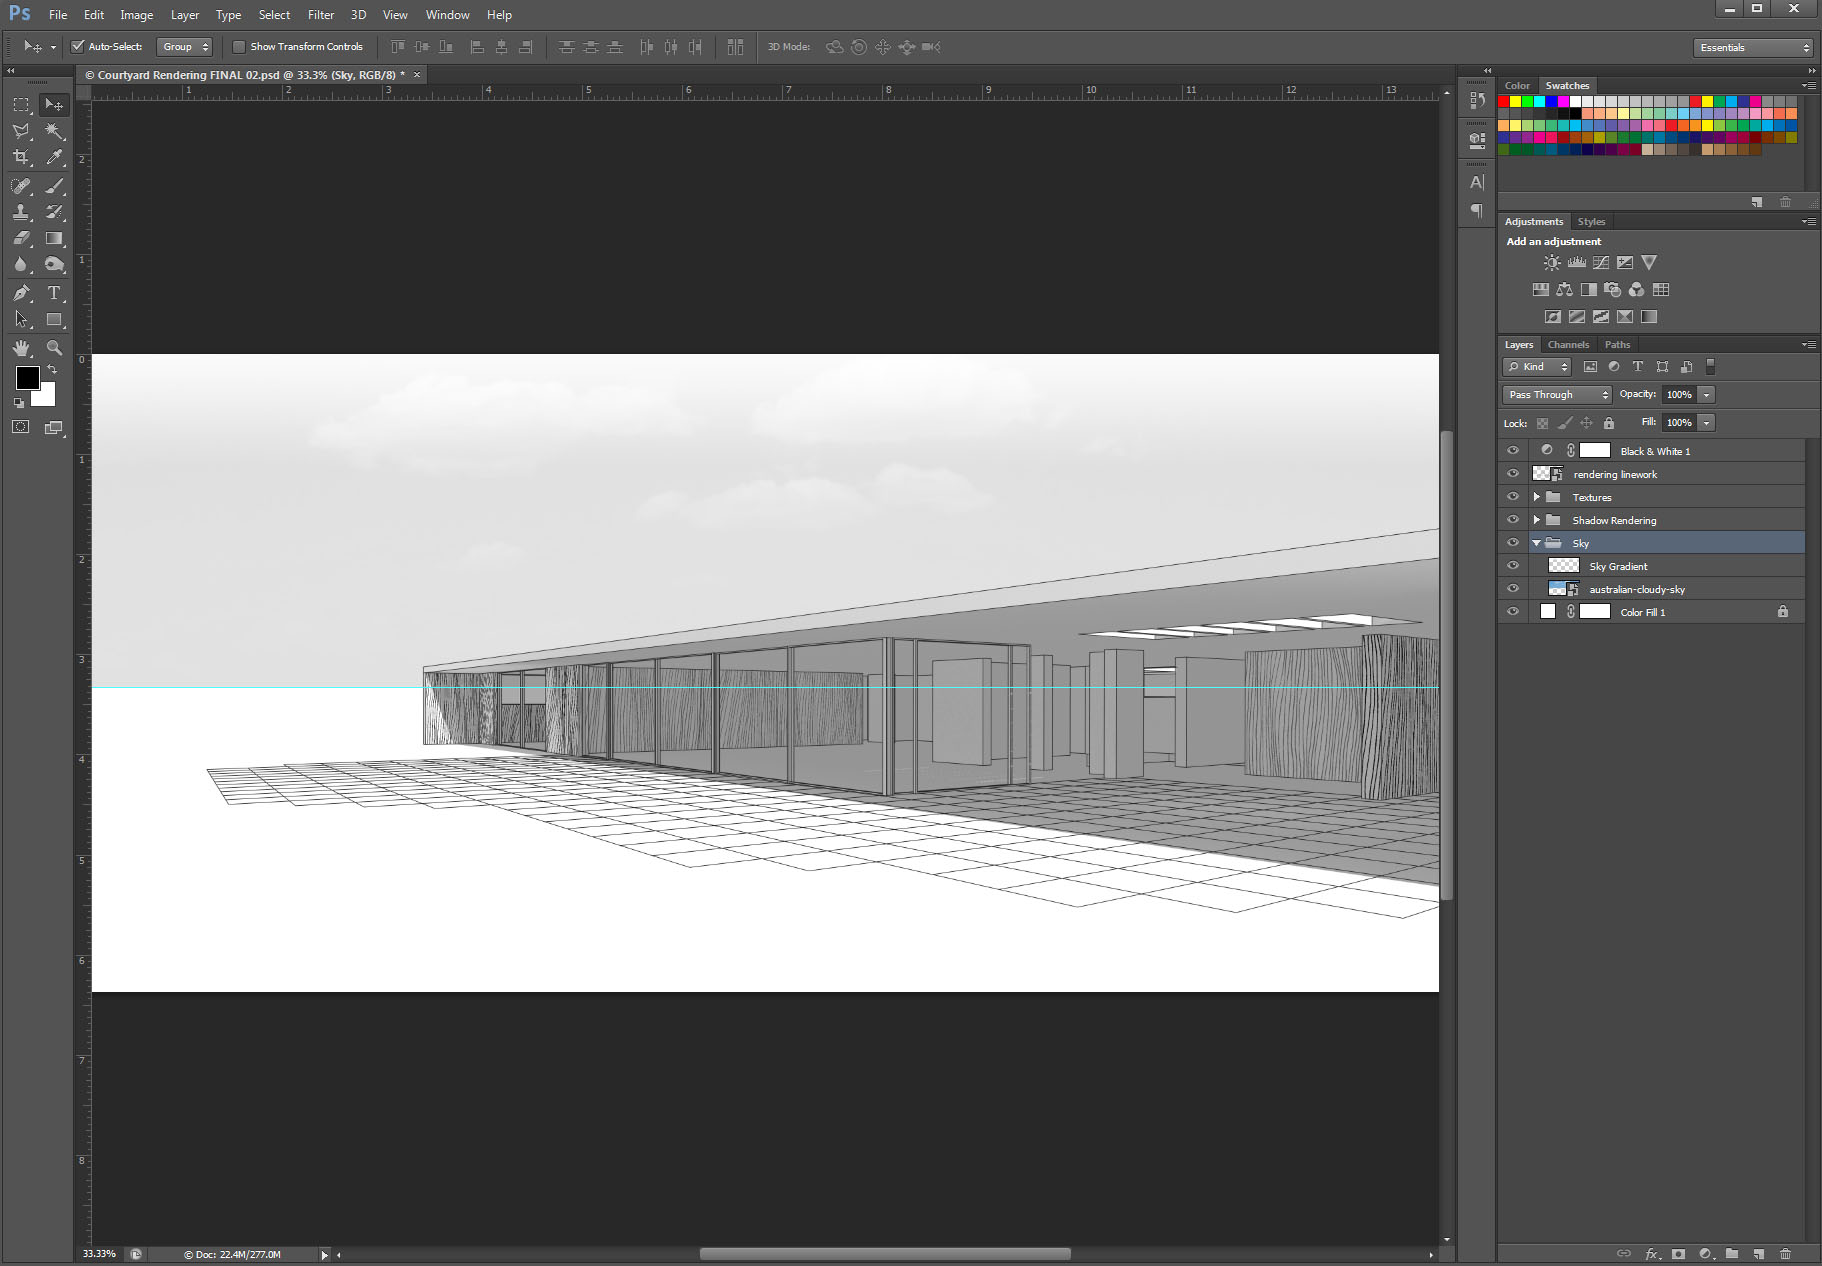
Once the horizon line is added, place a photograph of the sky into the rendered scene. Be sure that the layer organization is such that the sky is behind the rendering, but visible through any openings. If it is an outdoor rendering, make sure that the sky is exposed in the landscape, but behind the rendered material. Once the sky image is placed, experiment with levels of opacity to make the image less overwhelming in the scene.
A gradient from white to transparent can also be added on a new layer above the sky image to fade the image toward the top and toward the horizon line. Creating a new layer, apply a gradient to the layer to create this effect.
Add Trees and Vegetation
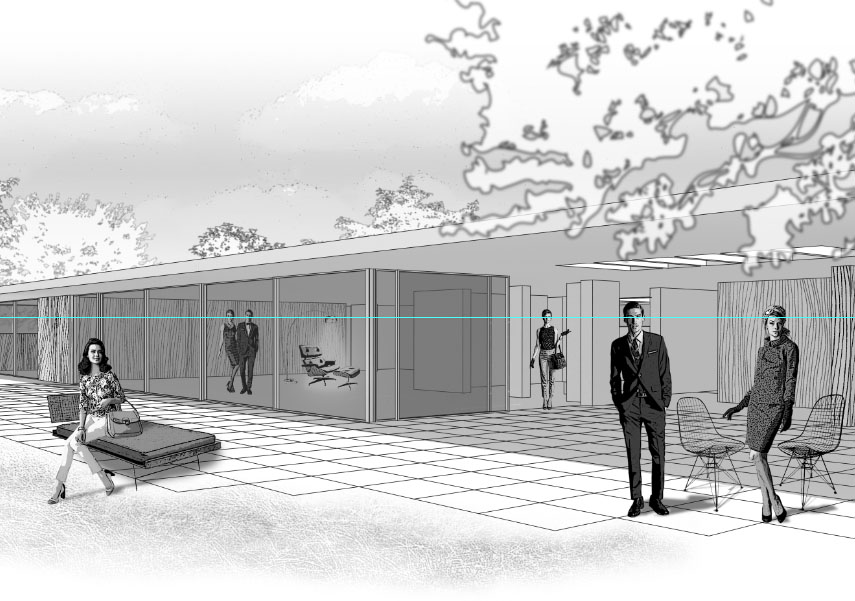
Using silhouette or photo-realistic trees, add landscape elements into the scene. Trees can be added into the foreground to help frame the image, while grasses and earth textures can be "scrubbed" into the groundplane using layer masks.
Step 4: Adding Scale Figures
Adding Human Figures
Human figures should be added to activate the space and provide scale to the rendered scene. Scale figures performing specific tasks can also speak to the functionality of a space as well. When adding human figures, be sure to place them such that their eyes meet the horizon line if they are standing up.
Adding Furniture
Furniture can also help to add scale to a rendered scene, and provide something for human scale figures to interact with (sitting in a chair, setting a table, etc.). Be mindful how furniture is being used and that it is enhancing the narrative of the scene and project and not becoming a distraction.
Animating the Sky/Ground
Scale figures can also be added to the sky in order to activate the scene. Using birds, airplanes, helicopters, etc. can also help to position the rendered scene in a particular conceptual framework, era, or theme.
Step 5: Adding Shadows
Copying Layer
Copy the layer that will need a shadow by entering ctrl+j . Another way to copy a layer is to drag it to the new layer icon in the bottom right corner beneath the layers palette.
Setting Layer to Black
Before creating the shadow, the newly created layer needs to be rasterized. Right-click on the newly copied layer and select rasterize layer in order to change the layer from a smart object to a rasterized image.
To create the shadow, the new layer that was just rasterized needs to be made black. First step is to make sure that the background color in the swatches dialogue is
black
, and with the new layer selected enter
shift+crtl+delete
.
Distorting Shadow Layer
Now the shadow layer needs to be transformed in order to appear as a shadow on the ground. Before the transformation happens, the direction of the light needs to be determined in order to properly place the shadow. Once the light source is determined, enter ctrl+t to enter the transform command.
Right click on the image and select distort from the transform options, and drag the corner toggles until the shadow layer is correctly placed.
Once transformed, press
enter
and change the opacity of the shadow layer to better match the shadows present in the rendered image already.
Step 6: Adding Filters
Filters to Stylize Rendering
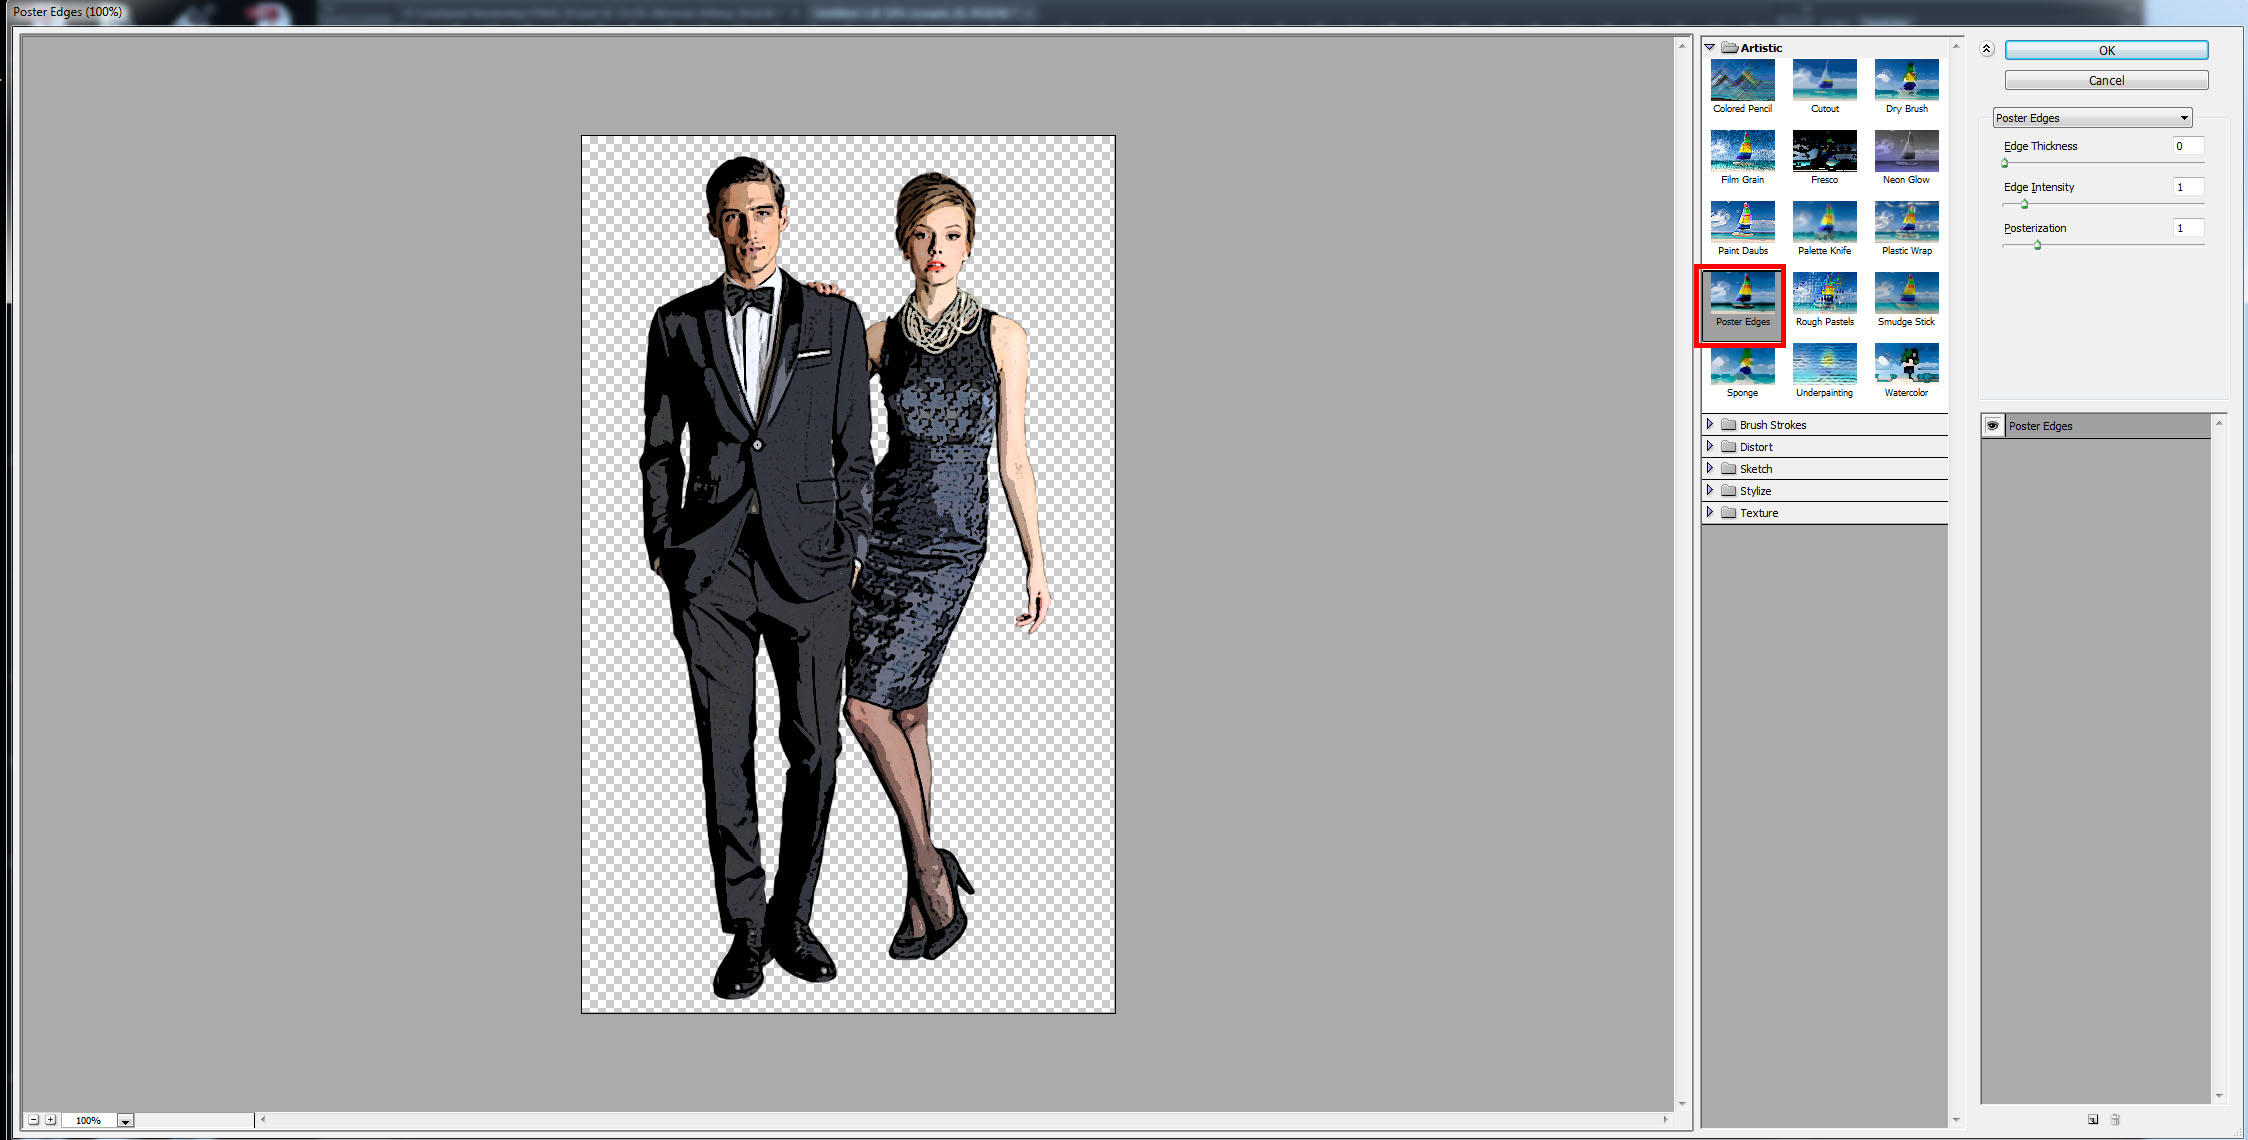
Filters from the Filter Gallery can be used to stylize the entourage in the rendering to help better convey a theme or mood. To access the filter gallery go to the top meny bar Filter>Filter Gallery .
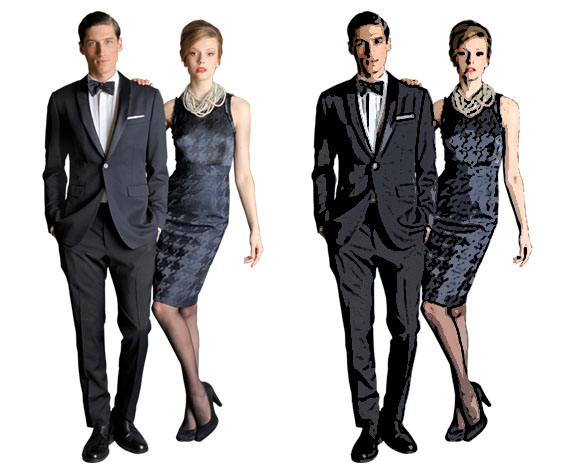
One such filter is poster edges which can create a more illustrated, hand-drawn quality to entourage material. Experimenting with the settings, add a filter to the human figures, furniture, and any photo-realistic landscape textures.
Once applied, you can see the difference between the original photograph and the filtered image.
Blur Filters
Blur filters for motion, areas of the rendering that are out of focus, and for drop shadows. Adding a Gaussian Blur to trees in the foreground and background can help to bring focus to the mid-ground and any important rendered information in the scene.
Adding Gaussian Blur to shadows can also help to take away hard edges and allow shadows to blend more into the scene.
Motion Blur is helpful when animating entourage.
Step 7: Adjustment Layers
Adding Adjustment Layers
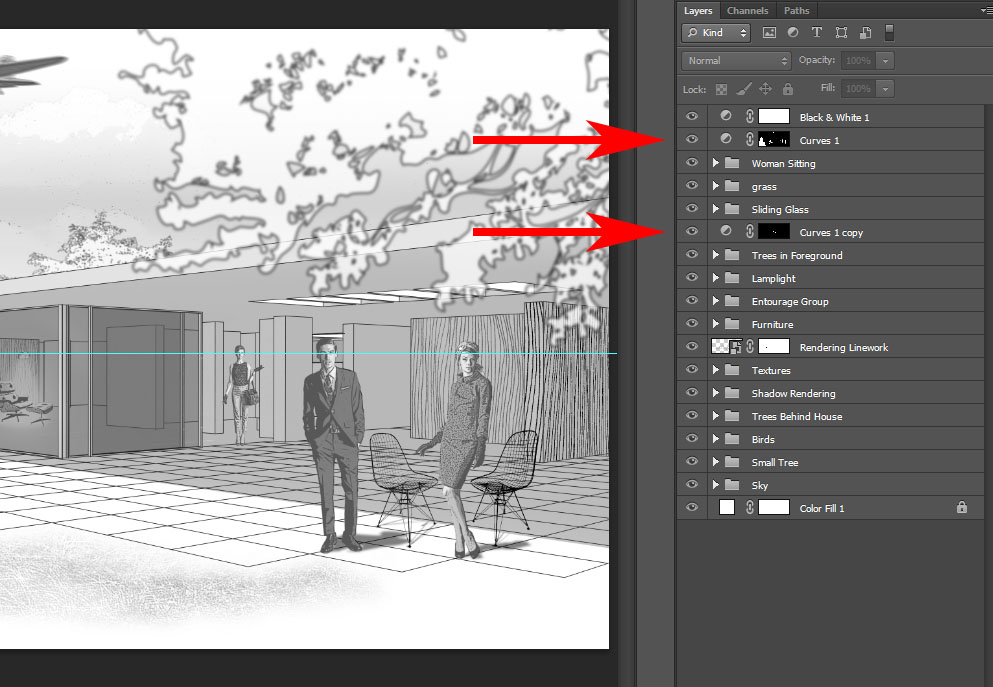
In order to help entourage fade into the background, adjustment layers and layer masks can be used to change the levels of the images used. After adding the adjustment layer, invert the layer mask by entering ctrl+i . Once inverted, any selection can be painted with white on the adjustment layer mask to effect only that selection with level changes. To precisely choose the outline of entourage, hold control key down while clicking on the layer icon to select only the boundary of the entourage.
Once all of the entourage has been added to the scene, and layers have been properly grouped together; save the final rendering as a .PSD file to retain the Photoshop editing capabilities.


