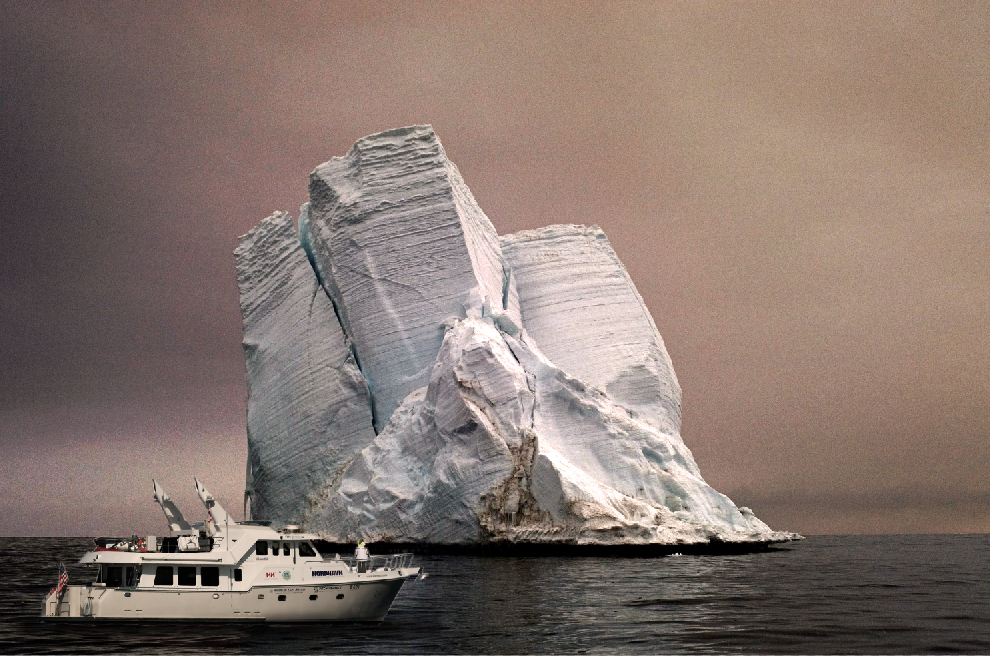
|
Creating a Composite Image with the Selection Tool in Photoshop |
|
|---|---|
| Screenshot | |
| This workflow will go through the many ways you can use the selection tool to divide images into separate layers of information that can be edited for specific purposes afterwards. | |
| Uses Tool(s) | Photoshop CS5 |
Using the selection tool wisely will enable you to use images that only have certain parts you want to keep, while concurrently moving between parts of the same image for detailed editing. Finding ways to facilitate fast paced production therein is key to using the selection tools well.
In order to make to take full advantage of the selection tool, a good understanding of layer management is essential. This will enable you to not only keep track of your selections, but return to them for further editing and tweeking along the way. Layer via Cut and Layer via Copy will come in handy here as well.
These and other Selection tool tips can be found here: Selection Tools Explained
Steps
Step 1: Isolate Sky in Base Image
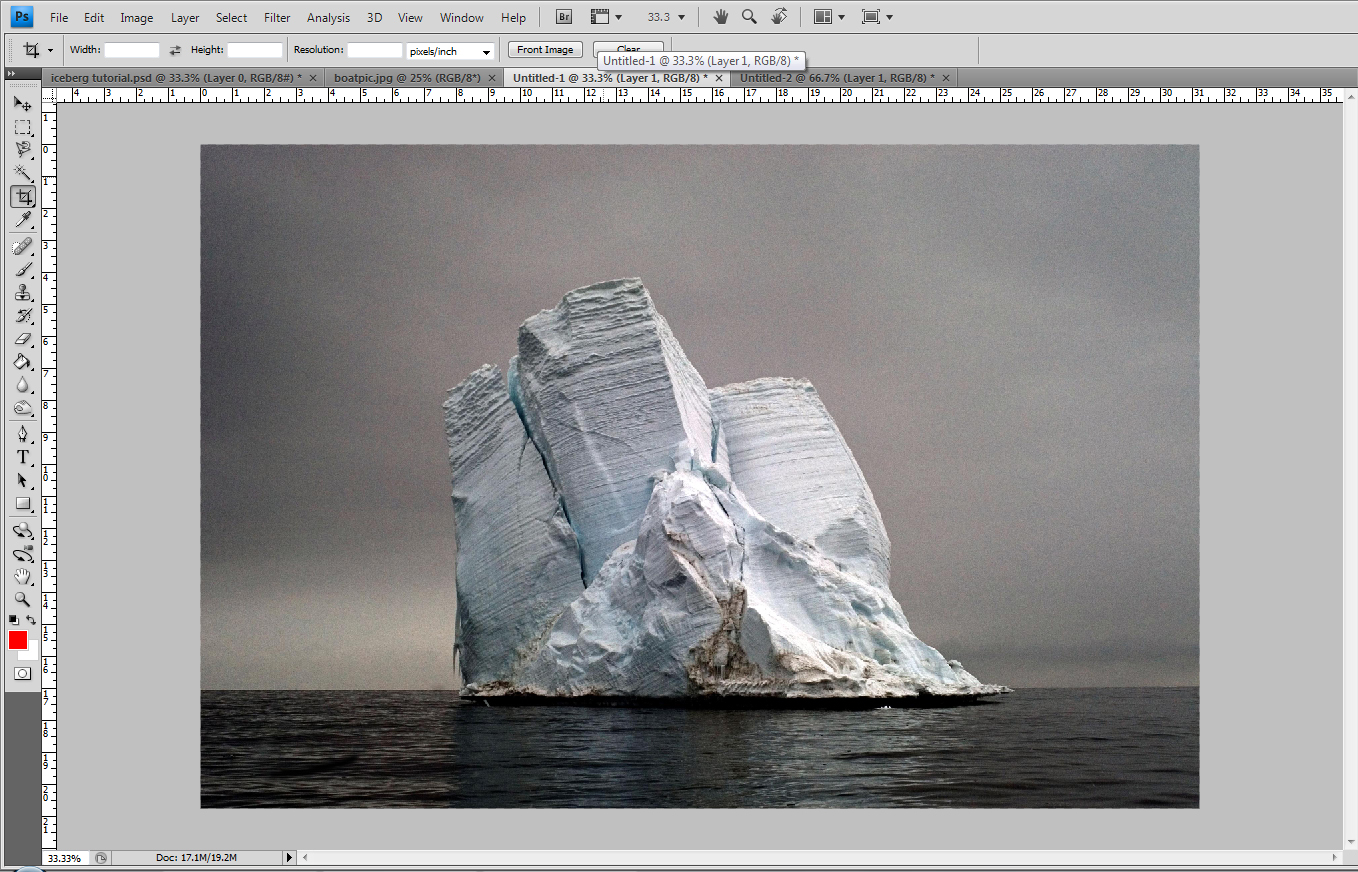
In order to isolate the sky in the base image, we have to consider the type of selection tool the best suits this task. We can obviously rule out using the marquee tools from the start. If next we consider the lasso tools, the amount of detail in the iceberg would require a lot of time. Perhaps the magic wand tool? Actually, with this tool, we'll find that the grey tones in the sky do not provide enough variation for a clean selection based on tone and color alone, leaving the quick selection tool as the best bet.
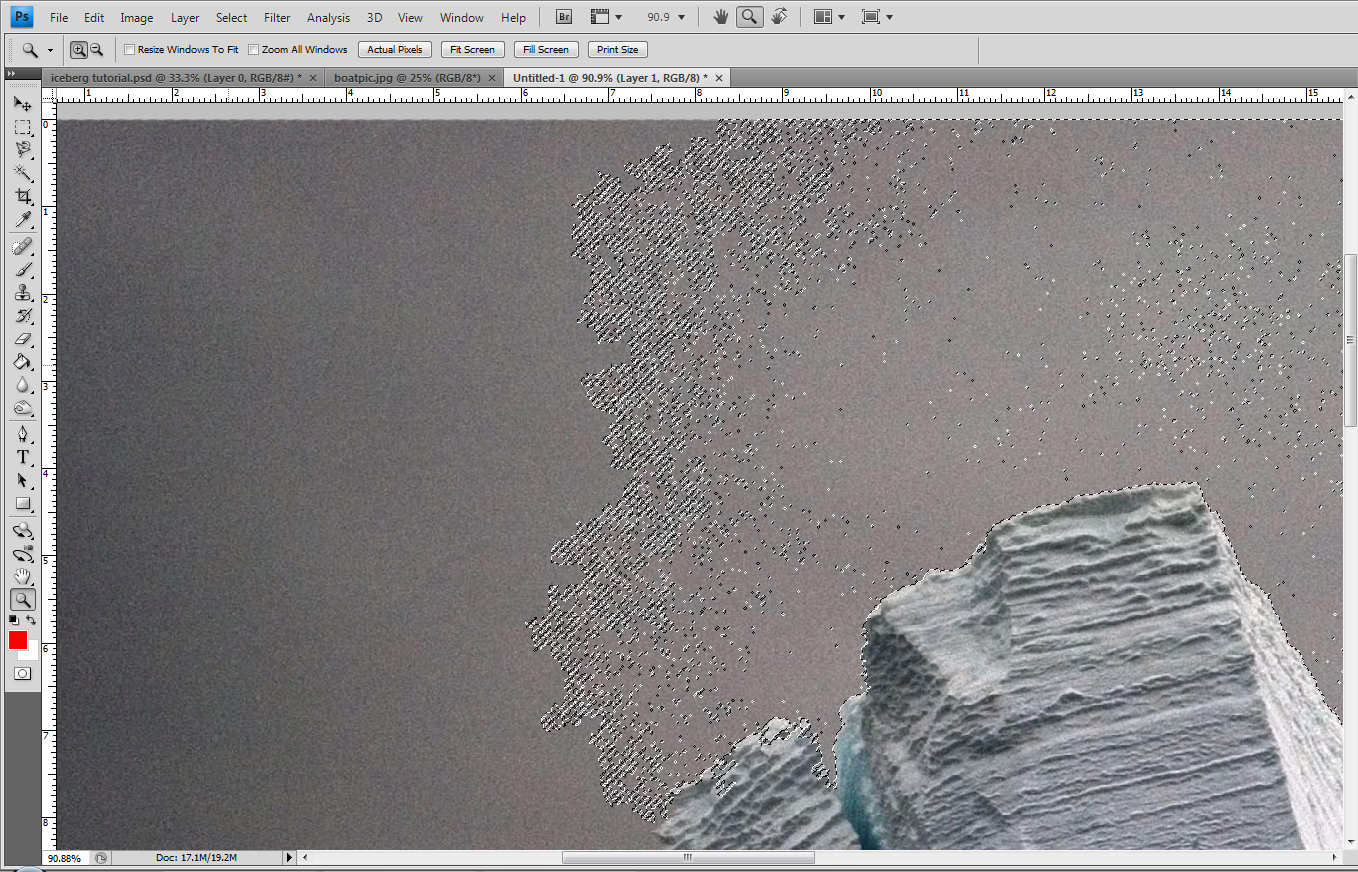
With Quick Selection, I've set the brush size to 2o, which isn't too big to get into the crevasses close to the iceberg. If you find that your quick selection is selecting more than it should, try lowering the pixel brush size.
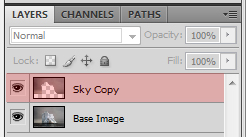
After using the quick selection tool all the way around the iceberg and water, I use Refine Edges to expand the selection slightly and now have the sky selected fully. I then chose Layer via Copy and create a duplicate of the sky selection on a new layer
Layer>Layer via Copy:
Step 2: Isolate Boat from Second Image
With a new image comes a new evaluation of selection tool options. With the boat, a combination of quick selection and polygonal lasso are necessary. The quick selection will help to lay the ground work of the main selection, but the polygonal lasso will be necessary to clean up the loose ends that quick selection and Refine Edges can't grab without taking much longer.
- Quick Selection Tool
- Polygonal Lasso Tool
Quick Selection and Refine Edges in action again:
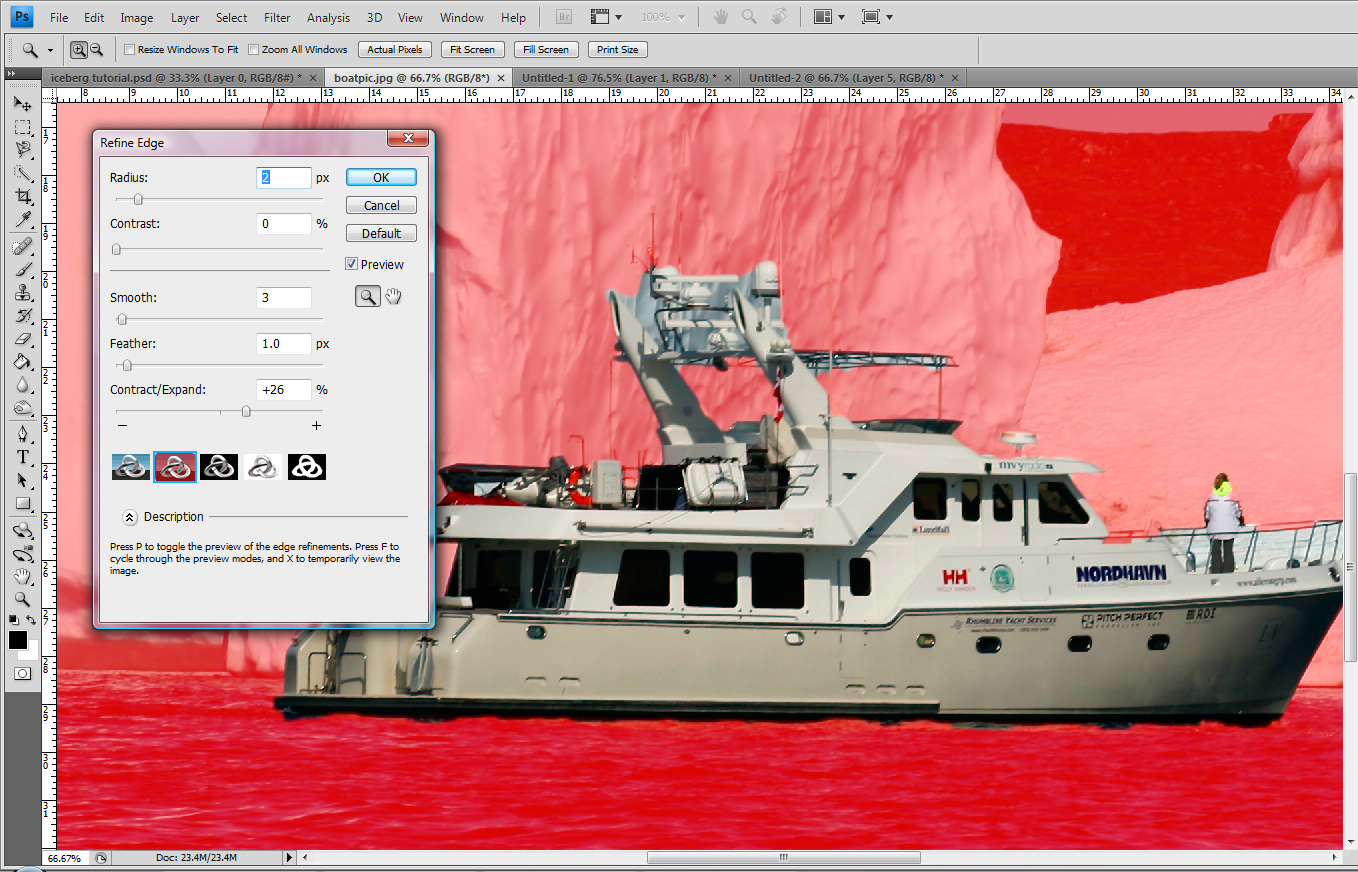
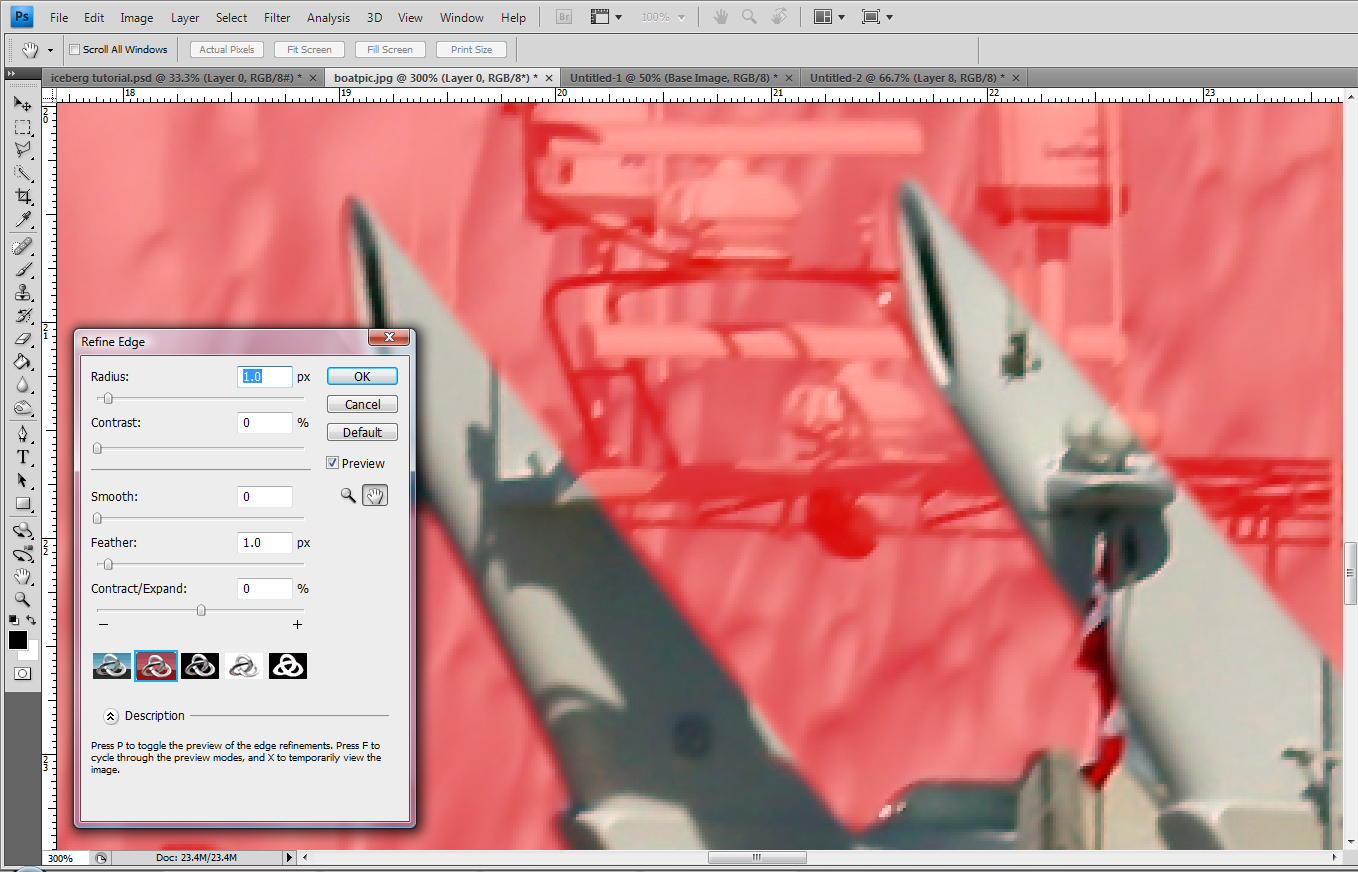
As you can see, the quick selection tool did not easily get into the really small acute spaces. leaving the selection incomplete. Simply zooming in to these areas, the polygonal lasso can easily select the remaining areas for removal. In the case of this boat, the level of detail in the top communications area would take too much work for too little gain, so it's going to be removed altogether. As long as it selection doesn't need to have something in it, there isn't a need to work hard cutting it out, especially if the detail will be lost when scaled down to fit in another image, as in this case.
Polygonal Lasso tool in action (removing space around the rails):
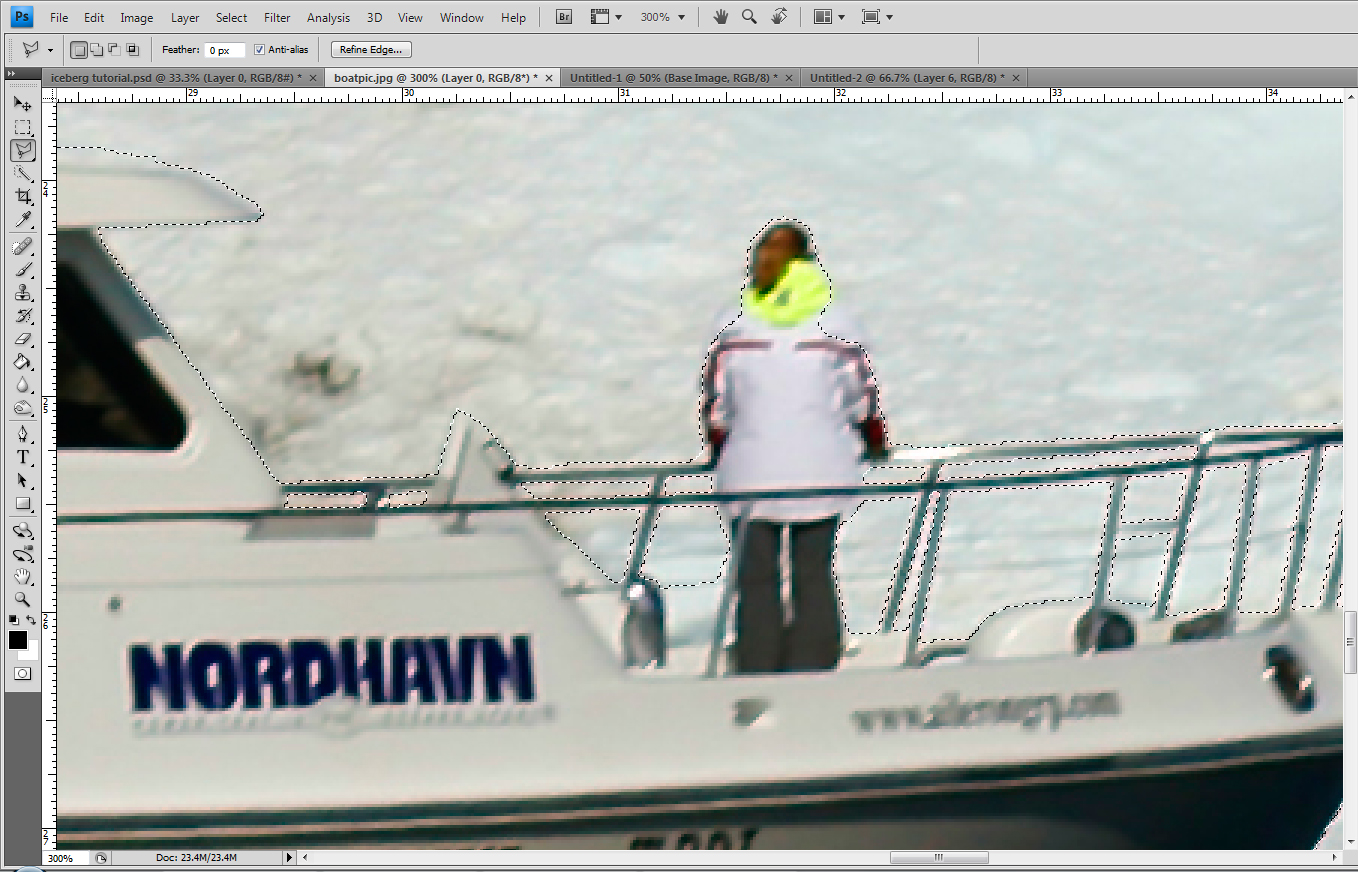
Polygonal Lasso Tool / Refine Edges (removing the antennae):
For more detailed pixel editing, try this workflow:
Correcting Surface Inconsitencies
Step 3: Copy Boat Selection into Iceberg Image
Now that we have the boat selected fully, we can simply copy and paste it into the Iceberg image. Hit Ctrl C (Copy) in the boat image and then select the Iceberg image and hit Ctrl V (Paste). This will make a new layer in the Iceberg image, which should be labeled "boat".
As is often the case, the boat is too big for the base image, so we need scale it down. To do this, we use Free Transform.
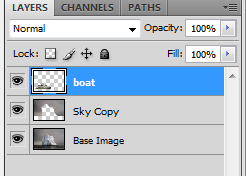
At this point we have three layers in our file:
- Boat
- Sky Copy
- Base Image
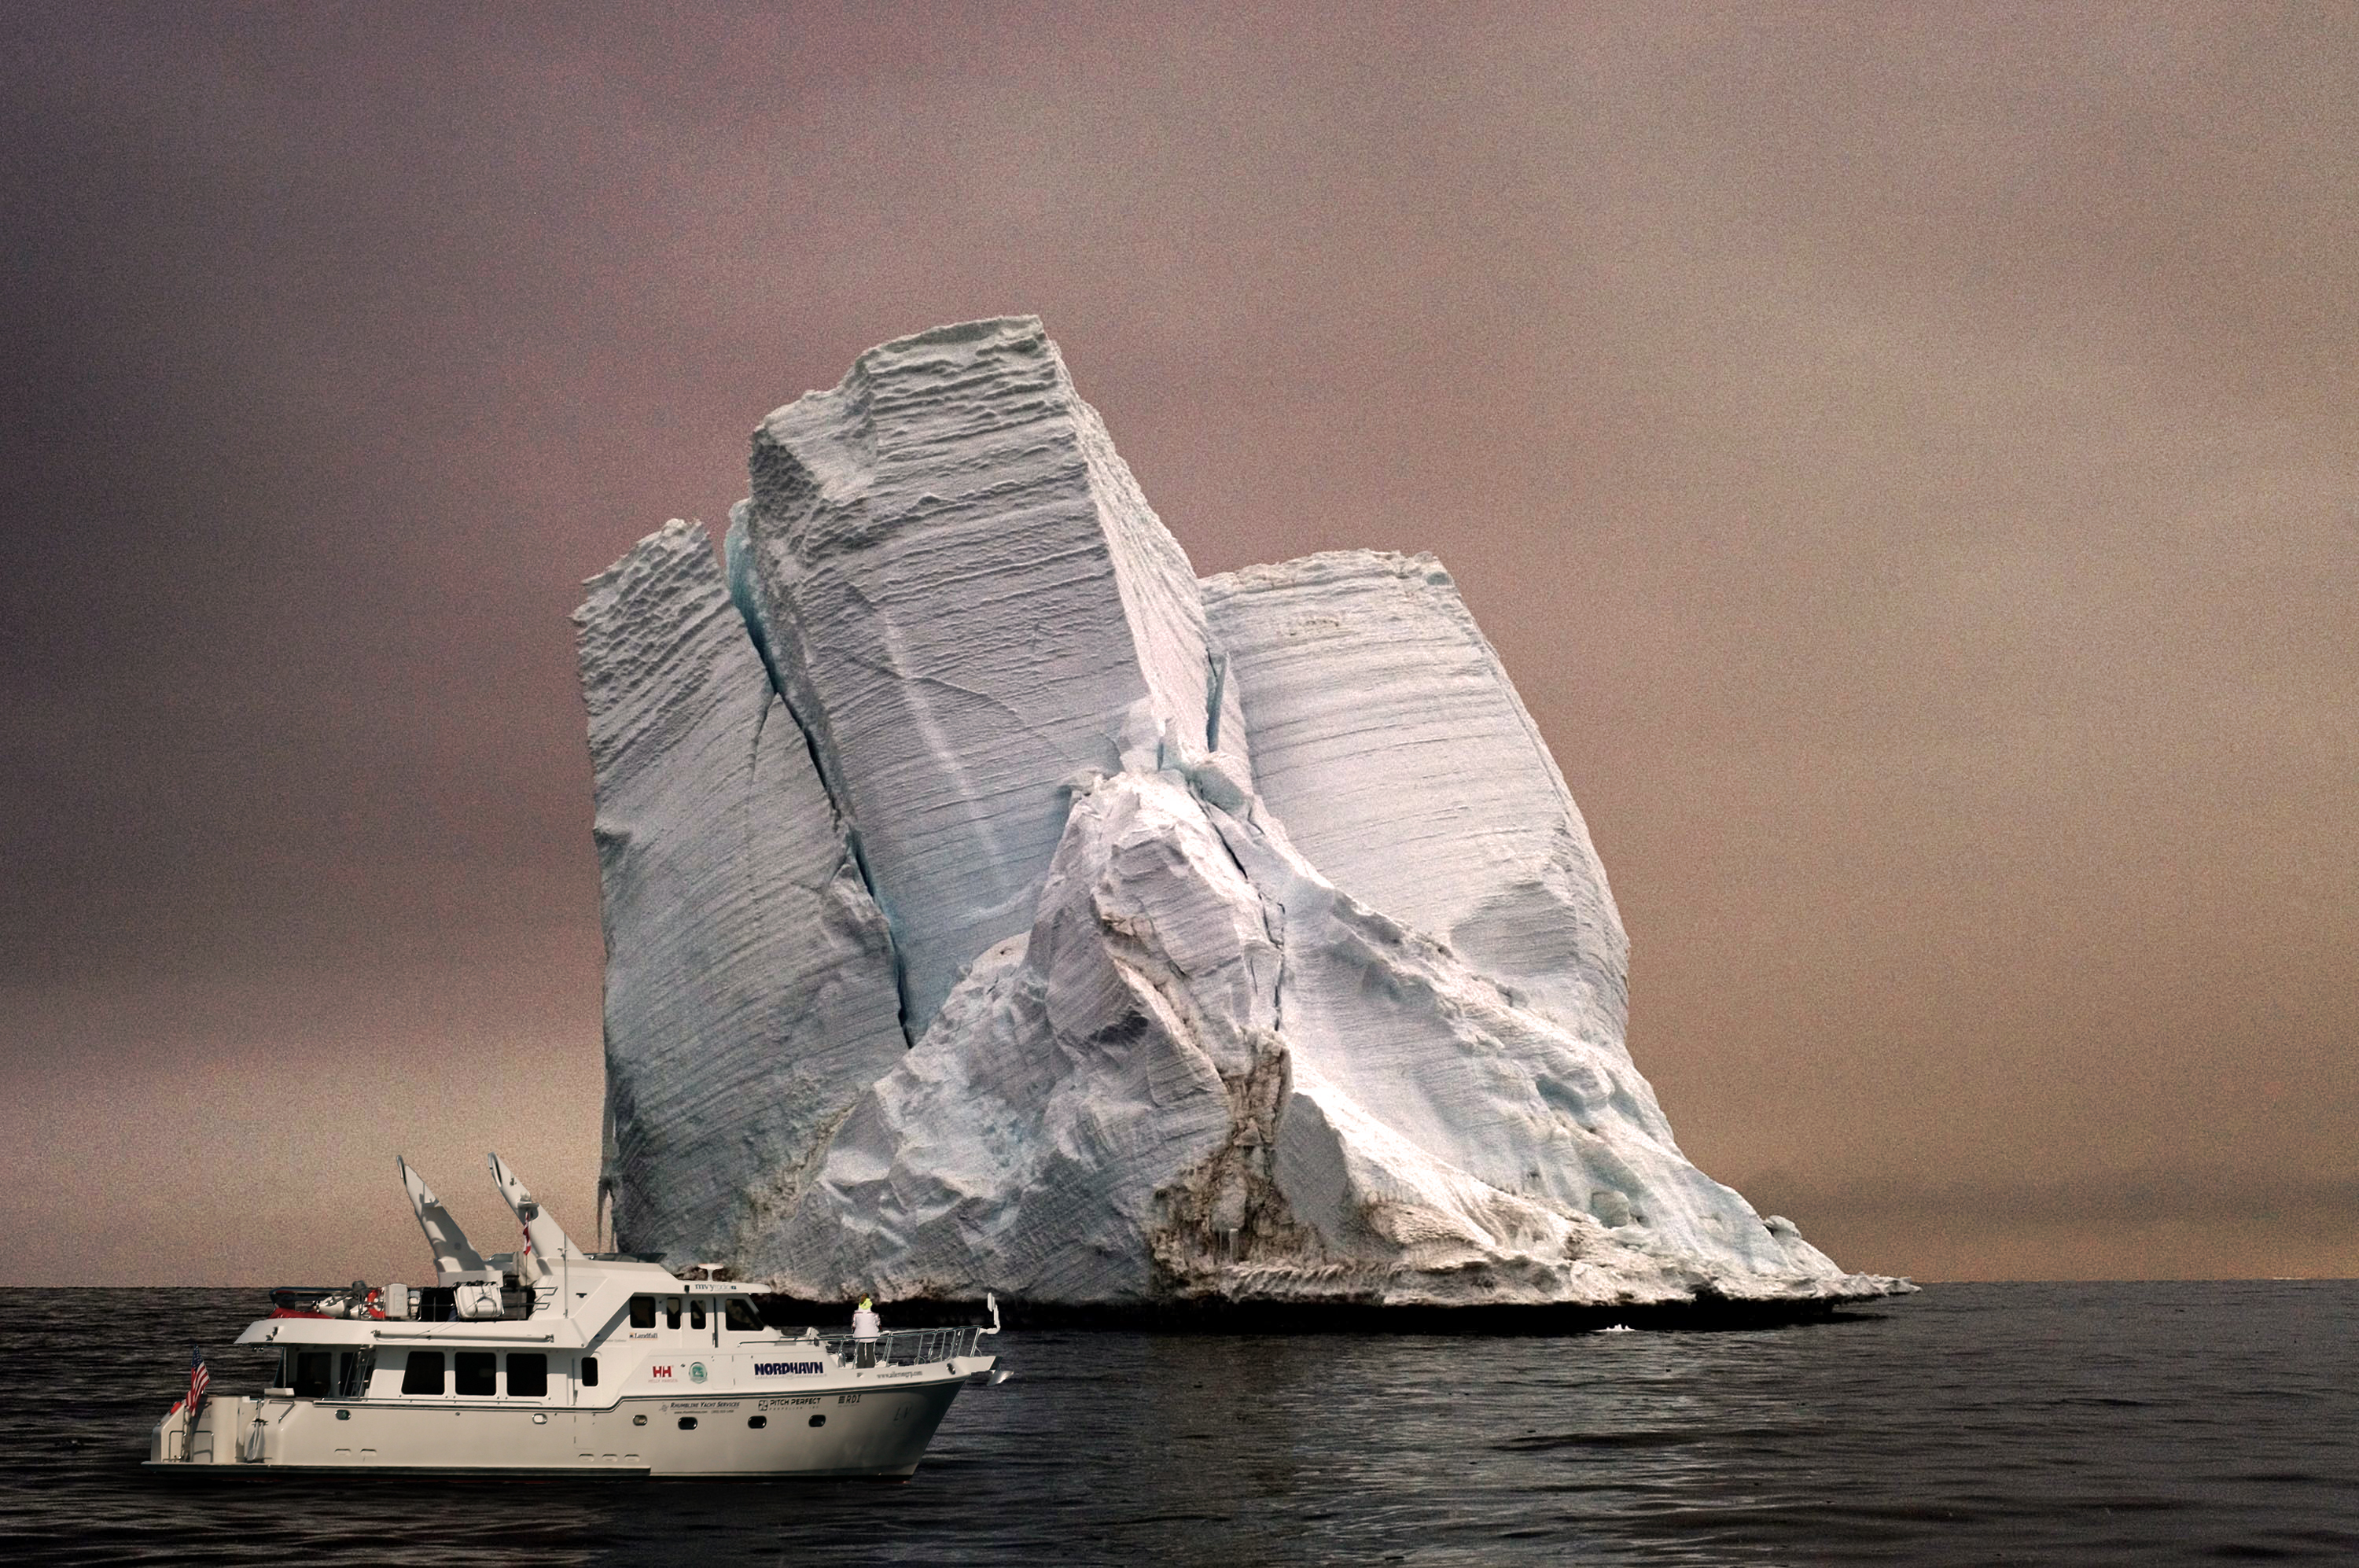
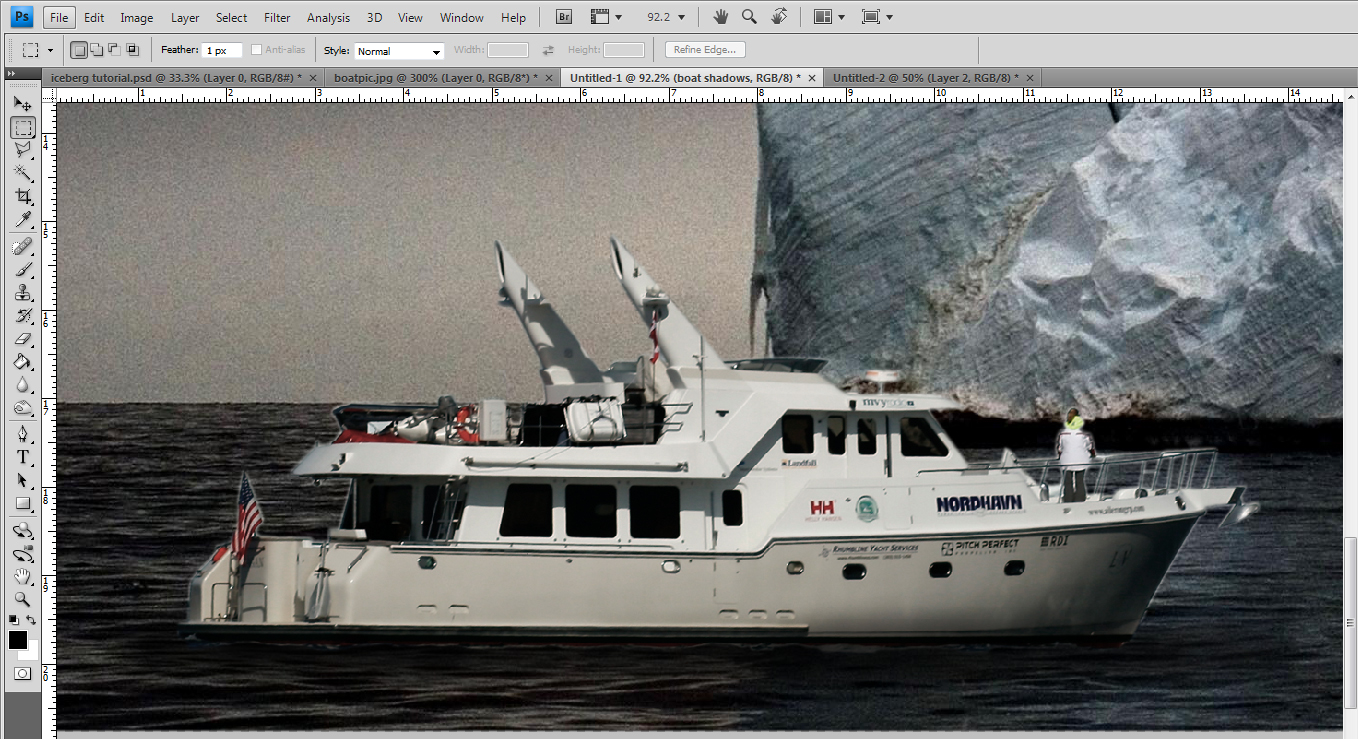
After the boat has been resized and dragged into place, we end up with the below image, but the composite doesn't really pop.
Step 4: Minor Post-Production - Adding Boat Shadows and Adjusting the Sky
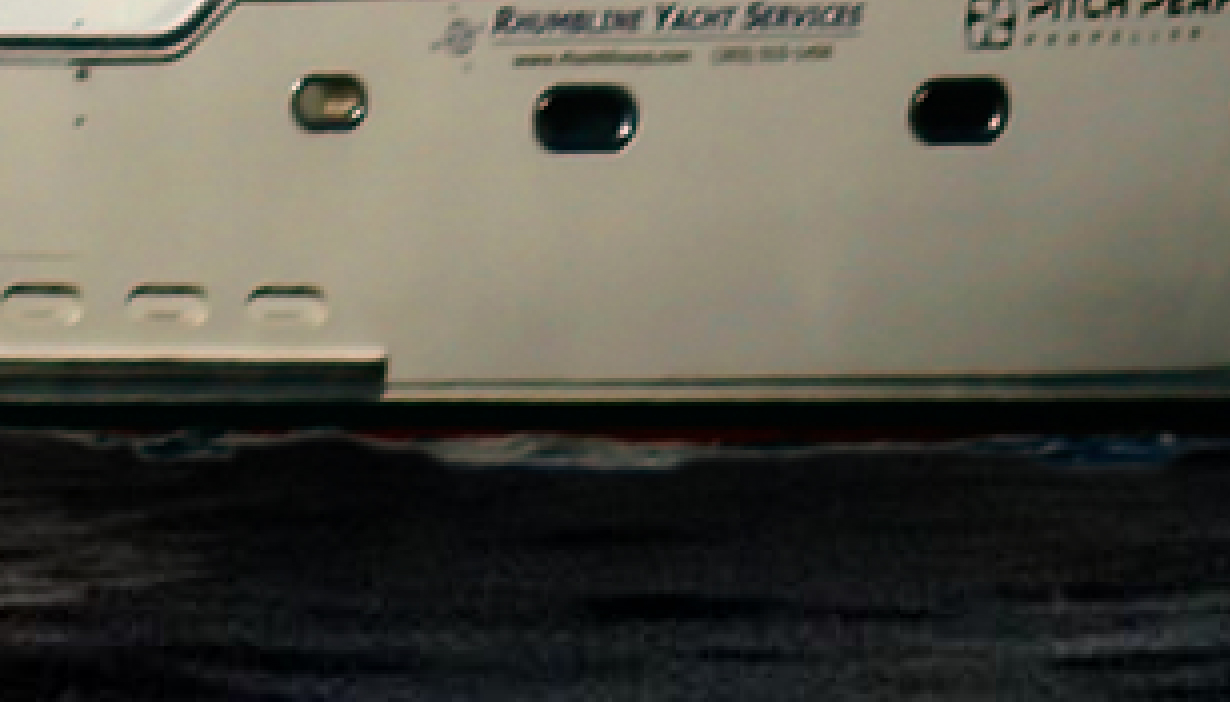
Adding a shadow on the water that accounts for the boats presence will help it pop out. As will lowering the saturation of the boat layer to help it blend into the grey atmosphere a little better.
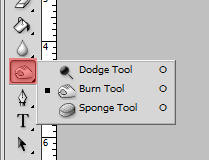
To add a shadow, we'll first use the
Burn
tool on the bottom of the boat, shown below. The burn tool darkens or "burns" according to the percentage of transparency.
To add shadows, make sure to first create a new layer and label it "boat shadows". Otherwise, you might end up drawing on your base image or your boat layer, which you don't want to do. To add the shadow we simply use the Paint Brush tool.
Adding Shadow with the Paint Brush at low transparency (20%). I'm using a 65 pixel faded paint brush:
To effect the sky copy, we can simply add a gradient overlay to it. A gradient overlay is a "layer style", shown below. Note the setting in the options. I've changed the overlay from "normal" to "overlay" in the top menu, lowered the opacity to 71%, changed the color of the gradient to purple and orange (originally black and grey). In addition, I've changed my sky copy layer from "normal" to "overlay" in the layer settings in the layers panel and lowered the opacity of the overall layer to 25%.
To finish the image off, I added a New Adjustment Layer of a "Warming Photo Filter" at 25%, which effected everything underneath it. The final layer configuration is shown in the above image, to the right.
