|
Creating an Orthographic Drawing with Shadow and Entourage |
|
|---|---|
| Screenshot | |
| This workflow will present the methods necessary to create an intriguing rendered orthographic drawing. After taking an orthographic drawing from Illustrator with proper lineweights, we will add subtle textures and materiality to read the spaces better, add shadow and poche, and finally add people and trees for scale. | |
| Uses Tool(s) | Photoshop CS5 , Illustrator CS5 |
Rendered Orthographic Drawings
Orthographic drawings, typically seen as the pragmatic and straightforward architectural drawings, can also become expressive with the use of entourage. Entourage in this sense means the surroundings of a building, but it can also provide viewers with an idea of the author's intent with design decisions or an understanding of the space's experience. These can be anything from trees and people to furniture, cars, shadows, sculpture, and materials.
This workflow focuses on using Adobe Illustrator to export line drawings into Photoshop, and then using that base layer drawing as a guide to add materials, scale people and landscape, and add shadows. The image can then be used directly, or individual layers can be exported to be recomposited into the original Illustrator drawing.
It's important to note that the expression of a drawing is a subjective exercise of expression, and that there is never one single way to render a specific drawing. This workflow is intended to expose some of the methods used to obtain expressive rendered orthographic drawings, and should not be seen as a monolithic solution.
Steps
Preparing the Drawing
After exporting your drawing from your CAD program into an Illustrator file, open that file in Illustrator. At this time, you should take care to clean up any lineweights, missing lines, or mistaken line types. Once the drawing has been brought into Photoshop, completing any drawing clean up will be much more difficult.
When your drawing is complete and ready to be rendered, go to File>Export to choose a destination folder and title.

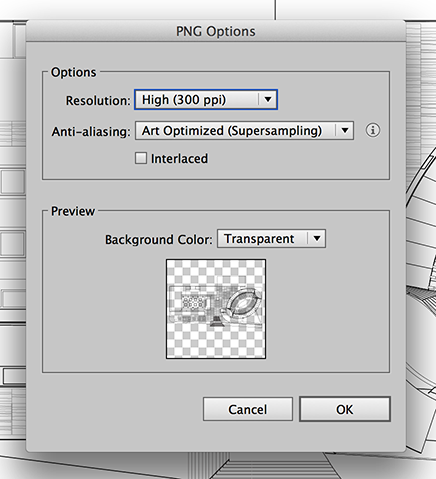
For the sake of this workflow, we'll be exporting to a PNG - it's a decent quality image type that also minimizes file size, while leaving a transparent background to aid in Photoshop manipulation.

Use the highest resolution available in the export options, Art Optimized Supersampling (instead of Type Optimized) and choose a transparent background.
Import into Photoshop
Open the newly created image in Photoshop. The drawing will open with a checkered background - this is meant to signify that the layer has portions that have no pixels defined and are transparent. Add a new layer and fill it with white with the Paint Bucket tool, then place the layer to the very back.
Add the Texture and/or Shadows
Using a tileable texture image, create a custom pattern by opening the image in Photoshop and going to Edit > Define Pattern. Make sure the image is at an appropriate scale for the scale of the drawing - if your texture is too small, it will be unable to be read; if it's too large, it will be too distracting.
Back in the drawing, use the Lasso tool or the Magic Wand tool to choose the boundary of the area you wish to texture. With the new layer selected, use the Pattern Stamp tool and the newly created pattern to fill in the area.
Add People and Plants
Using images of bird's eye views of people and plants, you can create custom brushes to add many instances in a single stroke. Open the image in Photoshop. You may need to darken the image to create the brush, as the brush values will create transparency based on value: black will be opaque, white will be transparent. Once your brush is as you would like it, select the object without any white background and go to Edit > Define Brush Preset.
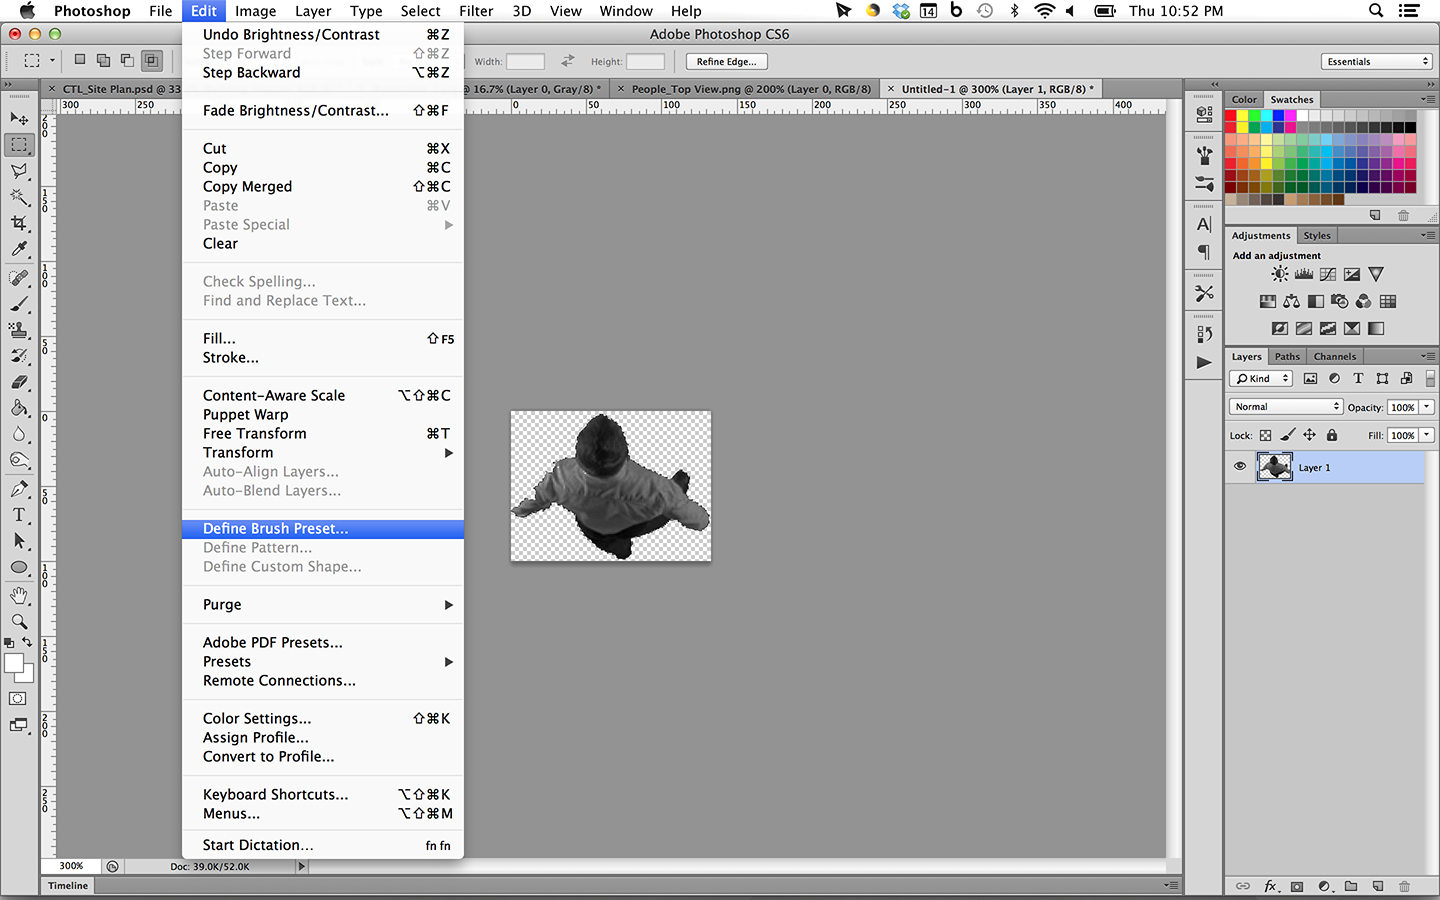
Create several more brushes using different images of people and plants to add variety. It is best practice to create a layer for each type of entourage here: one for people, one for low bushes, one for taller trees, etc. This will allow for easier navigation later and easier manipulation of shadows.
Use the Brush Dynamics panel to allow for quick changes in size, orientation and spacing.
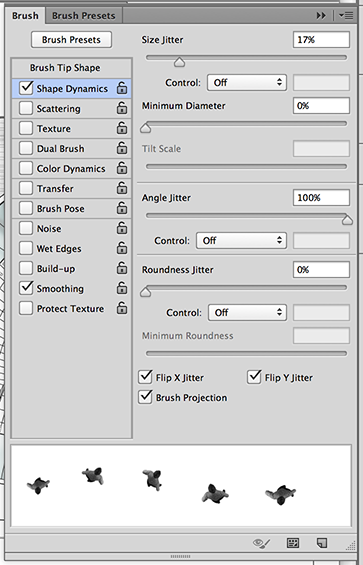
Be sure to place on the drawing at the correct scale, utilizing cues from the drawing such as stair lengths/heights or door widths/heights.
Add Other Materials
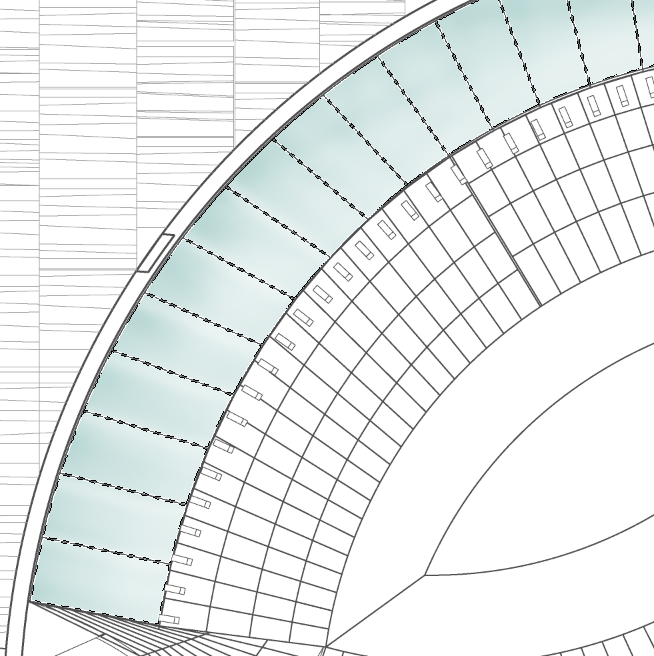
Some materials, such as glass, won't be as easy to render with tileable material images. In this case, using simple colors and feigning shadows and highlights will work.
Select the portions of the building that will be glass using the Lasso tool or Magic Wand tool. Use the Paint Bucket tool to fill with a color, preferably a shade typical of glass such as blue or light green. Then, use the Dodge and Burn tools to make the glass appear to have reflectivity. A simple gradient from left to right or top to bottom will typically get the correct effect.
Creating Shadows for People
Duplicate the layer that you've used to create the positioning of the people. Use the smudge tool with a low strength percentage and a large enough brush size to cover the whole person and gently push the pixels in the direction of the casted shadows. Shape until the shadow appears to be the correct length and appears natural. Once you've done this for all people on this layer, you can add a subtle blur in the Filters tab. Decrease the opacity of the layer to a suitable level.
Creating Shadows for Trees
Using an image of a tree in elevation, select the tree and copy it onto a new layer in the drawing file. With the tree directly selected, use the Brush tool to color all of the pixels perfectly black.
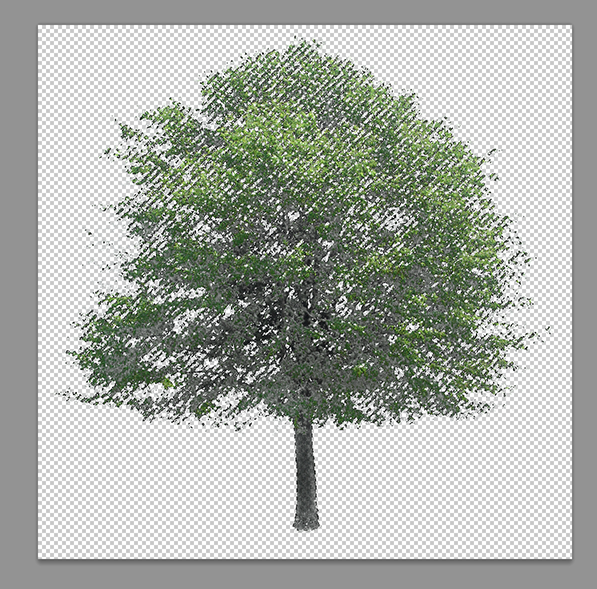
Next, skew the image of the tree using Free Transform to appear to project a shadow in the direction desired. Place the image in the spot desired, and repeat for all trees in the drawing.
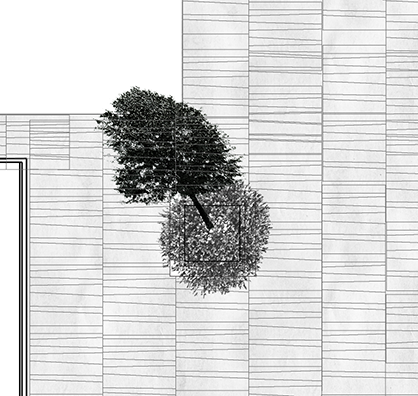
Once all tree shadows have been placed, you can use the Blur tool or one of the Blur Filters to diffuse the shadows. To add variation, use the Eraser tool with a variety of brushes and opacities to remove portions of the shadows. Change the transparency of the layer to a suitable level.
You can also use the brush tool or the dodge and burn tools to create shadows on the floor and exterior ground. Alternatively, select all parts of the floor plan that will project shadows, and drag the selection to a preselected boundary for the shadows. Connect all boundary corners, create a new layer, and then fill with black. Use transparency and/or the eraser tool to create softer shadows.
Playing with Layering and other Brushes
Though you may be happy with the drawing as is, you may try duplicating layers and creating different effects with filters and using transparency methods to create more dynamic entourage. For example, motion blurs that use multiply layer effects can create an effect of moving through the space.
You can use other brushes, custom or found like water color brushes or other textures, to add more expression to the drawing. These brushes can be used to distinguish parts of a drawing while maintaining a non-photorealistic aesthetic.
Final Drawing
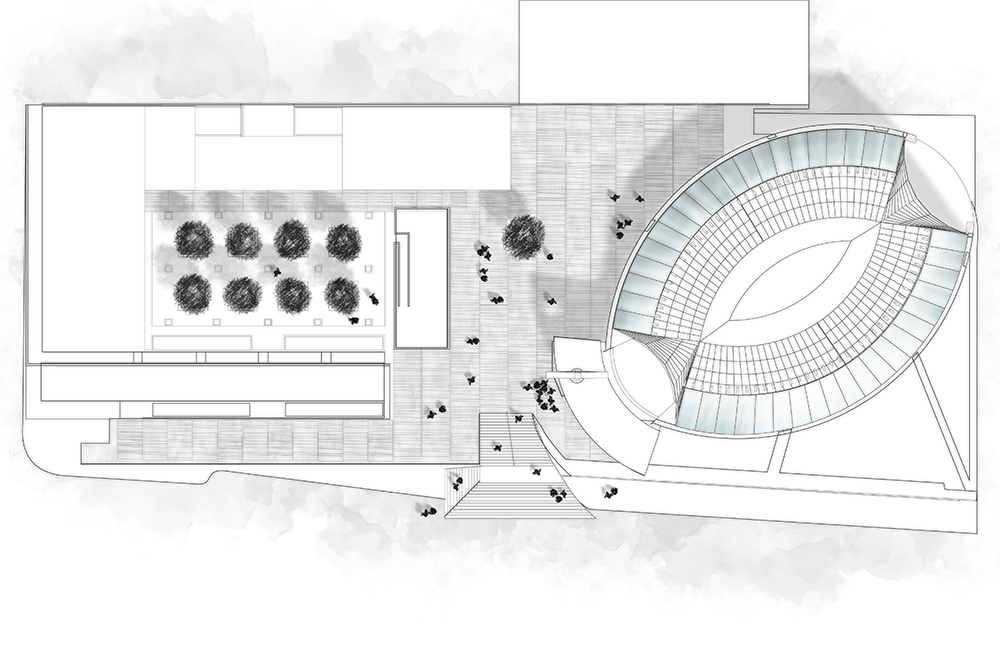
Common Problems
- I'm trying to darken only a portion of a layer, but the brush is going everywhere.
- Firstly, make sure you're on the correct layer by checking in the Layer menu to the right. Then make sure you're using the right tools for the job: if you want to darken only a specific set of pixels, you either need to use the Burn tool (which can only alter pixels, not create them; or select the specific pixels using the Lasso tool or the Cmd+Click on Layer trick to select all of the pixels on a layer and then paint with the Brush tool.
- The Burn and Dodge tools aren't doing anything.
- Make sure you are using the tool within the selection area you've chosen. Also, play with the range and exposure of the tools - sometimes a certain color or tone range will not work with the range mode you are using on the tool.
- I'm unable to use the Magic Wand tool.
- Do you have the correct layer selected?
Additional Resources
- CG Textures
- Tileable and non-tileable images for many different materials.
- Graphic Addiction
- Blog of student architecture projects models and drawings.
- Drawing Architecture
- Blog of student and professional architectural drawings.
- Immediate Entourage
- Free collection of images of people, plants, textures, and other objects to be used for renderings. Some are of good quality, some are not so great - use discretion.
- Subtle Patterns
- Used primarily for UI design, these are infinitely tileable images that can be used for adding very subtle textures to drawings. Use responsibly - overuse or inappropriate use will make drawings look unprofessional.

