|
Creating a Tilt Shift Rendering Using Photoshop |
|
|---|---|
| Screenshot | |
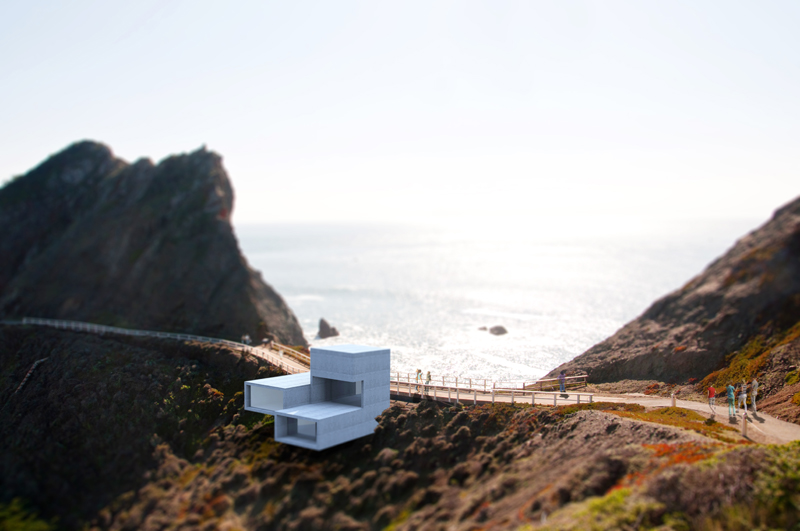
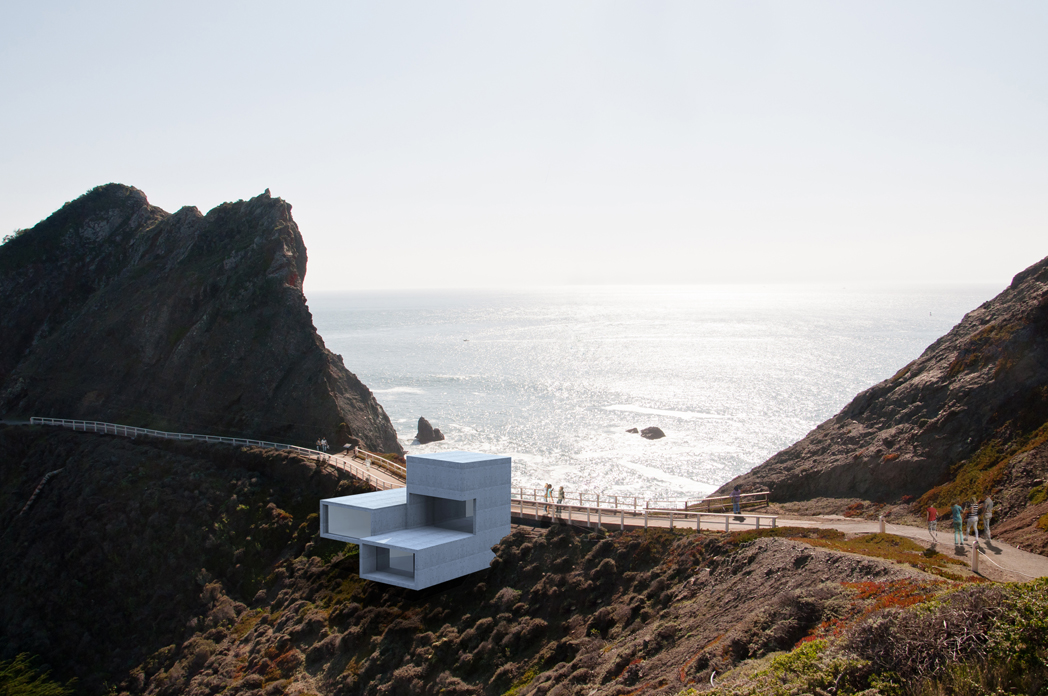
| Tilt shift renderings are used to make a normal environment appear in miniature. This tutorial will go through the steps necessary to create a tilt shift rendering using Photoshop. | |
| Uses Tool(s) | Photoshop CS5 |
This workflow is missing a general introduction, synopsis, a discussion of common problems, and a list of resources
Steps
Selecting an Image
Tilt shift images are a stylistic opportunity, adding a shallow depth of field to create an effect that makes the building appear to be a miniature object. In order to achieve this look, the image or rendering should be taken from above the building at a wide or long angle, showing a large expanse of the surrounding context (cityscape, roads, landscape). Keep these parameters in mind when taking photos or saving views for renderings.
Quick Mask and Gradient Tool
Using the Quick Mask tool, select certain areas to edit so that the other areas remain untouched. Click on the Quick Mask icon, or press Q, or click on Select --> Edit in Quick Mask Mode.
The Gradient tool applies the blur to the image in a gradual fashion. With the quick mask toggled on, type "G" on the keyboard to activate the Gradient tool. Select the Reflected gradient and draw a vertical line to define the extent of the in-focus area of the image. Some trial and error is required to find the extent that will produce the desired effect. Toggling the quick mask on and off using the Q key makes it easy to see the effect of using the gradient tool--the red parts of the image will not be selected.
Creating Lens Blur
Once the desired in-focus area has been marked, the lens blur can be applied. Press Q to toggle back out of Quick Mask mode. Notice that the parts of the image that are selected will be blurred.
To apply the lens blur, click on Fliter --> Blur --> Lens Blur. Use the Radius slider in the editing dialog to fine tune the blurring of the image. A greater radius results in a blurrier effect; for a tilt shift image, a radius between 30 and 40 is ideal. When the desired effect is achieved, click OK at the top of the dialog box to apply the settings. Then press Ctrl+D to deselect the blurred parts of the image.
Editing Saturation and Contrast
To give the image a more photorealistic quality, the final step is to edit the hue and saturation .
Click on Layer --> New Adjustment Layer --> Hue / Saturation. Use the slider for Saturation to increase its level to make the colors more vibrant. Add other stylistic edits and filters to achieve any other effects on the image.

