|
Laying Out Large-Format Presentation Boards in InDesign |
|
|---|---|
| Screenshot | |
| InDesign is is designed for laying out documents such as large format boards for presentations. The program's greatness lies in its ability to minimize file sizes for complicated layouts with multiple drawing links. | |
| Uses Tool(s) | InDesign CS5 , Illustrator CS5 |
Steps
Laying out in InDesign versus Illustrator
Whereas in Illustrator image and vector information is placed and drawn directly into file, InDesign references, manages and links individual external files (whether they are .PSD, .AI, .PDF, .JPG, or any other image file format) to a single InDesign layout.
This is useful for two reasons. First, since the images are links, when drawings are updated, the images will automatically load and appear in the InDesign file. An Illustrator file will not update the images or lineweights if they are simply copied to the artboard. Second, this reduces the file size of the boards since none of the images are embedded in the file. Editing and printing will be faster and smoother since the memory in the computer and the printer will not be clogged up.
Organize Your Files
A good practice when creating an InDesign document is to organize all linked files into a single "links" folder. This helps especially when placing multiple drawings on a presentation board. That way, all of the files are in one place and can be easily located later on.
This process can begin even before all of the drawings for the project are finished. Saving all the visuals for boards in a single folder before they are completed and using them to begin to lay boards out helps to get a sense of the final presentation and how the different images relate to each other. Since the drawings are not complete yet, when they are edited they will update in the InDesign file.
Setting Up the Pages
For now, lay out the board as if it would be plotted at the desired size. Remember that the maximum width of the page that the plotter can print is 36". Therefore, if four boards are needed, find the width by multiplying 4 * 36". Create a page that is the dimensions of all four boards put together (remember that the maximum height is 60"). Specify the dimensions when opening a new InDesign document, or click File->Page Setup to edit the page dimension settings.
The page will be broken up into single boards later for plotting, but this makes it simpler to lay out the images.
To use grids and guides to help set up the document, see this workflow .
Placing Images
To place an image, use Ctrl+D or click File->Place . Choose the location for the image and click on the page. The image will be placed at original size and can be moved using the Selection tool (black arrow, or V).
Each image has content and a frame. The frame displays the content and can be selected by clicking on an image with the Selection tool. Drag the anchors of the frame to choose which part of the image is shown. Clicking on an image using the Direct Selection tool (white arrow, or A) will select the content itself so that it can be moved or scaled within the frame.
File Formats
When placing images, use .PSD or .AI files rather than .JPGs because the .PSD or .AI files are easier to edit later on. Remember that InDesign links to files and does not embed them, meaning that as the files are updated, they will also update on your boards. This also allows you overlay drawings on top of one another without worrying about the image's background. If you are working on a Photoshop file with a white background layer, turn the background layer off before linking it to the InDesign file. The white background will show up in the InDesign file and may obscure other images.
Resolution
Be sure to check that the images are at the desired size and resolution before placing into InDesign. PPI stands for pixels per inch, which is a measurement of the resolution of a rasterized image (typically a .JPG or .PNG image). 300 PPI is standard for photo quality printing, but some images can be printed as low as 200 or 150 PPI depending on their overall size and the distance at which they will be viewed. Generally, the smaller the image and the farther away it will be viewed, the lower the resolution it can be printed. The lower the resolution, the smaller the file size, but the lower the image quality as well. Test print images to be sure that the resolution works.
CMYK vs. RGB
There are two color models when it comes to presentation boards: CMYK for printing and RGB for on-screen display. Depending on the final output method, make sure that the image and vector files have the correct color space by checking the color settings in either Photoshop or Illustrator. Keeping everything in the proper color space will help to ensure that your boards print or export the way that they look on screen. In InDesign, click Edit->Color Settings to make sure it is in the correct color space.
Vector Lineweights
All line drawings should have appropriate lineweights based upon scale, keeping in mind that .125 pt is about the thinnest line that the plotter will print. Make or scale the drawing in Illustrator to the appropriate print size then give weight to your lines--InDesign will not scale the lineweights if the file is re-scaled in the presentation board document! Try test printing the line drawings before printing the final boards to be certain the weights are visually correct.
Annotations
Use InDesign to lay out bodies of text and labels. It is not a good idea to link to text created in Illustrator because InDesign has the same functionality and it is easier to manage embedded text rather than linked text. Click on Window->Type & Tables to define all text styles in one location. Any changes made to type styles will affect all text with the same applied style, which keeps the type consistent throughout the document.
Producing Printable Material
There are two common ways to produce files for plotting. Because there are size limitations to the plotter, the board must be broken up into single boards. The maximum board size for the plotters is 36" x 60".
Option 1: A Second InDesign File
After plotting the original file at the desired dimensions to a PDF, create a new InDesign file with the dimension of the actual allowable plot size. For example, say you want a board that is 36" wide by 15' long but the plotter only plots at lengths of 6'. After laying out the board at the desired dimensions and printing it as a PDF, create a new file with (3) 36"x62" boards (the extra 2" gives us some room to overlap the drawings and splice them together) and PLACE the finished PDF within the new sheets. Print out the three new plots and splice them together. This can be a bit tedious but will most likely be faster than doing it in Photoshop.
Option 2: Rasterization
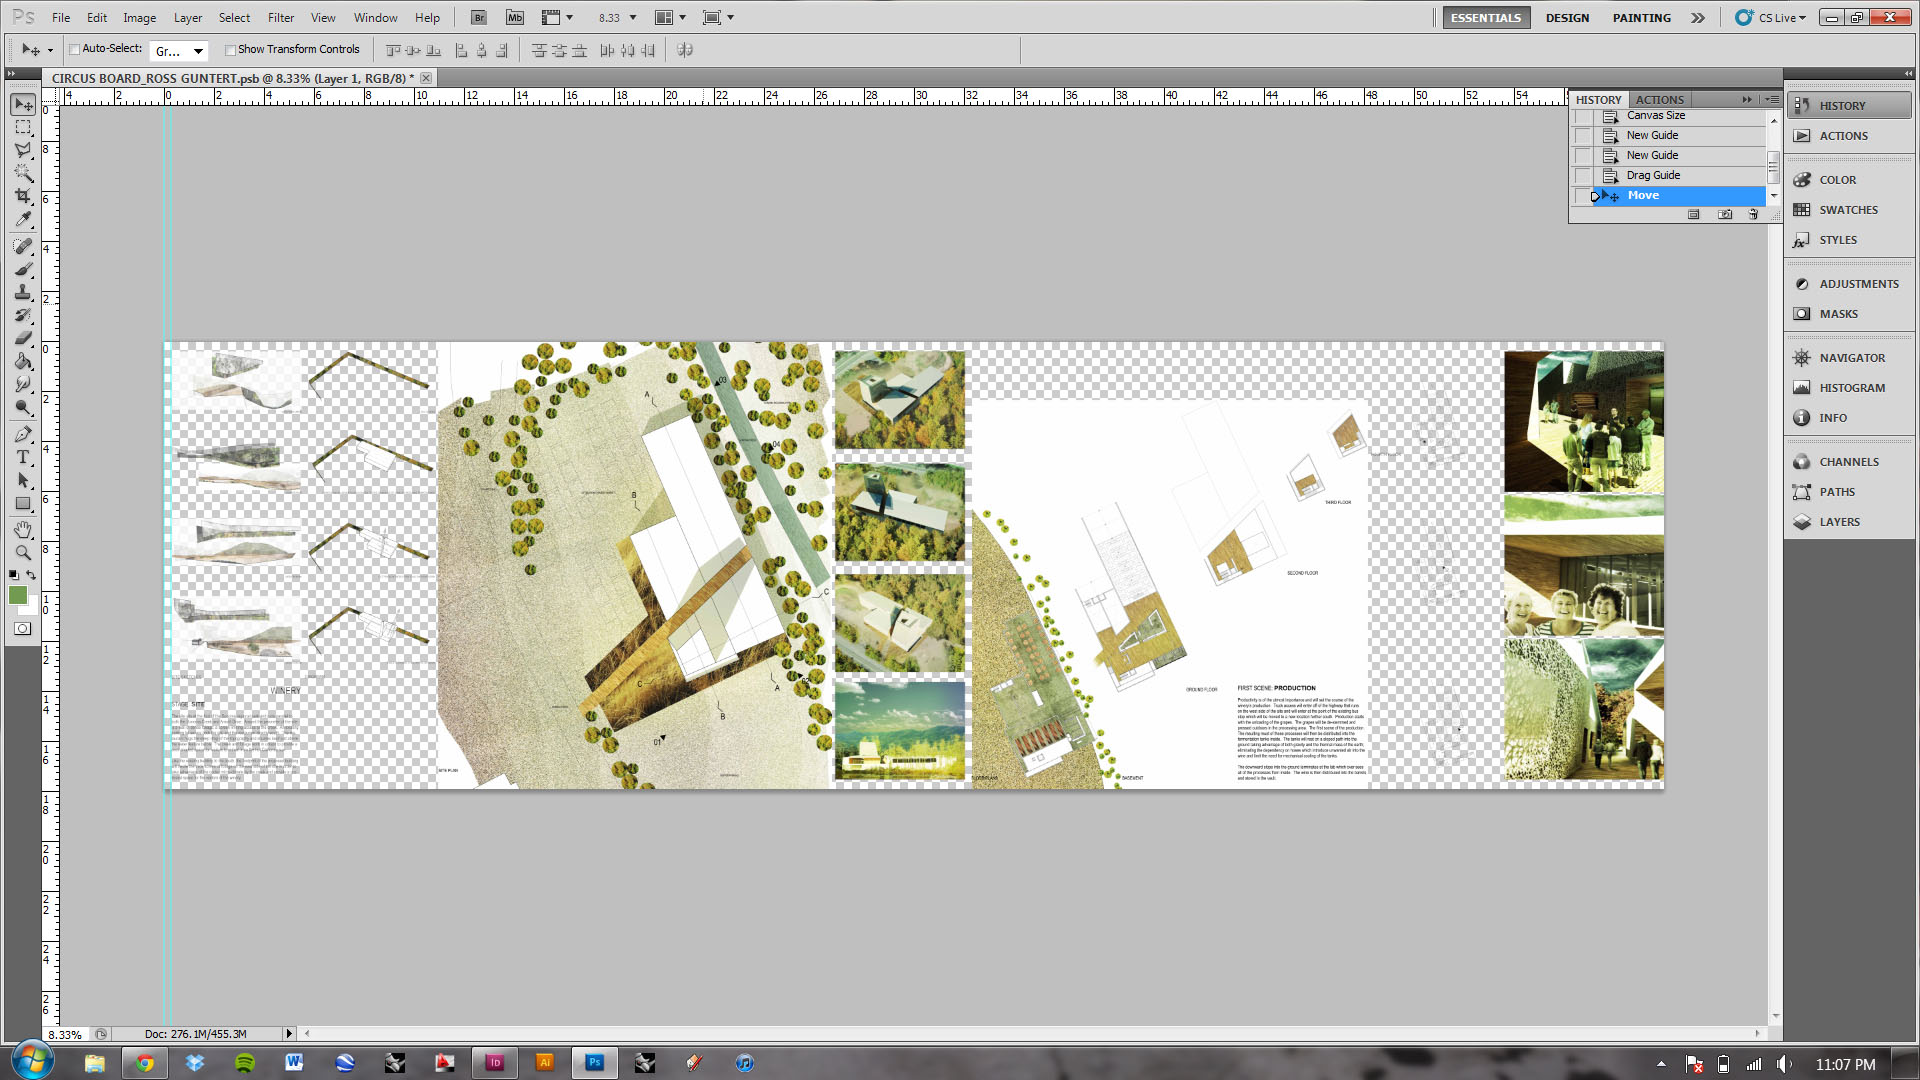
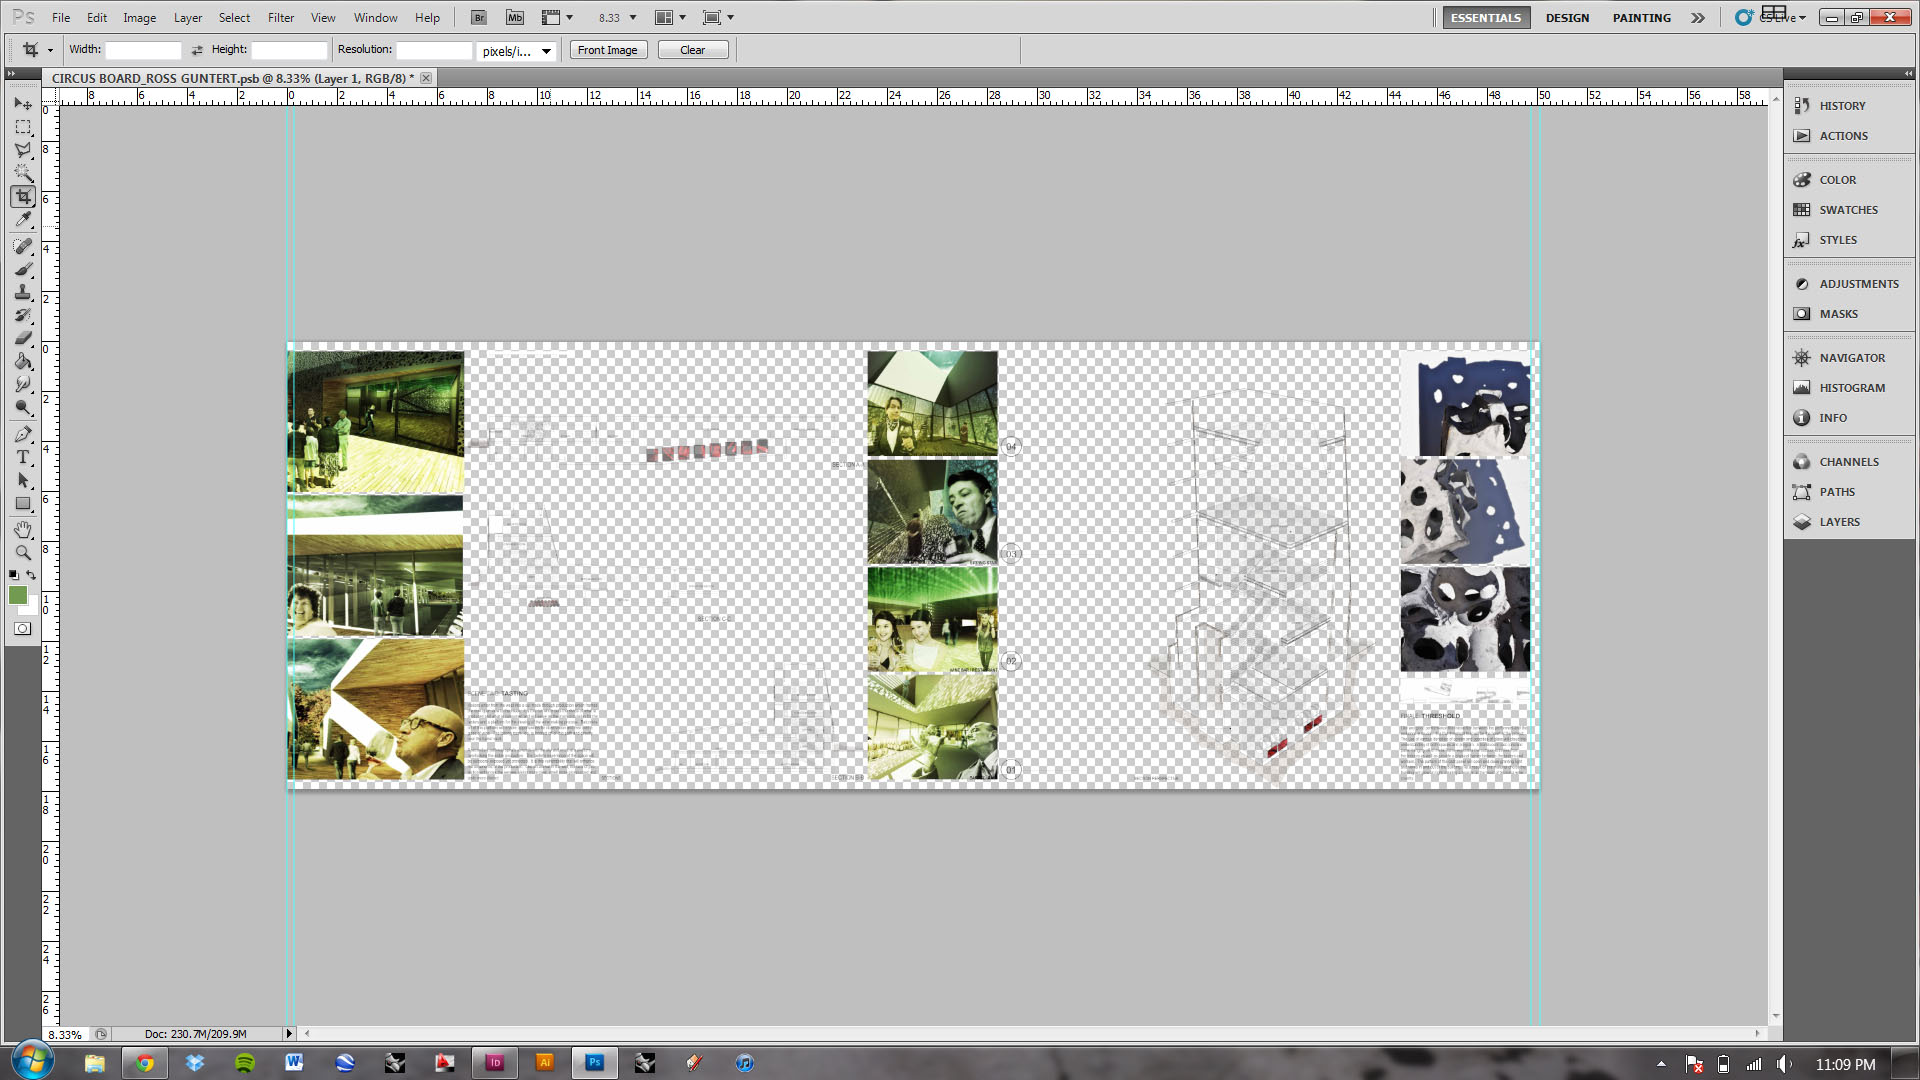
After plotting your layout as a PDF, open that file in Photoshop. When the doalogue box comes up make sure to select bounding box and set the resolution to 300. This will then rasterize you layout. This may take some time. Once the file is open, edit the canvas size by clicking on Image->Canvas Size . You can also use Alt+Ctl+C . Format the image to the allowable plot length.
Use the guides to help move the image to the desired margins. When moving the image, for the sake of consistency, start with the left side of the board. This will be the first plot. Save this image as a PDF. Once printed, move the image to the left so that the where the canvas size cut off the larger plot on the right is now on the left side of the canvas. Remember, leave enough room so that there is some overlap. If this is the last section of your board, use the guides to create the margins of the right side of your board. Crop and save the image as a PDF.
Lastly, consistency is key. When laying out the the boards, keep in mid where the paper will be over lapping. If you have more than one board make sure that the overlap is in the same location, so that it all lines up. This can be distracting in a presentation.
Common Problems
- Font Conflicts
- When you bring your drawings into InDesign and scale them, you may lose control of font size and style. To avoid this, lay out all of your text in InDesign.
- Lineweight Scale
- Unlike Illustrator, you cannot change line weights of drawings in InDesign. This becomes a bit of a nuisance having to go back and fourth between the two software. You can draw lines in InDesign, but it is not recommended. It is very important that you do test plots on 81/2 x 11 or 11 x 17 to make sure your line weights are printing out correctly.


