| Tesselating NURBS Surfaces | |
|---|---|
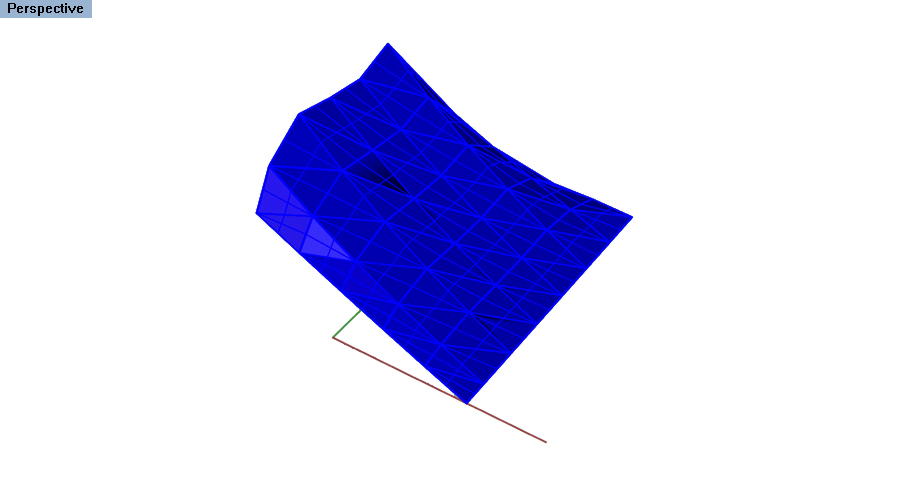
| The method described here allows you to restructure the geometry of complicated surfaces. It is essentially the process of tessellation--taking a curved surface, and rebuilding it with a series of small triangles. This is a good way of approximating a curved surface, though it will not be exact. | |
| Part of | Rhinoceros |
| Part Type | Method |
| Screenshot |

|
The following steps demonstrate one way of approximating a curved surface thorough tesselation. While producing a triangulated mesh that closely approximates the surface in question, it will not be exact. However, for physical modeling purposes, this is often the best way to tackle complex, curving surfaces.
Steps
Rebuild
This method starts by using the Rebuild command. The rebuild command allows you to change the number of Isocurves that Rhino uses to calculate a surface's geometry. Remember that isocurves are the secondary gridlines that appear on all surfaces in Rhino. To make sure isocurves are turned on, check the Properties panel and make sure that the Isocurves Visible option is checked when the surface is selected. Then, change the number of isocurves in the X and Y directions, and check the Preview button to make sure it looks how you intend. It is common to have a different number of X and Y isocurves, depending on the surface's geometry.
Triangulate Surfaces
The next command is to ExtractWireframe . This will turn the isocurves into actual curves in Rhino. (An alternative to the "Rebuild-Extract Wireframe" sequence would be to use the "Contour" command in both directions). You can then use the SrfPt command to create 2 triangular surfaces within each "box" of the gridlines, using the intersection points of the contours as the endpoints.
Resources
This Rhino file walks through the basics of how surface modeling works.