| Viewport | |
|---|---|
| Viewports display an image of the three-dimensional scene of the model. | |
| Part of | Rhinoceros for OSX , Rhinoceros |
| Part Type | Interface |
| Screenshot |

|
Introduction to Viewports

Rhino opens with four standard viewports: Top, Front, Right, and Perspective, each with a grid on the construction plane . These all provide different views of the model and function differently when constructing a model. Navigating the space of the model in the viewport helps in visualizing the model. You take the position of a camera looking at the model.
Double clicking on the viewport name maximizes and minimizes the viewport. Right clicking on the viewport name pulls up a menu with many of the viewport options. Left clicking on the viewport toolbar icon (which is an icon of the 4 viewports) restores the four original viewports. Click and hold the button for more options.
Shaded Modes
The model can be viewed in a variety of ways; each mode has its pros and cons. To change the viewing mode, right click on the viewport name and select the desired mode.
- Wireframe
-
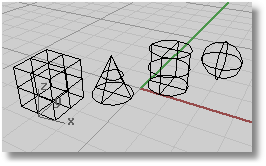
- This is the default viewing mode. The model's edges and fundamental geometries are shown as wires. This is useful for clicking on objects within or behind another object--in the Shaded mode, for example, the object that is beyond would be obscured.
- Shaded
-
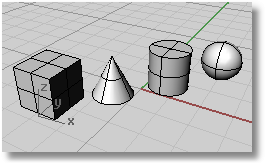
- In this view, objects' surfaces become visible. The color of the shading usually corresponds to the layer that the object is on.
- Rendered
- If materials are applied to objects in the model, they will be rendered in this view. This is helpful for quickly visualizing what a render will look like without actually rendering.
- Ghosted
-
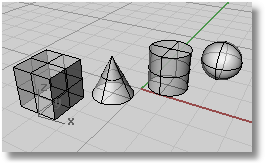
- Objects will appear translucent but will still appear to have surfaces. Wireframe and points can be seen.
- X-Ray
- Objects will appear transparent but will still appear to have surfaces. Wireframe and points can be seen.


Advanced settings for each mode can be edited by right clicking on the viewport name --> Display Options...
Viewport Properties

The Viewport Properties shows useful information about the viewport, including projection type, size, and camera location. To access the properties, right click on the viewport name, then click on Viewport Properties.
Perspective Projection

The default setting for the Perspective viewport is "Perspective Projection". As is the case in all perspective drawings , this viewport setting employs a type of graphic projection in which grid lines converge to a vanishing point, providing the illusion of depth. Objects that are farther away look smaller. This creates a more realistic view of the model (as if you were seeing it in real life), so renderings are usually made with Perspective Projection.
Lens Length
When the projection is set to perspective, the lens length of the camera can be changed. A shorter lens length results in a wider view. This is helpful for changing the angle of the camera when rendering with VRay or other Rhino plugins.
-
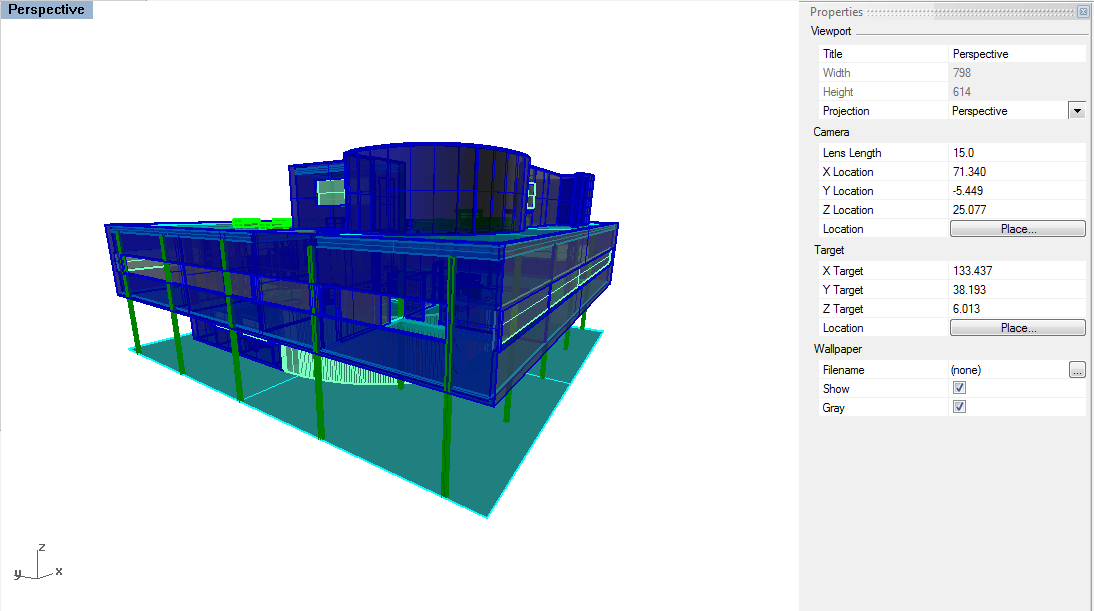
Lens Length at 15 - extreme perspective
-
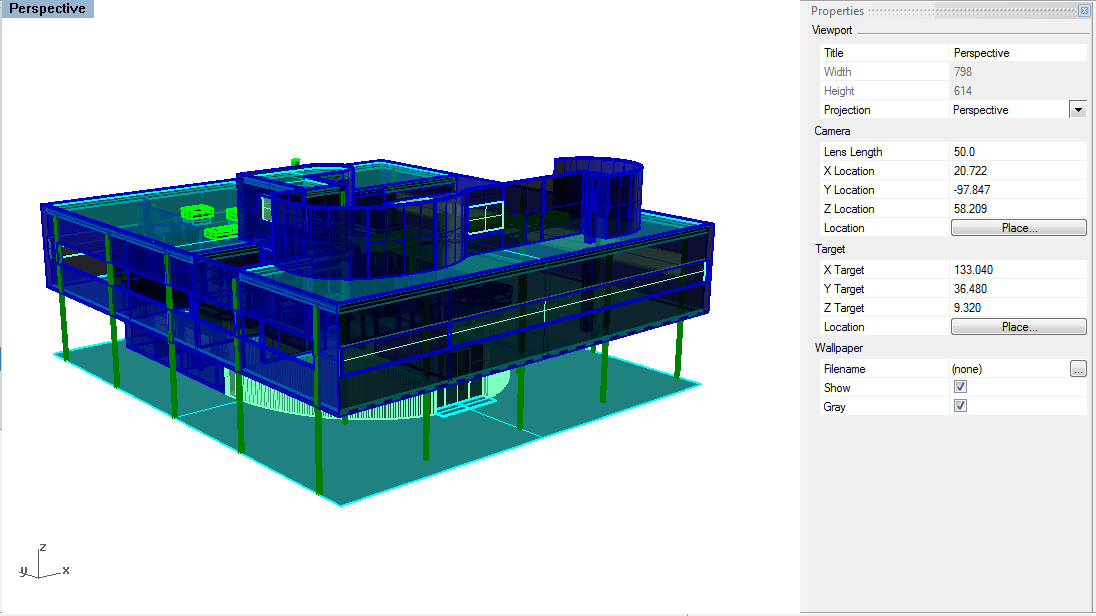
Lens Length at 50 - default
-
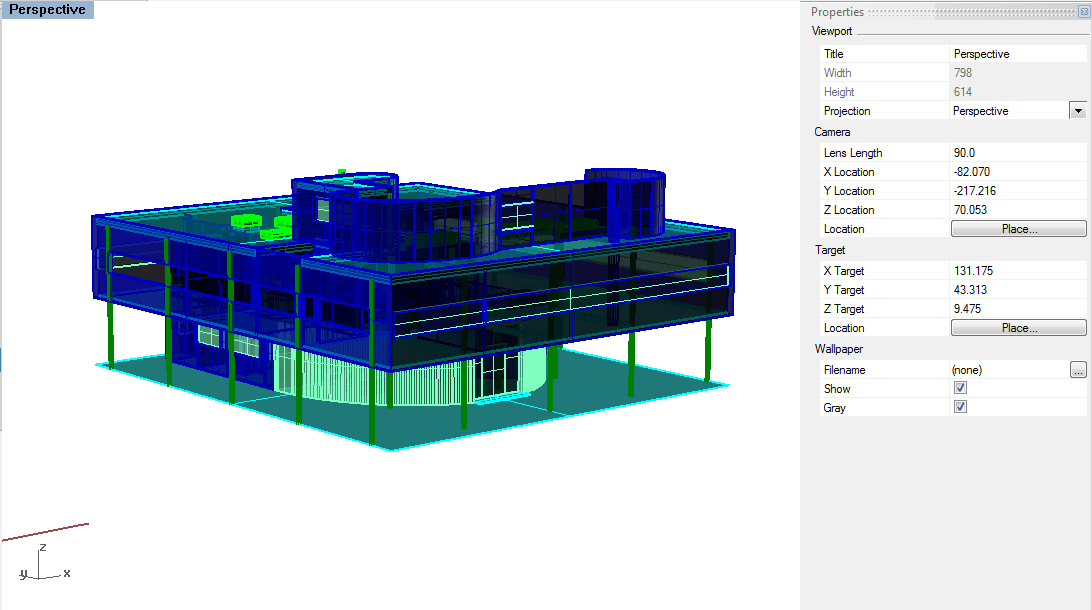
Lens Length at 90 - less perspective, close to Parallel view


Parallel Projection

Parallel Projection in Rhino is also known as "Orthogonal View." In this viewport setting, as is the case in all drawings that employ orthographic projection , the grid lines are parallel to each other and identical objects look the same size, regardless of where they are in the view. This setting is primarily useful for creating axonometric drawings, but is also employed to produce plan , section , and elevation drawings. Remember that the parallel view is not a true 3D display mode, in that it is not geometrically correct for when creating axonometric drawings.
Resources
- More Viewport Options
- Other ways to organize viewports.