|
Cleaning Up Existing Drawings |
|
|---|---|
| Screenshot | |
| This workflow demonstrates the process of cleaning up existing CAD drawings, using the Tel Aviv Museum of Art as an example. Precision, accuracy and organization are emphasized to create a finished, "clean" drawing. Starting from a somewhat finished digital drawing, we will re-organize and clean up existing linework in the most efficient manner. Custom alias usage will be introduced. | |
| Uses Tool(s) | Rhinoceros |
Steps
Download the Sample Drawing
Creating Aliases
The linework within this sectional drawing of the Tel Aviv Museum of Art needs to be cleaned up, and fortunately a short list of commands can be used to do so. Before we begin, it will be worth our while to take the time to create (0r import) aliases , for they are instrumental in establishing an efficient drafting process.
Think of aliases as keyboard shortcuts. Type Options and select the ALIAS option from the left panel. Now we can begin to edit, import, or create new aliases. It is important to be careful when creating your own aliases, for you do not want to confuse different commands that share a similar spelling. An example would be Ex plode and Ex tend.
By selecting "New" you can create your own Aliases. Follow the same format as the other commands by tying "!_" for the command. You can also edit existing commands. At any point, you can Restore Default to the original Aliases command list.
In cleaning up the Tel Aviv Museum, we will be using several commands frequently. Create your own aliases for the following commands:
-
Polyline
-
Line
-
Split
-
Trim
-
Fillet
-
Hide
-
Show
-
Join
-
Explode
- Creating New Aliases
Organizing Line Types into Layers
Now that we have established working shortcuts it is important to organize the information within our drawing into layers.
We can begin to organize our layers first by identifying different line types. Type SelColor , select a black line, or an "object with target color," and press enter. All of the objects, or in this case black lines, will be selected. These are our construction lines. Create an appropriately titled layer and (using your Properties Panel) transfer them within it.
To help us identify other line types, it will be helpful to remove the construction lines from site. With them already selected, we can quickly achieve this by typing H (or our recently created alias for Hide ). Remember, you can quickly Show hidden objects.
We will now be identifying the section lines. First, type SelClosedCrv , this will reveal all of the closed curves within our drawing: typically where a sectional or plan cut is made. We can confirm through the "Display Color" line within our Properties Panel. It is reasonable to assume that all RED colored lines represent sectional lines.
- Section Lines
Using the SelColor Tool organize the remaining line types into the following LAYERS:
-
Section
-
Elevation 1
-
Elevation 2
- Layer Organization
Editing Linework
Now we are ready to begin editing the existing linework within the sectional drawing. Make sure to delete any repeated lines and pay attention to the following conditions throughout the drawing:
- Polyline / Line Needed
- Split Neede
- Trim Needed
- Extend Needed
- Fillet Needed
- Join Needed

- Explode Needed

Use your ALIASES for efficiency. And remember, you can to press ENTER to repeat the command that was previously used.
Adjusting Lineweights in Illustrator
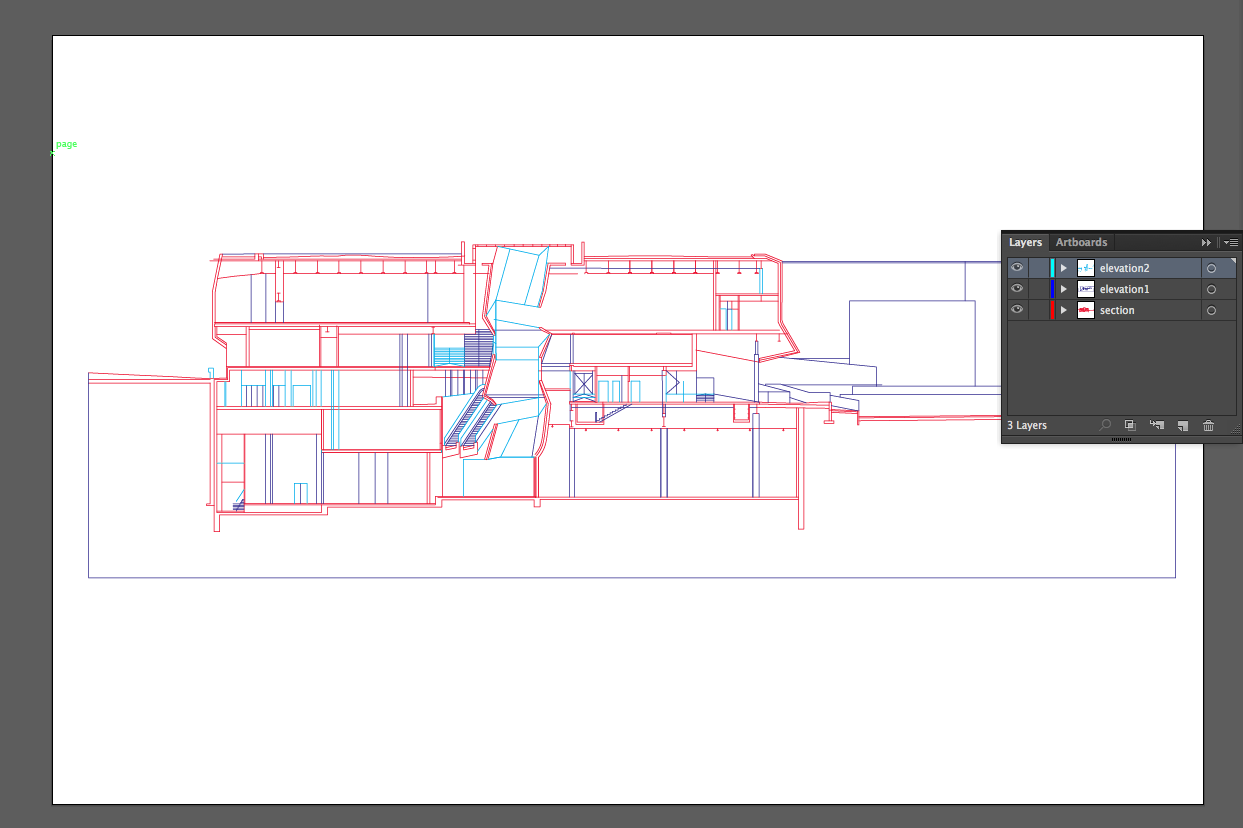
Now that we have cleaned up the linework, the drawing is ready to be adjusted in Illustrator. Export the drawing to Illustrator at 1' = 1/16" and place on a 24"x36" landscape page. Also, you will notice that your LAYER organization is preserved.
- Illustrator Layers
Adjust lineweights and fills as necessary. Add poche (section fill) to the section lines and cut through the ground plane.
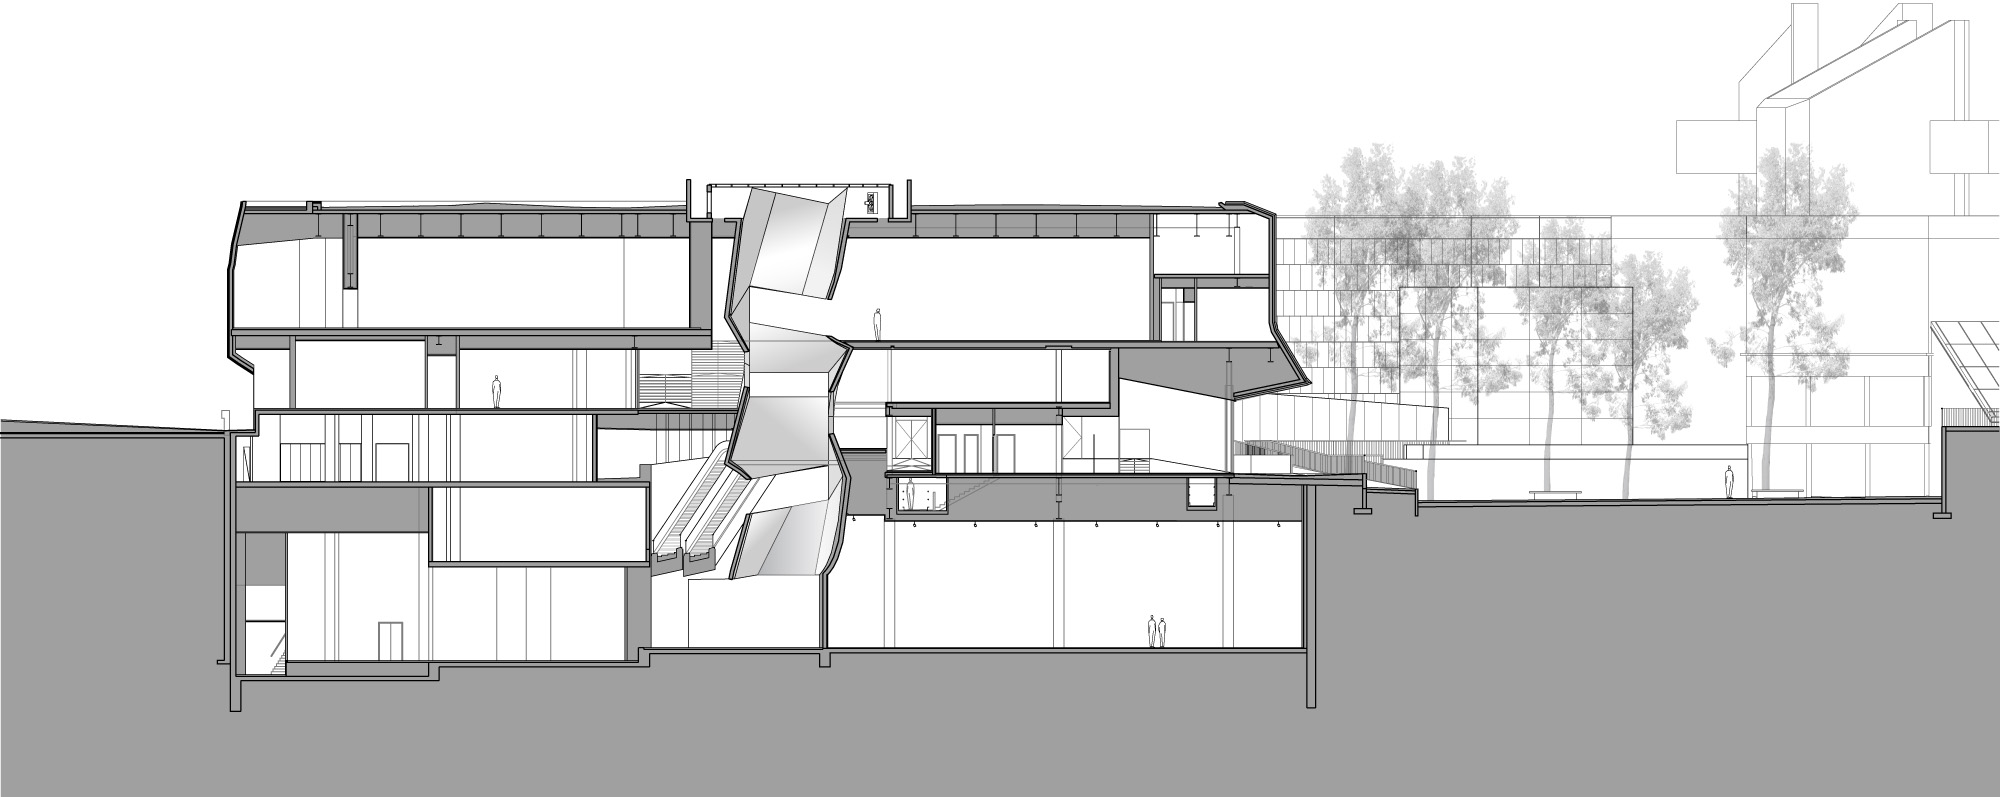
Once adjusted, your final drawing should reflect the original Preston Scott Cohen drawing. Refer to it for clarification on lineweights and detail.
- Original Tel Aviv Museum Drawing
For more information on the Tel Aviv Museum by Preston Scott Cohen, feel free to peruse the project details on their website .


