|
Creating various rendering effects with Vray |
|
|---|---|
| Screenshot | |
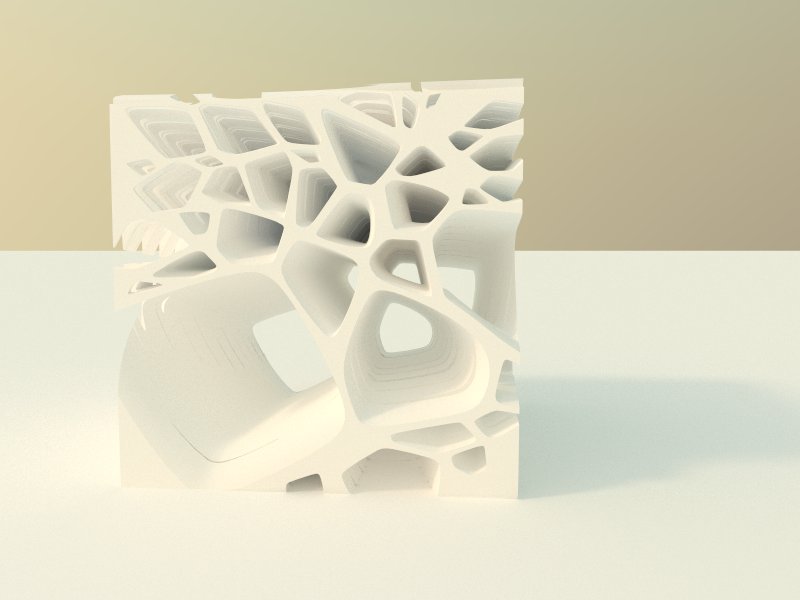
| This workflow shows how to use Vray for Rhino to create various rendering outputs, using the Sunlight System and the numerous options with the Render Options Dialogue box and the Light Properties Dialogue box. | |
| Uses Tool(s) | Rhinoceros , VRay |
This is not a workflow per-se, but rather a list of features of a single software tool. This information would be better distributed into distinct parts of the "VRay" tool.
This workflow contains no images or examples of the application of the techniques discussed.
Creating Sunlight System
The Sunlight System when partnered with the Physical Camera settings and various options within Vray give the user a great range of flexibility in creating accurate daylighting renderings for 3d models. First off click the Sunlight System button at the top left of the screen to bring up the dialogue box. Here you have the option to manually position the sun with horizontal and vertical angles (be sure to keep the sun above the horizon or you will not get illumination). You can also choose a specific location and specific time if you want to place the rendering within your given site. Once a sun system is placed you have the option of changing the sun location by opening the object properties dialogue box, with the sun selected, toggle down from object to light in the dialogue box. Here you can re-position the sun as you wish or give the sun different properties regarding turbidity (atmosphere), ozone (blue cast), intensity multiplier (the strength of the sunlight), or size multiplier (the softness of the shadows).
Render Options: Global Switches Setup
Within the VRay Render Options Dialogue Box, Global Switches will be the topmost category. Here you'll want to change a few settings to assure a consistent sunlight system rendering. In the Lighting sub-section you'll want to turn off Default Lights and Hidden Lights. You only want to have selected, Lights and Shadows. The Gamma Correction sub-section should be pre-set to 2.2, with correct RGB and Correct LDR textures selected.
Render Options: Environment
Halfway down in the Environment Tab, you want to be sure to click on the big'M' to right of the GI (Skylight) Button. This will take you to the editor for GI, in which you will select the Sun System from the Sun sub-section, click on the button to the right of Sun-Light Source. You will change from default to Light 01, which is the Sun Light. This selection will ensure that you are only using the sun rather than default lights from Vray, for your rendering setup.
Render Options: Camera
Make sure the physical camera sub-section is checked. This needs to be used in tandem with the sunlight system to create accurate renderings. Here you have the same control as you would an SLR or DSLR camera. A greater number for shutter speed will allow less light in resulting in a darker image, if you lower the number or slow the shutter, you will get a brighter image. Big F-numbers give you darker images, as it gives you a smaller aperture through which light hits the lens, a small F-number is a bigger aperture allowing more light in. Film speed is the sensitivity of the film or sensor, the greater the number here, the brighter the image. You will also want to turn off vignetting which creates dark borders around the edges of the frame.
Render Options: Output
For test renders keep it small, 320 x 240 is good enough to understand what the settings will give you in a larger size. For the purpose of this exercise, you will only need to render at 800x600, which is still relatively small. For large final renderings, you will need pixel dimensions of at least 2000, depending on the size required.
Render Options: Color
Within the environment tab, you can adjust the cast or color of a render due to the GI(skylight) by clicking on the color swatch and adjusting the color here, although for most instances the given light blue is good for accurate color. You can also adjust the white balance within the camera settings.
Object Properties:Sun Light Control
You can also adjust the settings of the sunlight by selecting the light within the rhino screen. Once selected input properties or click the object properties tab in the tools menu. This will bring up the Object Properties Dialogue Box, here click on the drop down menu and select Light under object. This box gives you the option to re-position the light with the modify button. Below this there are other buttons that effect the way the sun performs in the renderings.
- Turbidity, when the value is raised increases the atmospheric haze creating a smoggy effect, and a warmer color cast (3 default - 6-12 warm - 20 heavily altered)
- Ozone, when raised gives a blue cast to the scene (0.35 default - 1.0 blue cast)
- Intensity Multiplier, when raised the sun's strength becomes stronger (levels depends on camera settings)
- Size Multiplier, when raised creates softer shadows (1 default - 6 soft shadows -12+ very soft shadows)
