| Week 2 - Advanced 2d Drafting + 3d Modeling | |
|---|---|
| Course | Arch 123 |
| Date | 2012/06/25 |
| Learning Objectives | This workshop will continue reviewing some of the basic 2d commands in Rhino in preparation for 3d modeling which will begin next week. |
| Agenda |
|
| Uses Tool(s) | Rhinoceros |
Pin-Up
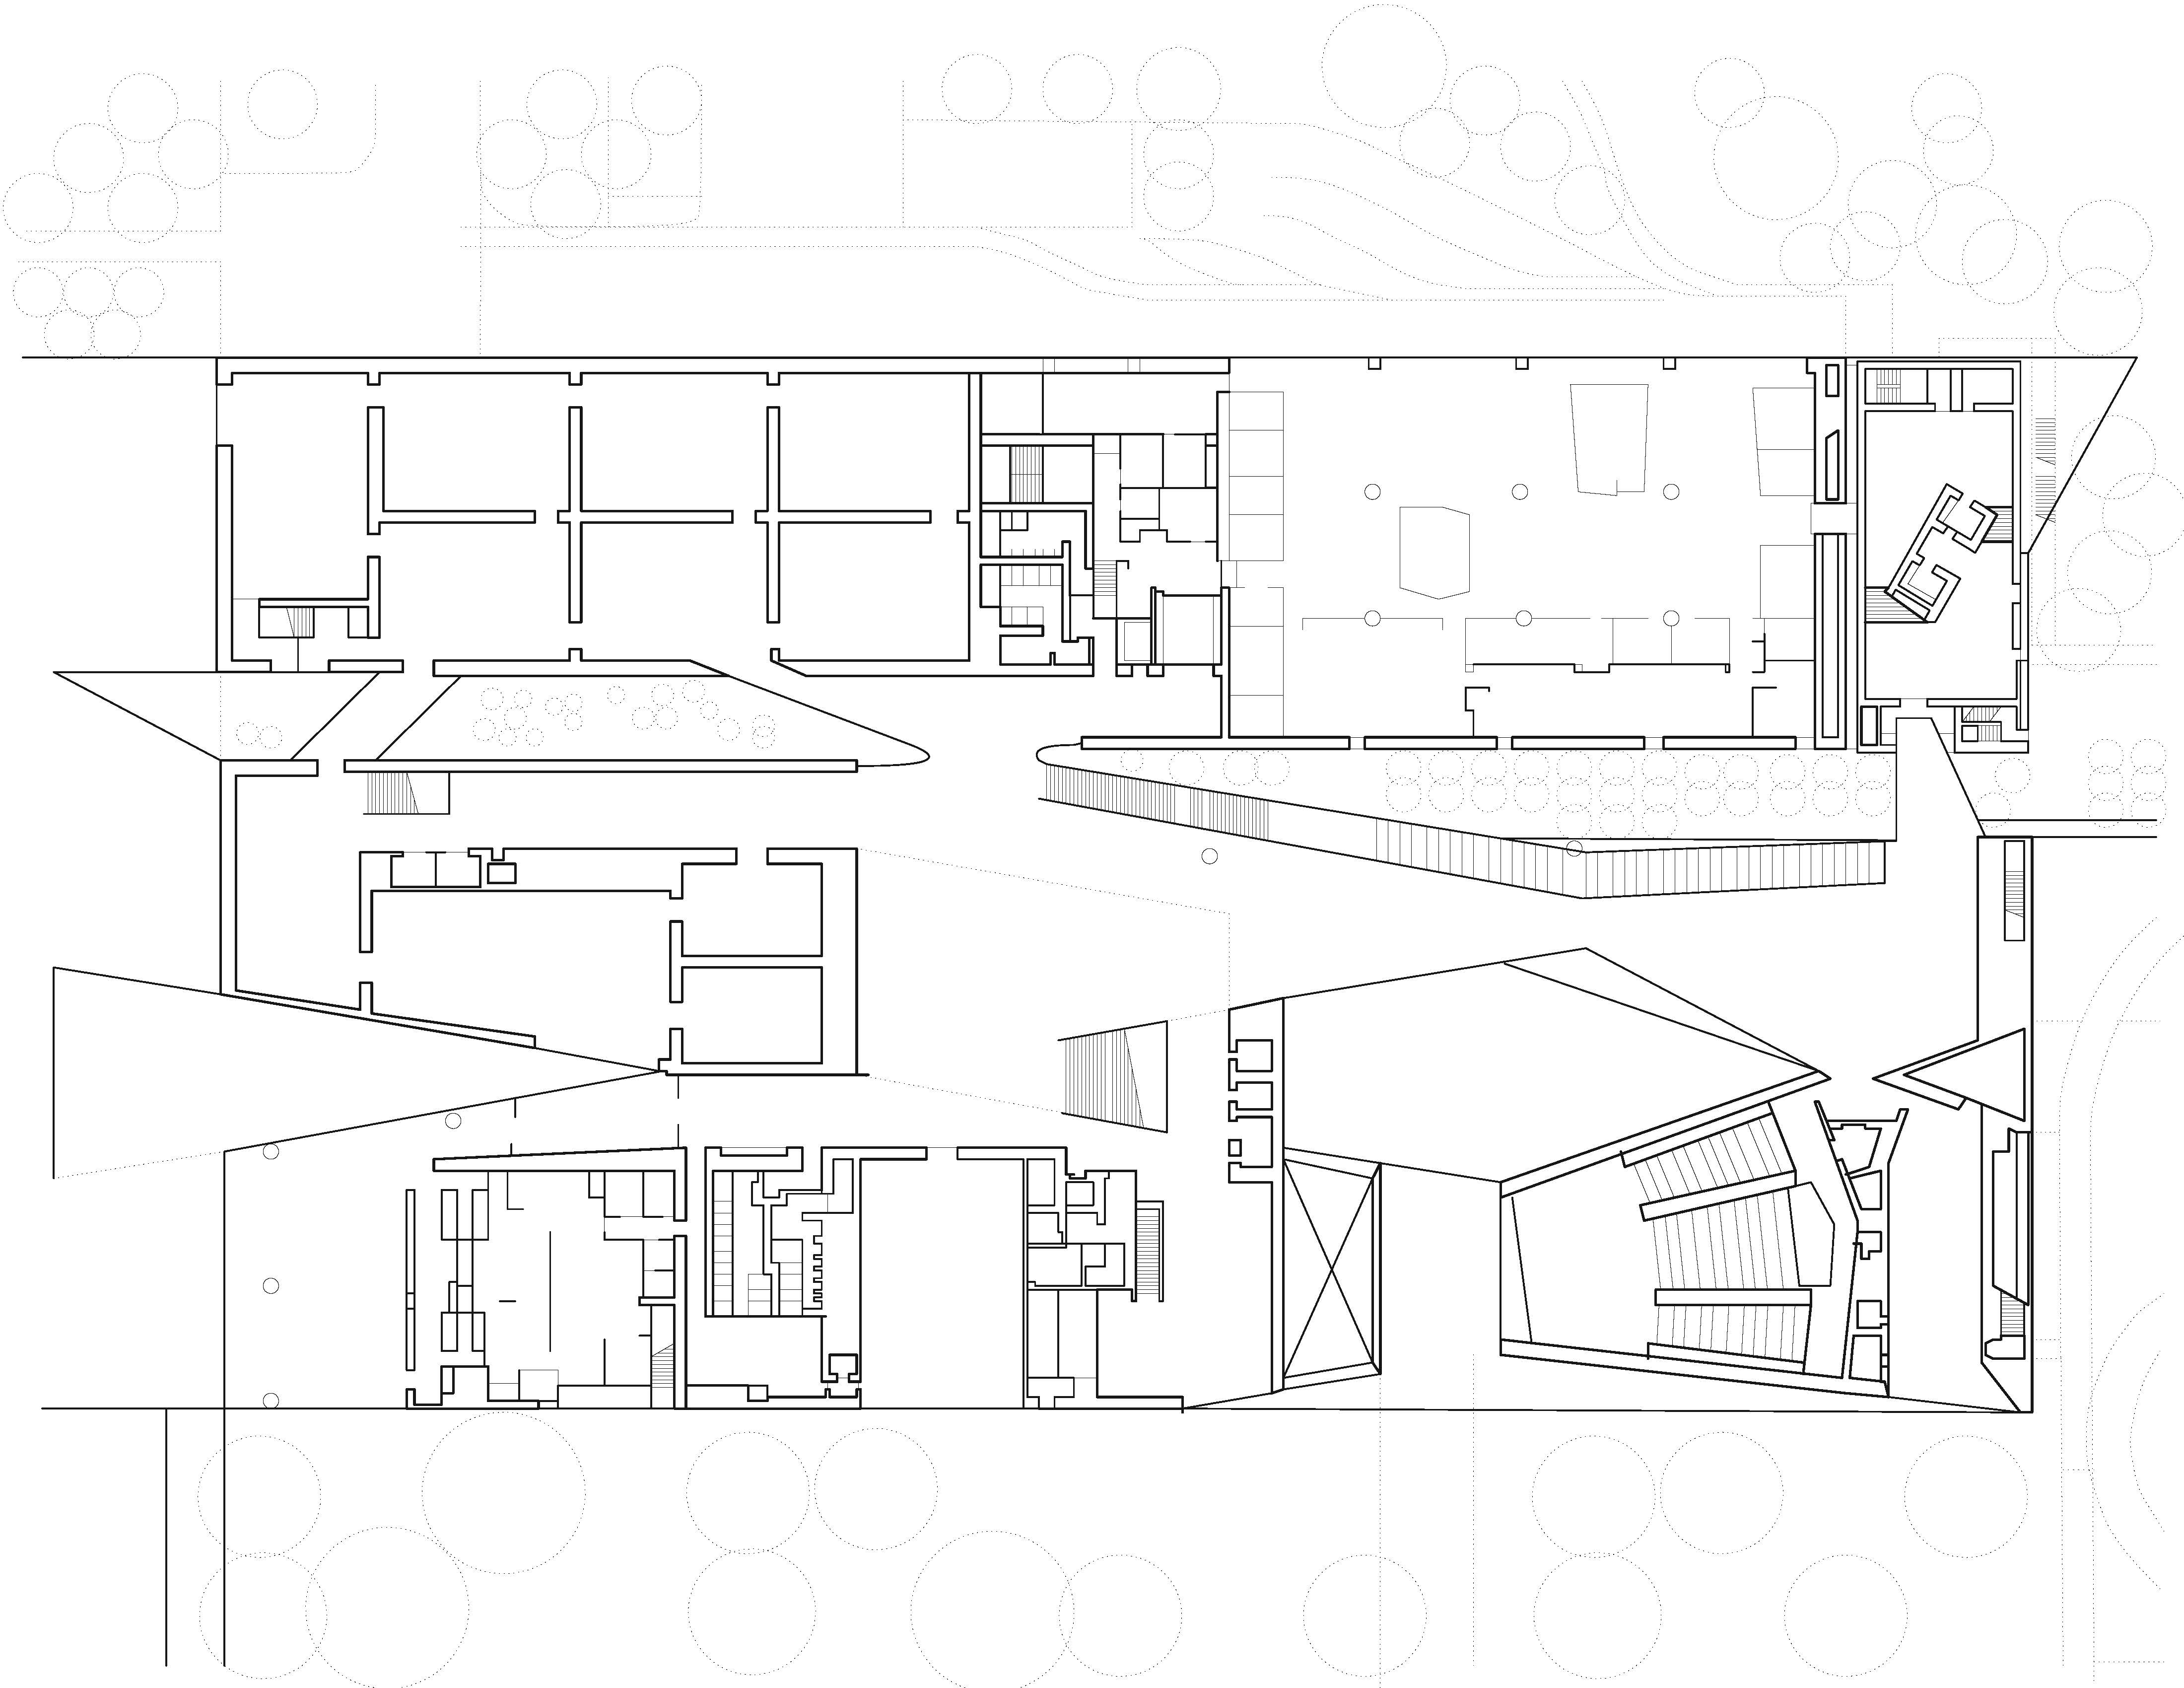
Each student will go through and briefly explain their drawings, focusing on explaining the spaces that they drew. What differentiates one room from another? How does the drawing express materiality? Where are there "open" spaces versus "closed" spaces?
Drawings will be presented as a group.
 Above Drawing from Jennifer Lee, Arch 123 Summer 2012.
After the presentation, there will be a brief discussion
- What tools helped quicken the process? of the process.
- What were some of the tools you used / discovered?
- What were some of the common mistakes / problems?
Lecture 2: Advanced 2d Drafting
-
Import CAD
Aliases
- Options > Aliases This is where you can change, edit or upload new shortcuts for when working in Rhino. AutoCAD aliases can be imported via text files from websites like RhinoTut
-
Polylines, Curves: When to use what?
- Polyline, Line, Curve, InterpCrv, POn, Split, Trim, Extend, Fillet, Blocks
-
Adding Notes
- Linear Dimension, Text, Dashed Lines
-
Organization: Layers, Selection Tools: Fixing a Messy Drawing
- SelCrv, Hide / Show, Join, Explode
-
Illustrator Review
- Zooming / Panning, Fills, Live Paint , Dashed Lines, Crisp Corners, Join, Selection Tools
In-Class Exercise :
Cleaning up Messy Drawings
Want to learn more about Illustrator? Adobe TV has great tutorials online showcasing the different tools and elements in the program.
Preview: 3d Modeling
-
Introduction to NURBS Surfaces
- NURBS vs Mesh
- Basic Surface Commands (extrude, loft, planarsrf, edge srf)
- Basic Surface Editing Tools (project, trim, scale, rotate3d)
I suggest experimenting and testing your skills by working on your group model and doing what you can. TryTest different surface tools (extrude versus surface edge) and see what works easier. Try editing surfaces by rotating in 3d (rotate3d) and scaling it to a certain size.
For more online tutorials explaining the different commands, check out Digital Toolbox .
Assignment 2
- As part of Next Top Model , students should revise drawings per the class discussion and in preparation for the 3d model. For the next class, drawings should be printed at 1' = 1/16". (Free free to tape together different 11"x17" sheets of paper.) Each group should have coordinating drawings (same lineweights and style).
- Student should divide up roles for crafting the 3d model and begin research, on-site measurements and modeling. 3d model will be reviewed in Class 4.