| Workshop 1b | |
|---|---|
| Course | Arch 200c |
| Date | 2013/09/12 |
| Learning Objectives | In Workshop 1b, students will learn to extract information from a digital model to serve as an underlay in the production of hand-drawn orthographic views using pencil and vellum. |
| Agenda |
|
| Uses Tool(s) | |
This session will be led by Kyle Steinfeld.
Project 1 Pinup
Please have a first iteration of both the elevational layer and the sectional layer pinned up in room 901 by the start of class. For reference, place your plaster models on the floor in front of your drawings.
Workshop 1b
Drawing Process Review
Working from Measurements
You'll need to determine your drawing scale based upon your subject and the size of the media you are presenting on by taking the boundaries of your subject and determining how they will best fit on the page. Once the scale has been determined, use your architect's scale to draw rather than constantly converting measurements - you'll save time and have fewer errors.
Drawing in Layers

Drawing in layers is an important part of the drawing process because it allows for greater control over the final product. By starting with construction lines and soft pencil lines and gradually moving towards hard-lined drawings, architects are able to edit their drawings along the way without ruining the quality of the drawing set. Soft lines in light weights are easy to erase and recreate, but hard-lined drawings drawn with heavy weights and pressures are much more difficult to manipulate.
Begin by establishing the major guidelines of structure and/or envelope with a hard lead and soft pressure. These easily removed lines will help you frame your drawing on the page or determine if a different scale is necessary early on. From there, you'll proceed up the lineweight hierarchy, first using the light lineweight to draw everything, from action lines to fill patters to furniture to structure; then to a medium lineweight, now only drawing the detailing and structure; and finally to the heaviest of your lineweights, drawing only the cut parts of your structure and envelope.

Producing the Final Overlay
Along the way, correct and alter lines as necessary, making sure not to move on to the next heaviest lineweight until you are confident the drawing is correct. Before hardlining your drawing, be sure to look over your drawing thoroughly, since the heaviest lineweights will be difficult to remove without negatively affecting the drawing's quality. Once you've finished hardlining, erase any traces of construction lines that are unnecessary to the drawing.
Lineweight Review
Line Weights, Styles, and Types
Depicting Surface Geometry
Topography, receding planes, curved surfaces
Jorn Utzon
's drawings for the Sydney Opera house in both
The Red Book (1958)
and
The Yellow Book
provide some nice examples of depicting smooth curved forms using graphic projection techniques.
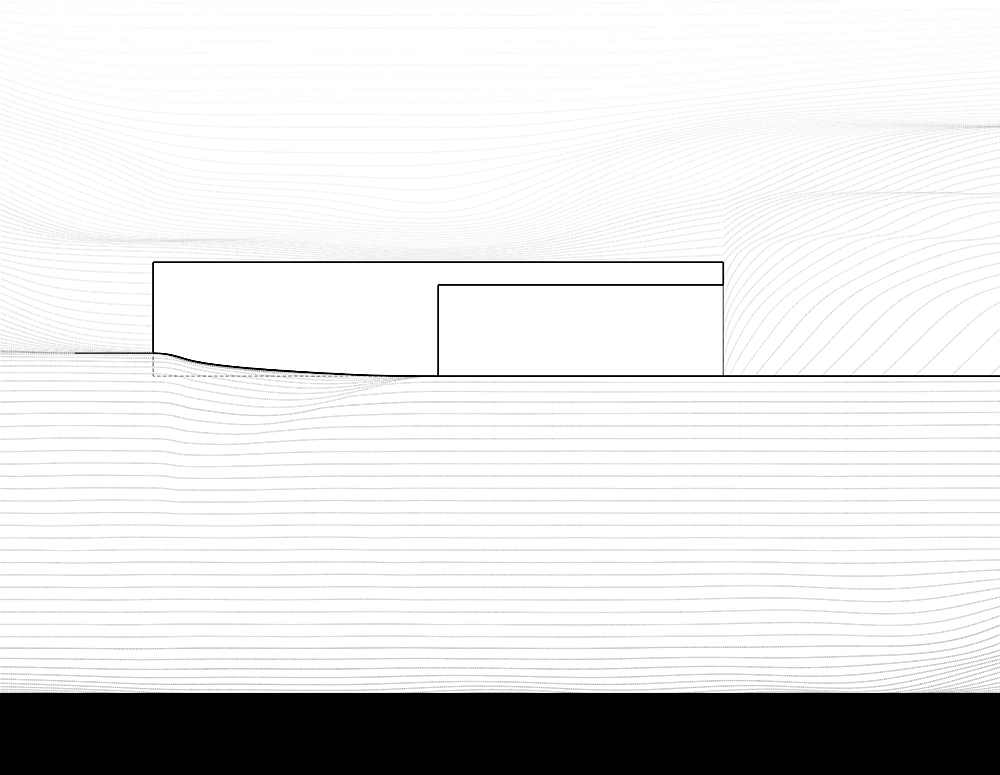
Topography Contour Method
When depicting a complex surface, most notably a complicated condition of ground, it is often useful to suggest the geometry of the surface through a topographic-style contour method. Because this method depicts the curves resulting from an intersection of the surface in question with a set of imaginary planes, it is common to see the resulting lines rendered in such a way that indicates their diagrammatic nature - such as using a different linestyle than elsewhere in the drawing.
- Topography Contour Method
- A workflow demonstrating the method described above.
Rendered Shadow Method
In 3d analytical drawings and diagrams, it is often times helpful to render or shade the object in order to emphasize its formal attributes and spatial depth. While we will look at much more advanced rendering techniques using Rhino and V-Ray later this semester, for the purposes of this exercise we will look at how to achieve a rendered effect in both Rhino and Illustrator.

- Creating an Axonometric Drawing from a Digital Model
- This workflow will show the steps to produce an axonometric drawing using an existing digital model. The final drawing will be composed of both linework that has been edited and cleaned-up on top of a simple Rhino rendered image of the digital model.
- Creating Shadows for Plan Drawings
- Shadows on plans help drawings read spatially. This tutorial explains how to edit a shadow render for a plan drawing.
Tour of Pt Bonita Orthographic Drawing Templates
Since you've just been assigned the first iteration of orthographic projection drawings for Departure One, we'll spend a bit of time today touring the drawing templates that have been prepared for you to work from.