| Topic One Lecture & Workshop 1a | |
|---|---|
| Course | Arch 200c |
| Date | 2013/09/10 |
| Learning Objectives | Our first topic lecture on the fundamentals of graphic projection in general, and orthographic projection in particular. Workshop 1a, guides students through the production of their first hard-line 3-view drawing and plan-oblique axonometric. After this workshop, students will be expected to have a clear understanding of fundamental techniques in orthographic projection, including drawing in plan, section, elevation, and axonometric; the procedures of producing these drawings by hand from drawing setup to producing a finished drawing; and the appropriate use of construction lines, guide lines, and drawing using layers of trace. |
| Agenda |
|
| Uses Tool(s) | |
This session will be led by Kyle Steinfeld.
Lecture 1 - On Projection
In his book Why Architects Draw , Edward Robbins identifies two approaches to understanding why architects draw:
- Drawings may be seen as a mode and language of representational, and as a conduit for architectural ideas that cannot be transmitted through other means.
- Drawings may be seen as instrument of social practice, and as embodying attitudes about cultural and social practice in architecture.
Below we present a range of perspectives on the design process, and by implication, the role that drawings play in it. Set in no particular order, these perspectives run the gamut outlined by Robbins, above - from socio-cultural perspectives to aesthetic and linguistic.
Simon - From Ill-Bounded to Well-Bounded
Simon might say that...
Drawings provide a place for the externalization and clear understanding of all the parameters of a design problem for everyone to see, and the process of design proceeds through the discovery of a clearly bounded problem.
References
- Simon, Herbert. “ The Structure of Ill Structured Problems .” Artificial Intelligence 4, no. 3–4 (Winter 1973): 181–201.
Schön - Reflection in Action
Schön might say that...
Drawings are like conversations, and the process of design proceeds through an active process of drawing, reflecting on what we have drawn, finding new possibilities and unexpected forms in our drawing, and drawing again with these new forms in mind.
In “The Reflective Practitioner: how professionals think in action”, Donald Schön was the first author after Herbert Simon to introduce an alternative approach to cognitive science design research. For Schön, design is not best described as “search” or problem-solving, but rather as itself a kind of “making” wherein designers make representations of the world that a design might occupy, and then construct the moves required to define solutions.
He characterizes design as a “reflective conversation with the materials of a design situation”, which describes a cyclical action of the discovering an ordering system, projecting this ordering system upon a representational space, and reflecting upon the intended and unintended consequences of this projection in a search for a more refined ordering system. Schön terms this cycle “reflection-in-action”. In contrast with the earlier frameworks, this understanding of the design process emphasizes mechanisms that aid designers in “problem setting”, that is projecting alternative interpretations of problem-solution elements that each take account of conflicting contexts.
References
- Schön, Donald. The Reflective Practitioner: How Professionals Think in Action . Basic Books, 1983.
- Schön, Donald. “ Designing as Reflective Conversation with the Materials of a Design Situation .” Knowledge-Based Systems 5, no. 1 (March 1992): 3–14.
Evans - Action at a Distance
Evans might say that...
Design is action at a distance, until a building is realized, design ideas necessarily reside in the collective imaginations of designers - drawings are one valid space amongst many that may receive and filter projections of a design idea.
References
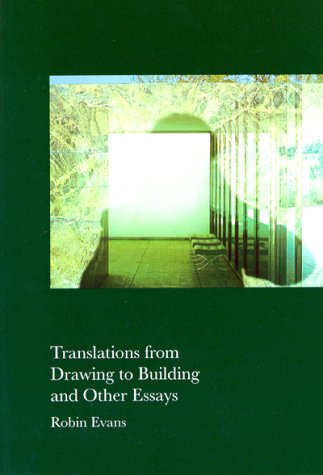
- Evans, Robin. Translations from Drawing to Building . MIT Press, 1997.
- Evans, Robin. The Projective Cast: Architecture and Its Three Geometries . The MIT Press, 2000.
Graves - Drawing Practice follows Design Development
All text and images below are shamelessly copied from Michael Grave's article for the NY Times . In this article , Graves argues for the merits of drawings produced by hand, without the aid of a computer. To this end, he identifies three types of drawings he commonly produces in his work as a designer:
The Referential Sketch
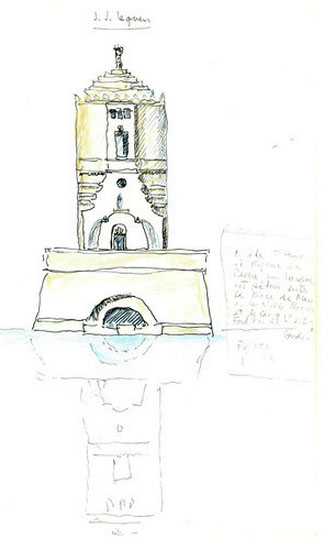
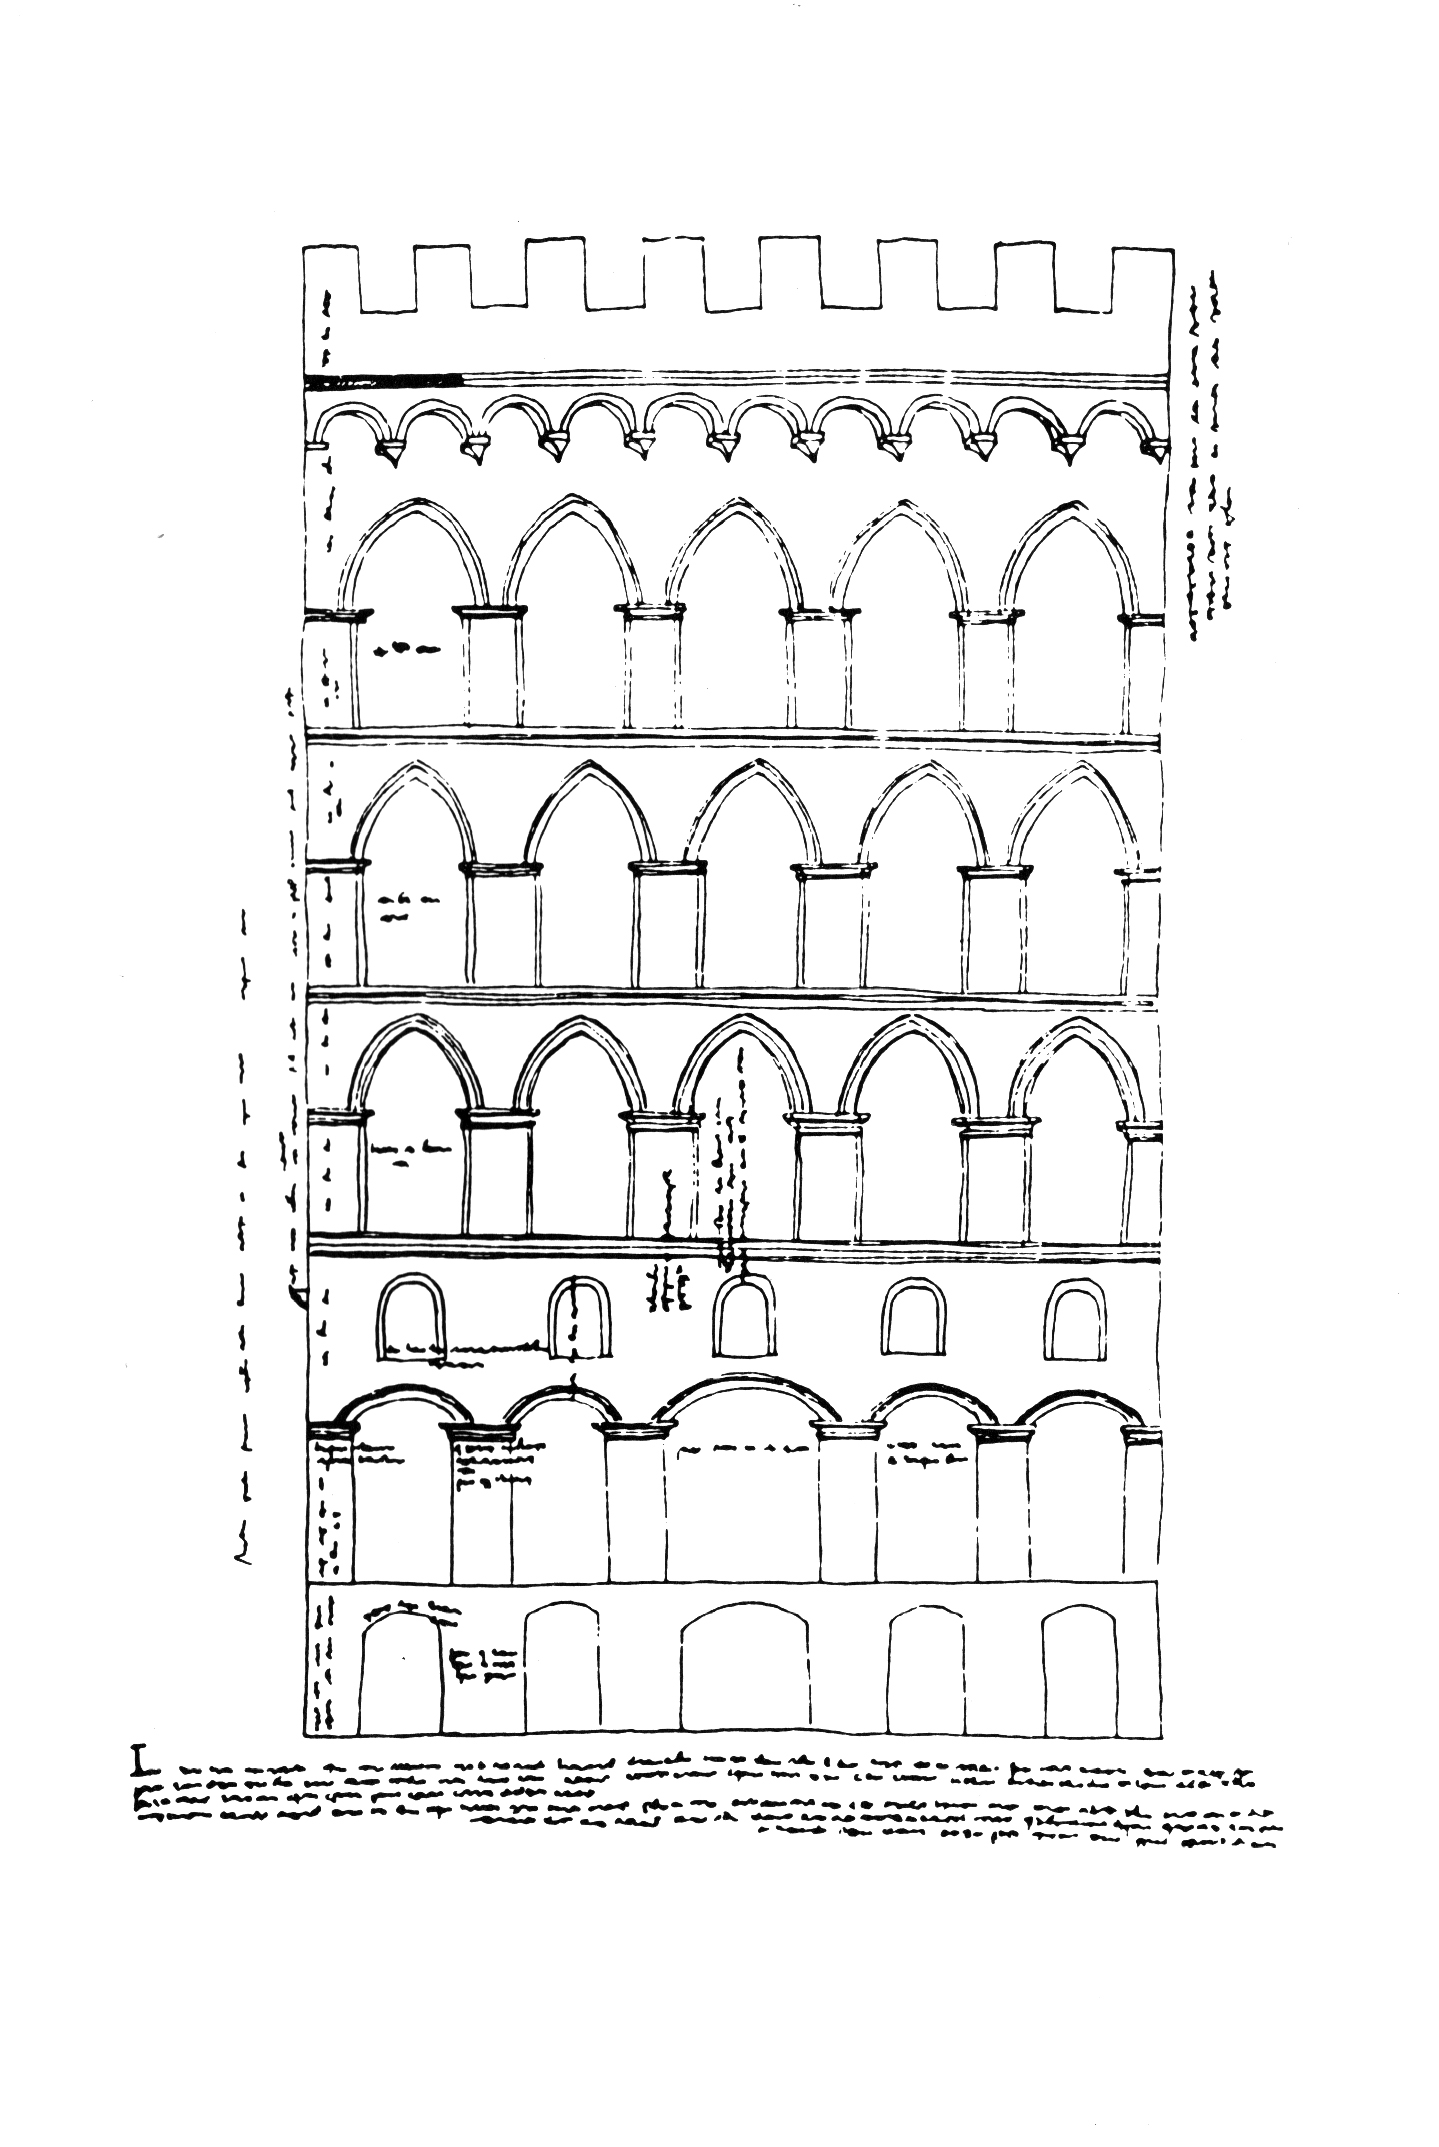
Records something that Graves wanted to remember, such as the stacked composition of this tower by the French neo-classical architect Jean-Jacques Lequeu, below.
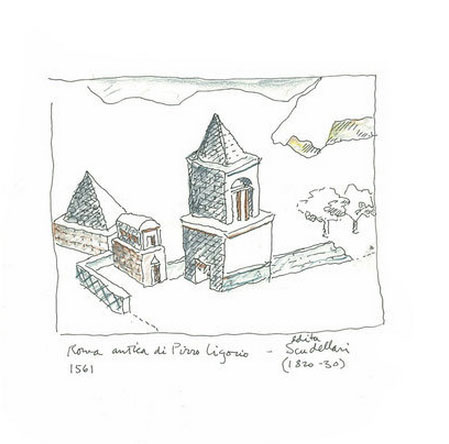
For Graves, these serve as a kind of visual diary, whether they became associated with an architectural project or not. His sketch of a 1561 drawing by Pirro Ligorio of antique Rome records archetypal geometric forms as a paradigm for architectural compositions.
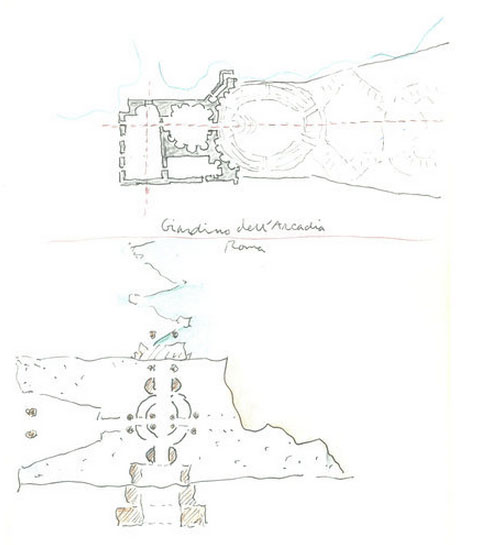
Sometimes sketches such as this would become the inspiration for architectural projects. Below, Graves draws a partial plan of a garden in Rome to emphasize the way that the form and axes of the adjacent building shape the space of the garden. On the same page is a plan diagram for the Plocek House, which similarly engaged the landscape in an axial manner.
The Preparatory Study
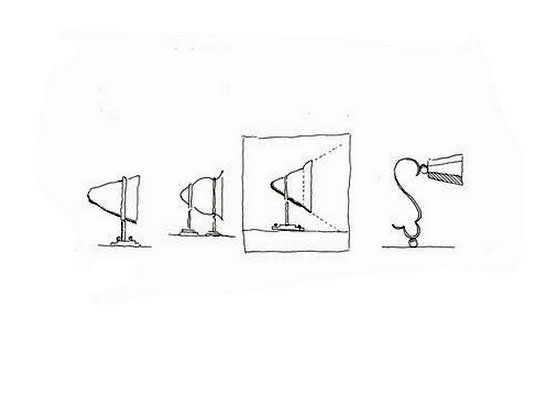
These drawings typically involve iterative studies that lead to a final design. Graves might, for example, draw several options for how the glass shade of a lighting sconce would be supported on a metal bracket, and how the bracket might be attached to a wall, drawing them in profile so that I could study the proportions.
Drawings Graves produces for this purpose are often drawn on tracing paper, as it offers the opportunity to layer one drawing on top of another. The resulting progression of compositional ideas is fundamental to the design process. Whether on paper or on the computer, Graves finds that the connection between mind and hand is a compelling way to conceive buildings or objects.
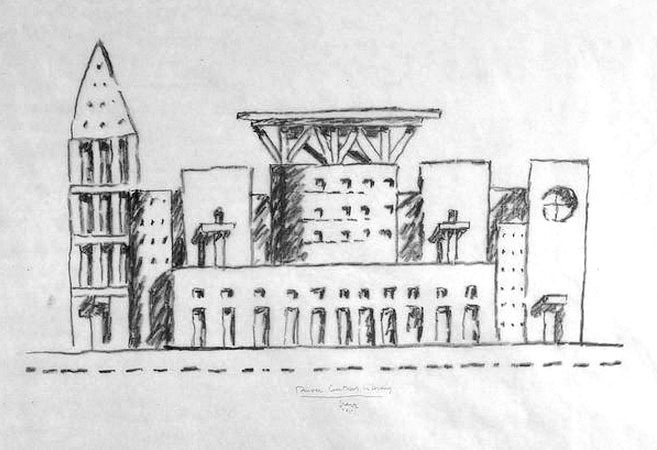
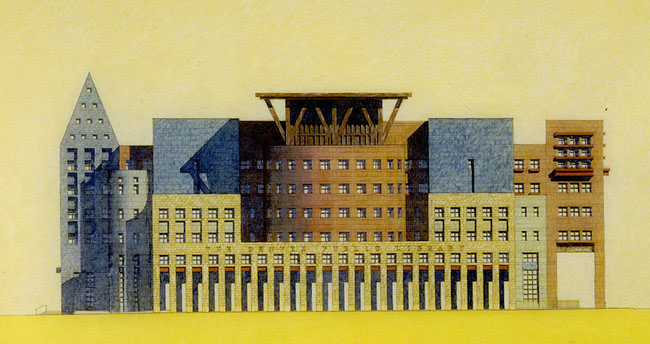
Eventually, preparatory studies become more complete and firm as they are carefully measured to scale. In a series of drawings of the south side of the Denver Central Library, Graves studied the proportions and coloration of several areas of the facade. This allowed him to work out the compositional problems in a definitive way.
The Definitive Drawing
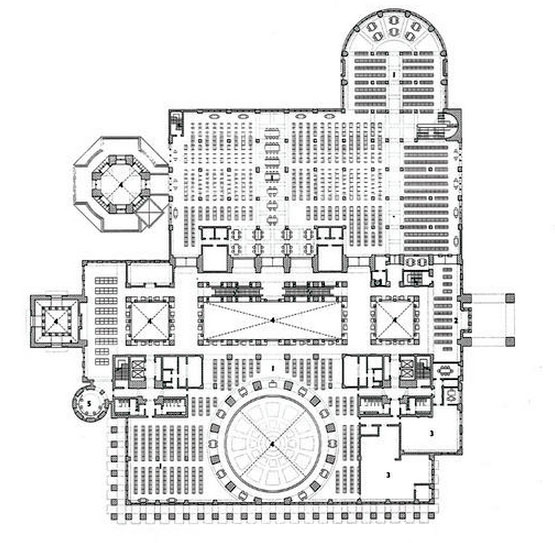
The third type of drawing that we architects and designers typically produce is what Graves calls the “definitive drawing.” It finally fixes and describes the building, and today is typically produced on the computer. The plan below of the Denver Library shows the furniture layout, an indication of how the building would be used. A more developed version, without the furniture, might show the contractor what he needs to build.
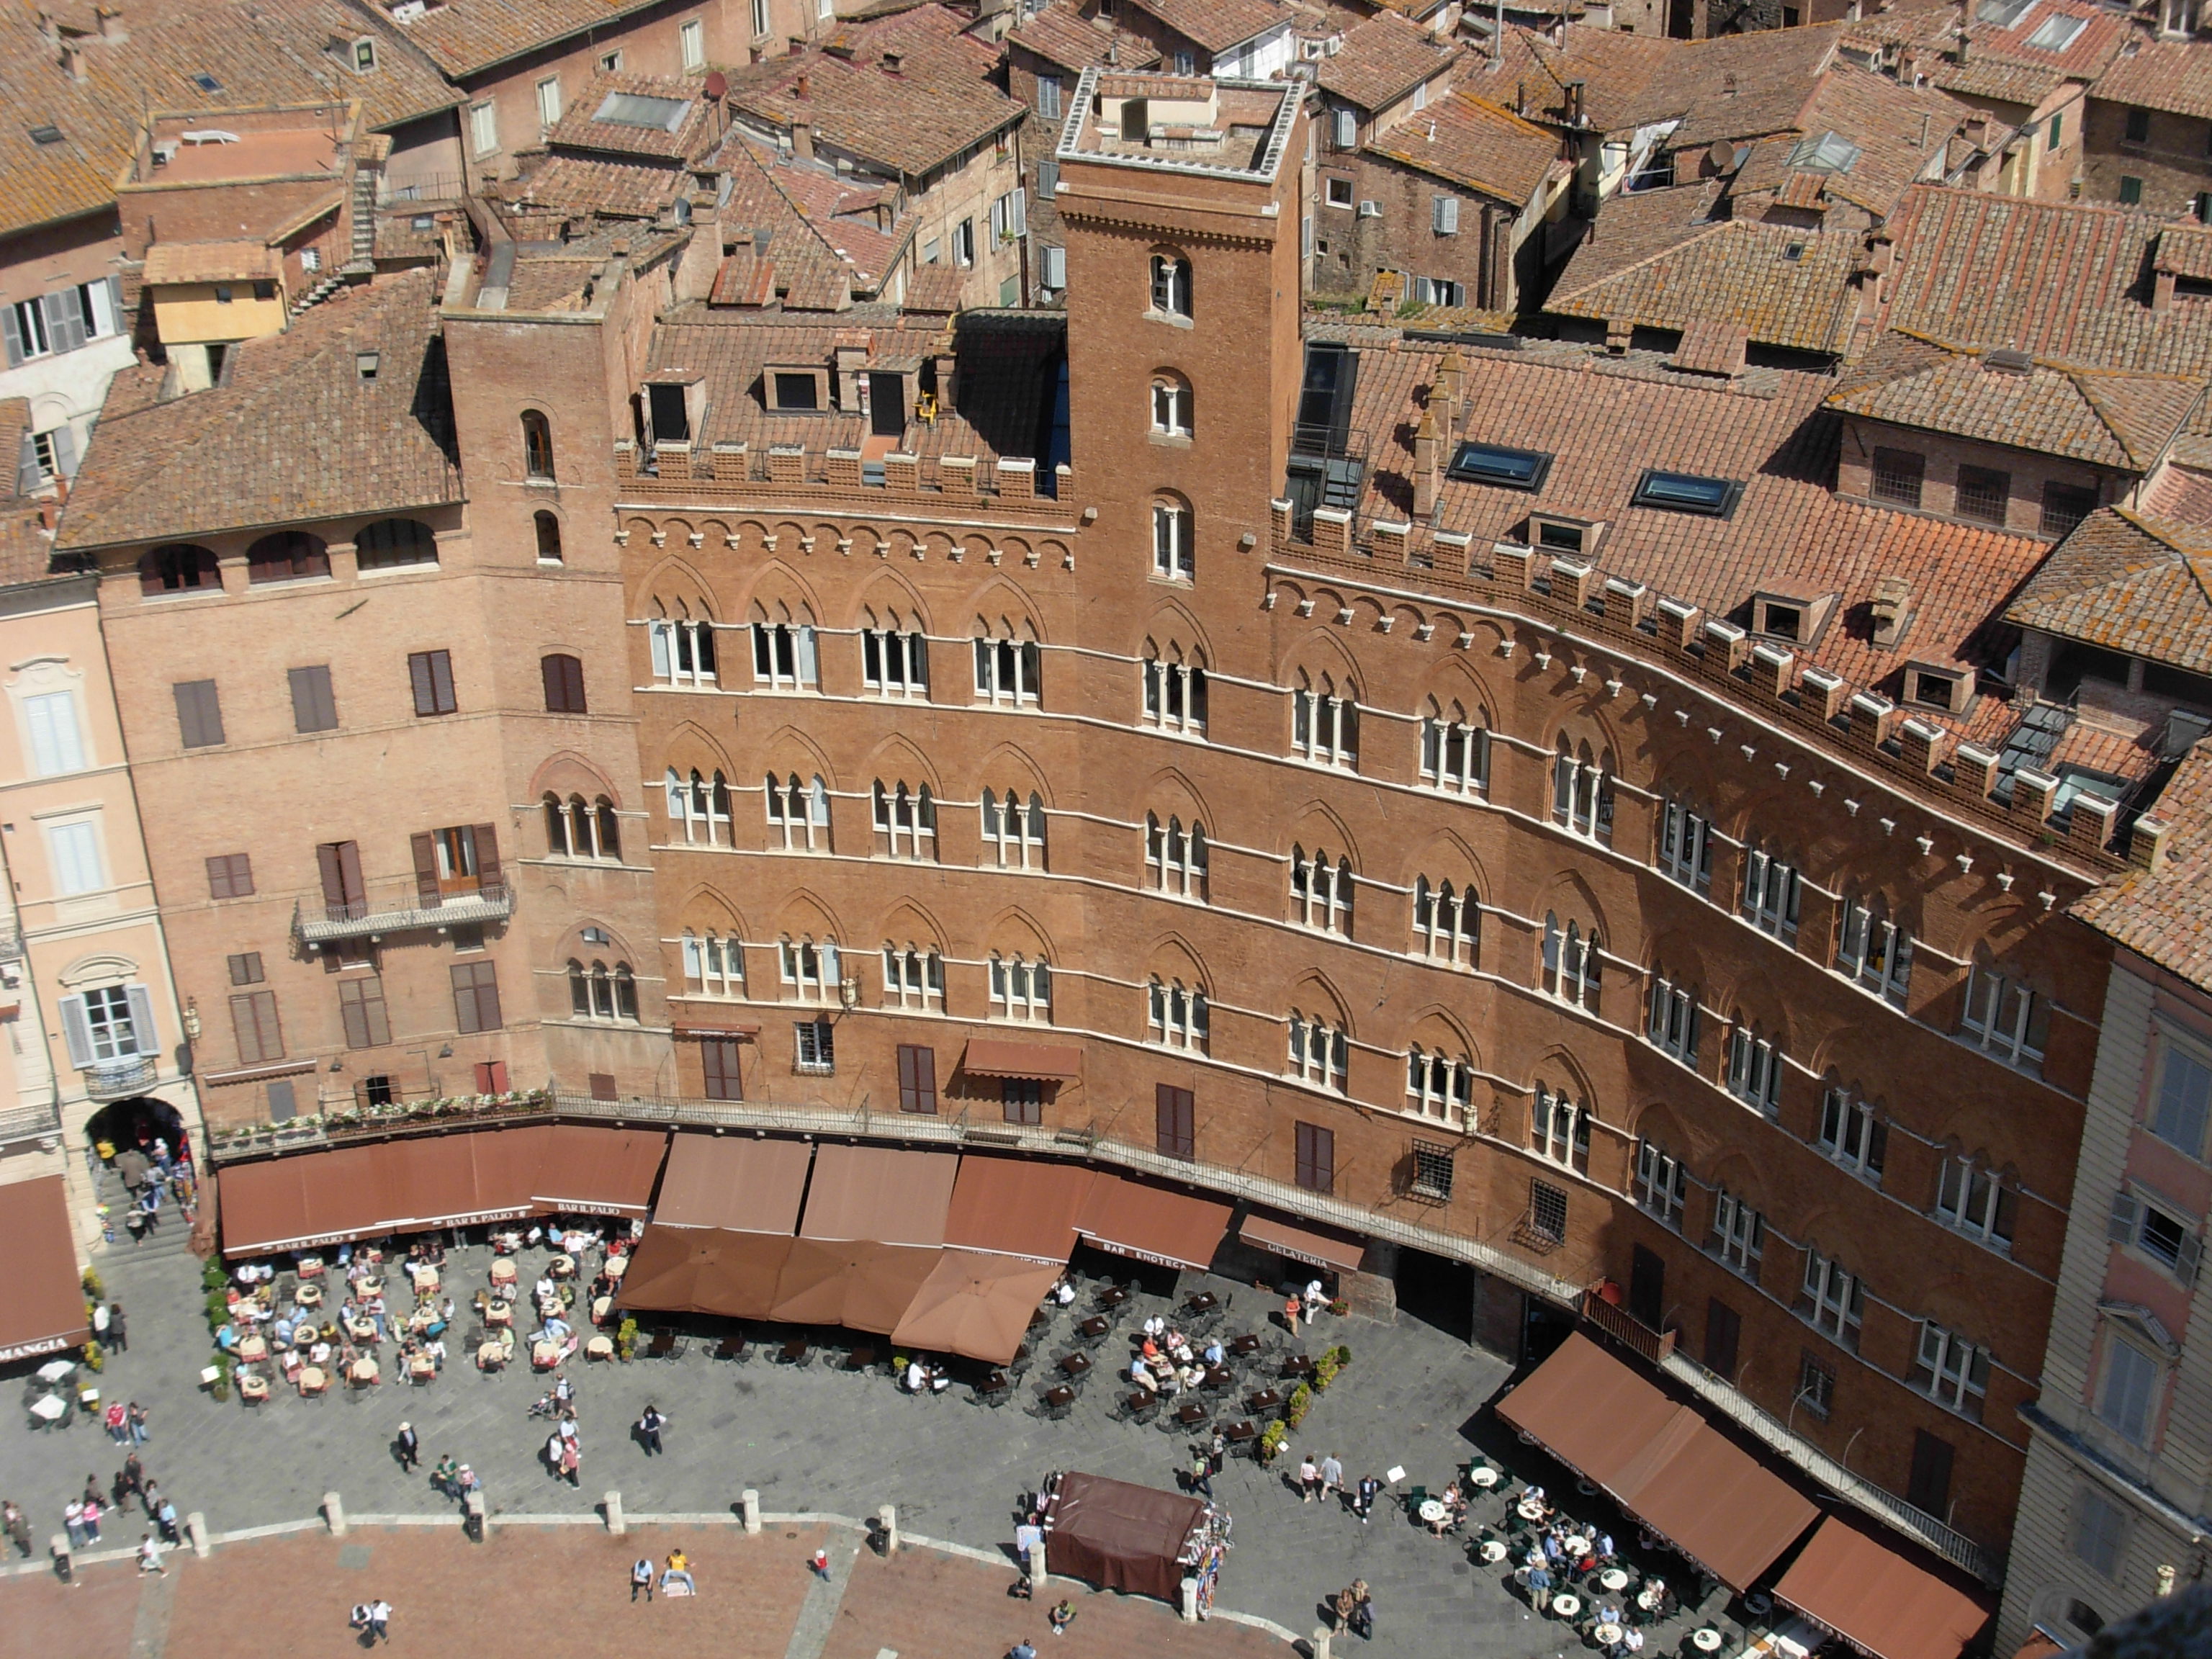
Palazzo Sansedoni
Workshop 1a
To start this workshop, we first take a look at this overview of architectural drawing types and methods to orient ourselves with the general concepts of graphic projection in architectural design.
Then, in class, as a way of warming up our drafting pencils, we'll draw an orthographic representation of a given massing in Rhino . We'll create the three main architectural views of plan, section, and elevation. Measurements of this massing may be taken from the given Rhino file.
Before we begin, we'll cover some of the equipment you'll need and the drawing basics.
Drawing Process
Equipment Overview
- Parallel Rule
- a parallel bar with a system of pulleys and rollers that is installed onto a desk for drawing straight lines. Other tools can be used in conjunction, such as 45º, 30º-60º, and adjustable triangles, T-squares, scales, curves, and compasses.
- Architect's Scale
- Specialized triangular ruler designed for drafting and measuring architectural drawings. Each side and edge has a different set of scales to suit architectural scaled drawings, with both imperial and metric scales. Learn more about the different kinds of drawings scales here . Scales should never be used as a straightedge for drawing lines.
- Lead, Lead Holder, & Lead Pointer
- Similar to a mechanical pencil with larger leads, the lead holder and lead is the traditional architect's pencil that has a specialized sharpener to create very pointed ends and clear away debris before drawing. They are very responsive to pressure applied by the hand. Mechanical pencils and wooden pencils can also be used.
- Paper
- There are many options for paper depending on the use. Trace paper is great for sketching and conceptualizing while drawing iteratively. Vellum allows you to trace as well, but has a nicer aesthetic and can be used for presentation drawings. Strathmore and other heavier papers are meant purely for presentation.
Working from Measurements
You'll need to determine your drawing scale based upon your subject and the size of the media you are presenting on by taking the boundaries of your subject and determining how they will best fit on the page. Once the scale has been determined, use your architect's scale to draw rather than constantly converting measurements - you'll save time and have fewer errors.
Drawing in Layers
Drawing in layers is an important part of the drawing process because it allows for greater control over the final product. By starting with construction lines on tracing paper and hard pencil leads, and gradually moving towards soft-leaded pencils on vellum, architects are able to edit their drawings along the way without ruining the quality of the drawing set. Lightly drawn lines using hard leads are easy to erase and recreate, but drawings made with heavy line weights by pressing down on soft-leaded pencils are much more difficult to edit.
Begin by establishing the major guidelines of structure and/or envelope quickly on trace, or with a hard lead and gentle pressure. These easily removed lines will help you frame your drawing on the page or determine if a different scale is necessary early on. From there, you'll proceed up the lineweight hierarchy, first using the light lineweight to draw everything, from action lines to fill patterns to furniture to structure; then to a medium lineweight, now only drawing the detailing and structure; and finally to the heaviest of your lineweights, drawing only the cut parts of your structure and envelope.
Producing the Final Overlay
Along the way, correct and alter lines as necessary, making sure not to move on to the next heaviest lineweight until you are confident the drawing is correct. Before finishing your drawing, be sure to look over your everything thoroughly, since the heaviest lineweights will be difficult to remove without negatively affecting the drawing's quality. Once you've finished hardlining, erase any traces of construction lines that are unnecessary to the drawing.
The Three Basic Views
First we'll draw the plan of our composition, which will then quickly inform our elevations. We'll also be able to determine the best areas for section cut planes from our plan. Review the discussions of plans , sections , and elevations to review the conventions of these drawing types.
Produce your drawing by first working on tracing paper, and then transferring any relevant construction lines and finalized drawing to a sheet of vellum.
One More View
Given enough time, we will then produce a plan oblique drawing of this same set of blocks. Note and be sure to apply the conventions of line weight and type for axonometric drawings.
Reminders
We'll have a Project 1 pinup during our next class session (this Thursday). Please have a draft version of all required drawings pinned up in room 901 by the start of class.
