|
Rendered Elevations Using VRay and Photoshop |
|
|---|---|
| Screenshot | |
| A rendered section-elevation can depict spatial depth and communicate the design intent of a project in ways beyond a simple utilization of orthographic drawing techniques. Although orthographic drawing may communicate basic technical, material, and spatial qualities through the mechanisms of line and lineweight alone, additional imagistic devices found in raster images can provide for a stronger representation of design intent. This workflow demonstrates how to augment a detailed section-elevation line-drawing with several layers and techniques from VRay and Photoshop as a way of underlying the conceptual basis of a design. | |
| Uses Tool(s) | AutoCAD 2012 , Photoshop CS5 , Illustrator CS5 , VRay |
There are many different styles that could be incorporated once working in Illustrator. Be sure to consider your overall concept and design when deciding how to "stylize" your drawings. In this example, we will be using tools in V-Ray, Photoshop, and Illustrator to create some spatial depth and context to existing AutoCAD drawings, as exampled by the De Young Museum by Herzog & De Meuron.
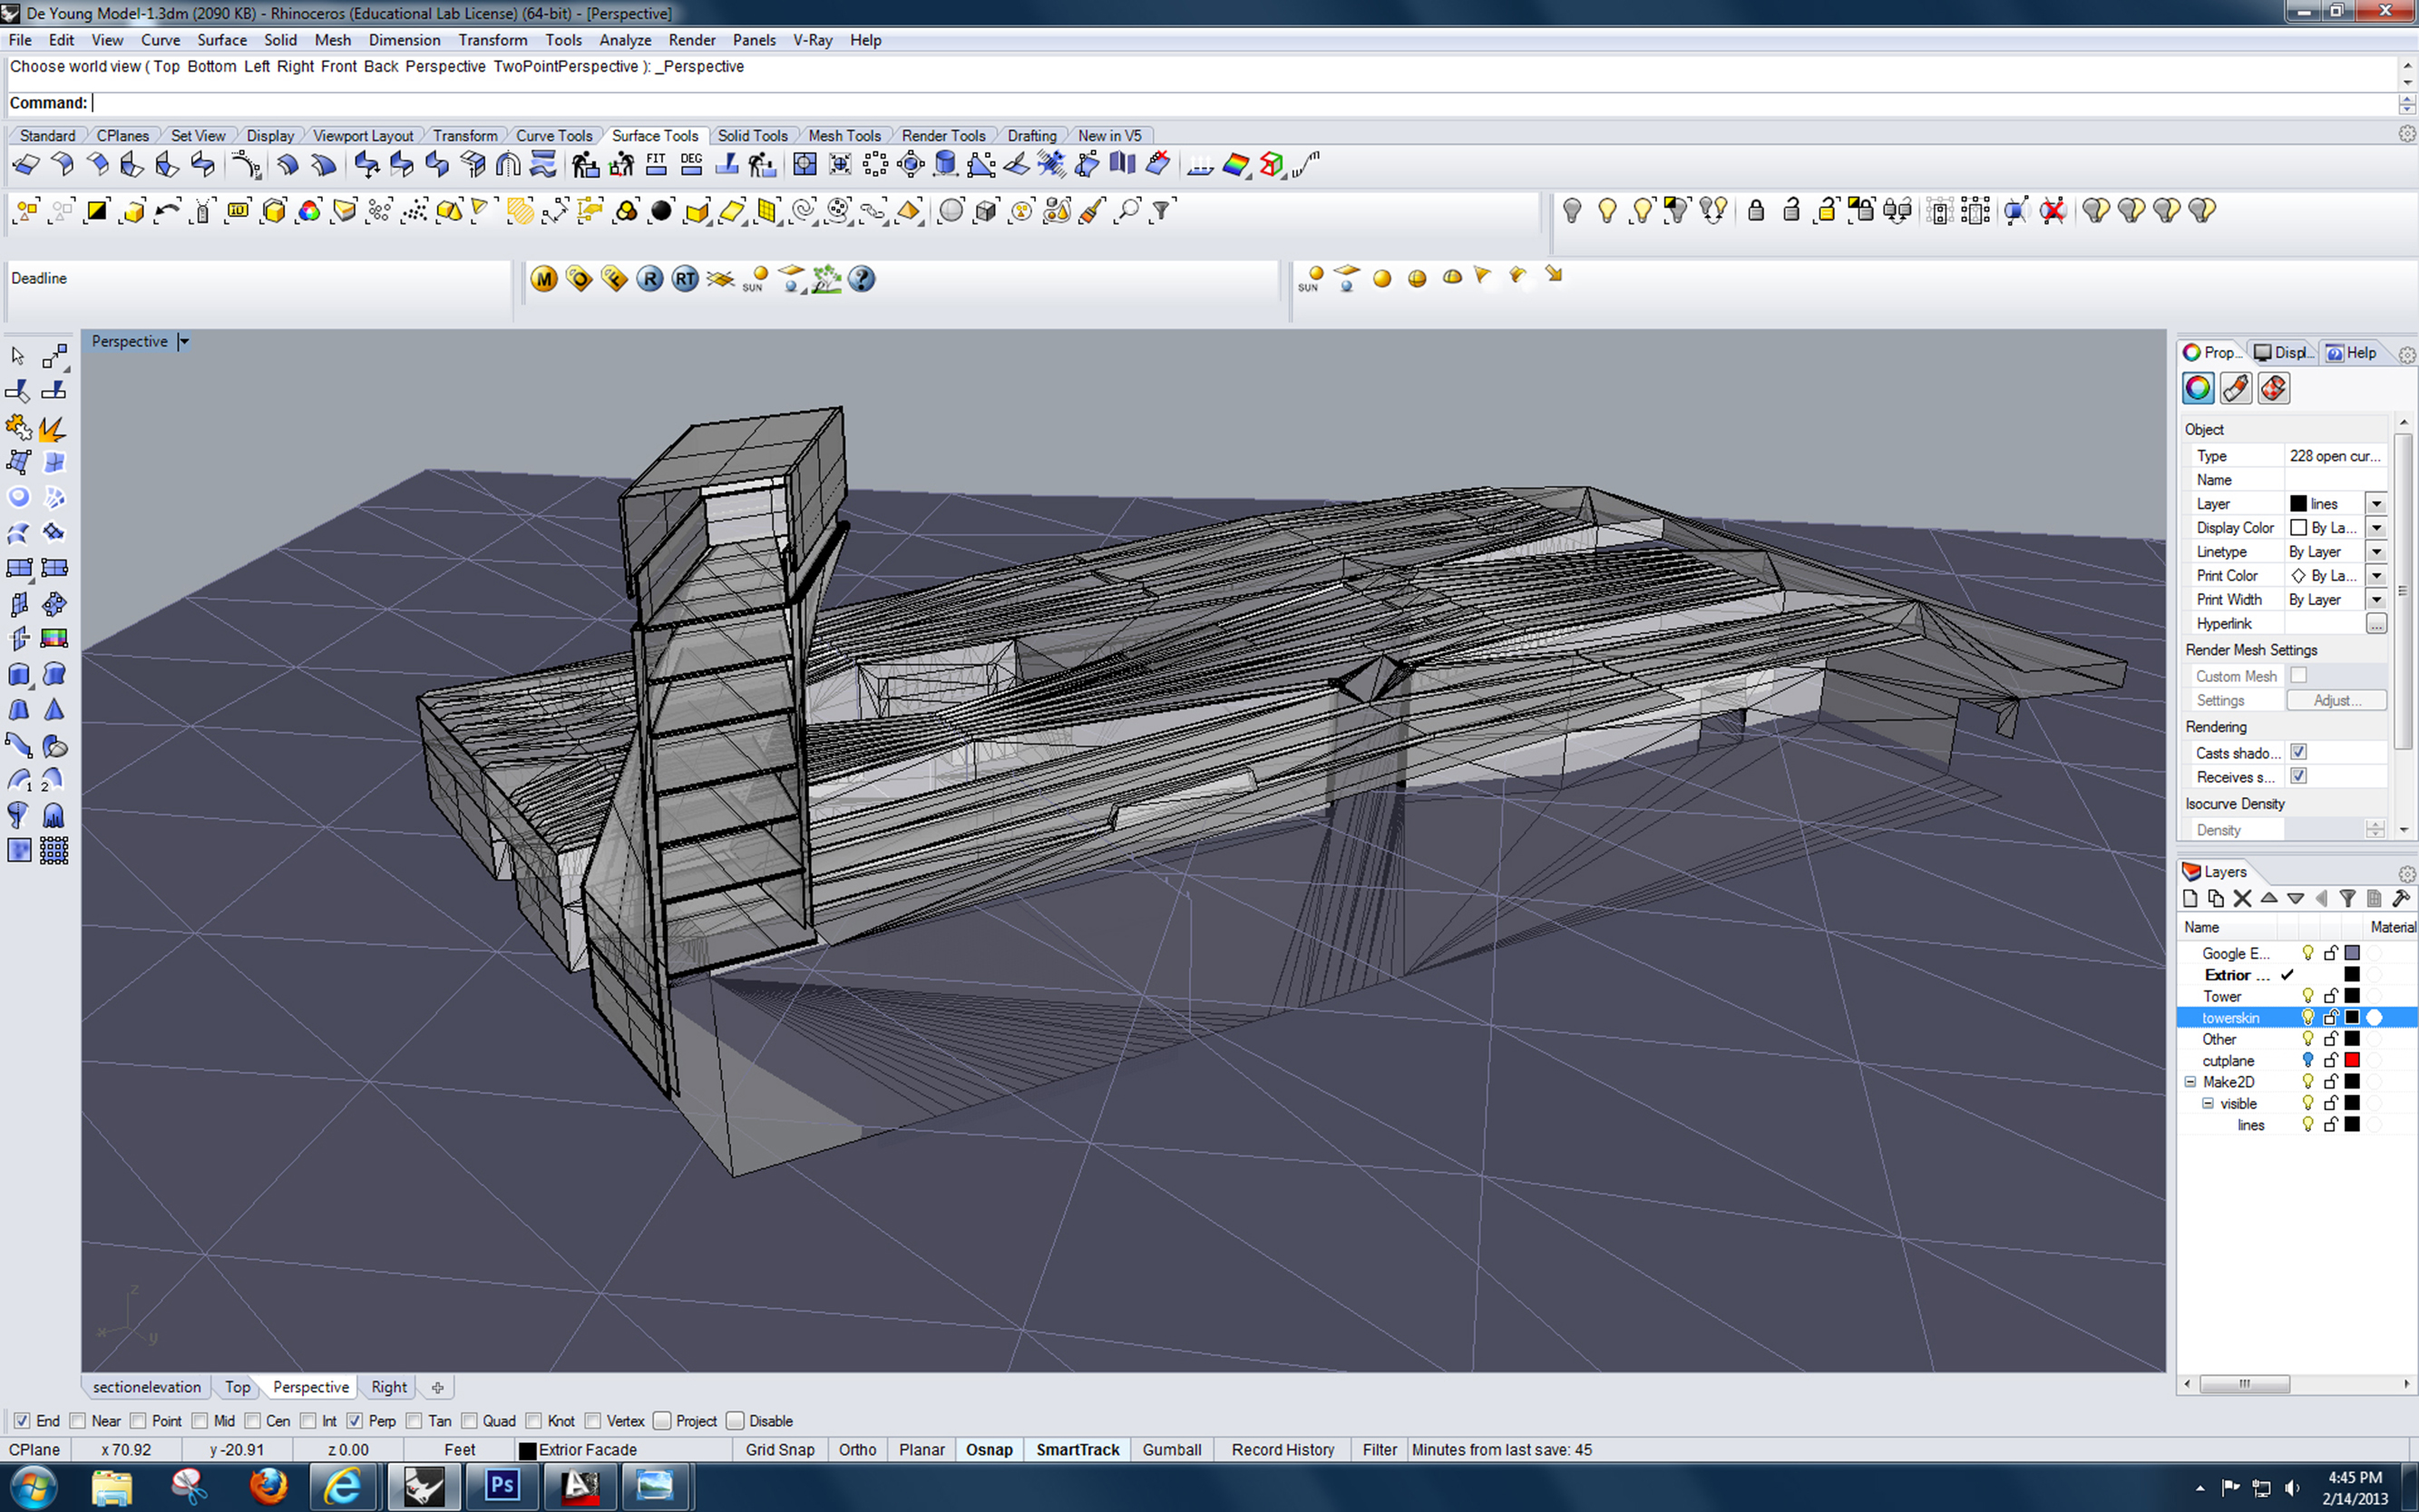
Prior to any steps, be sure to have both your section-elevation drawing from AutoCAD as well as your Rhino model that was generated from your orthographic drawing.
Steps
- Create a VRay Base Image
For this step, we will learn how to use custom-generated image maps to define composite material “layers” in V-Ray. Using the material editor dialog, we will edit the transparency, diffuse, and displacement layers to create the pattern of punches across the material, alter the color using an image map, and simulate the bumps of the material. Refer to the workflow on Creating Composite Materials Using Image-Maps in V-Ray here: http://studiomaven.org/index.php?title=Workflow:545199
- Composite the AutoCAD drawings and the V-Ray Render in Illustrator
-
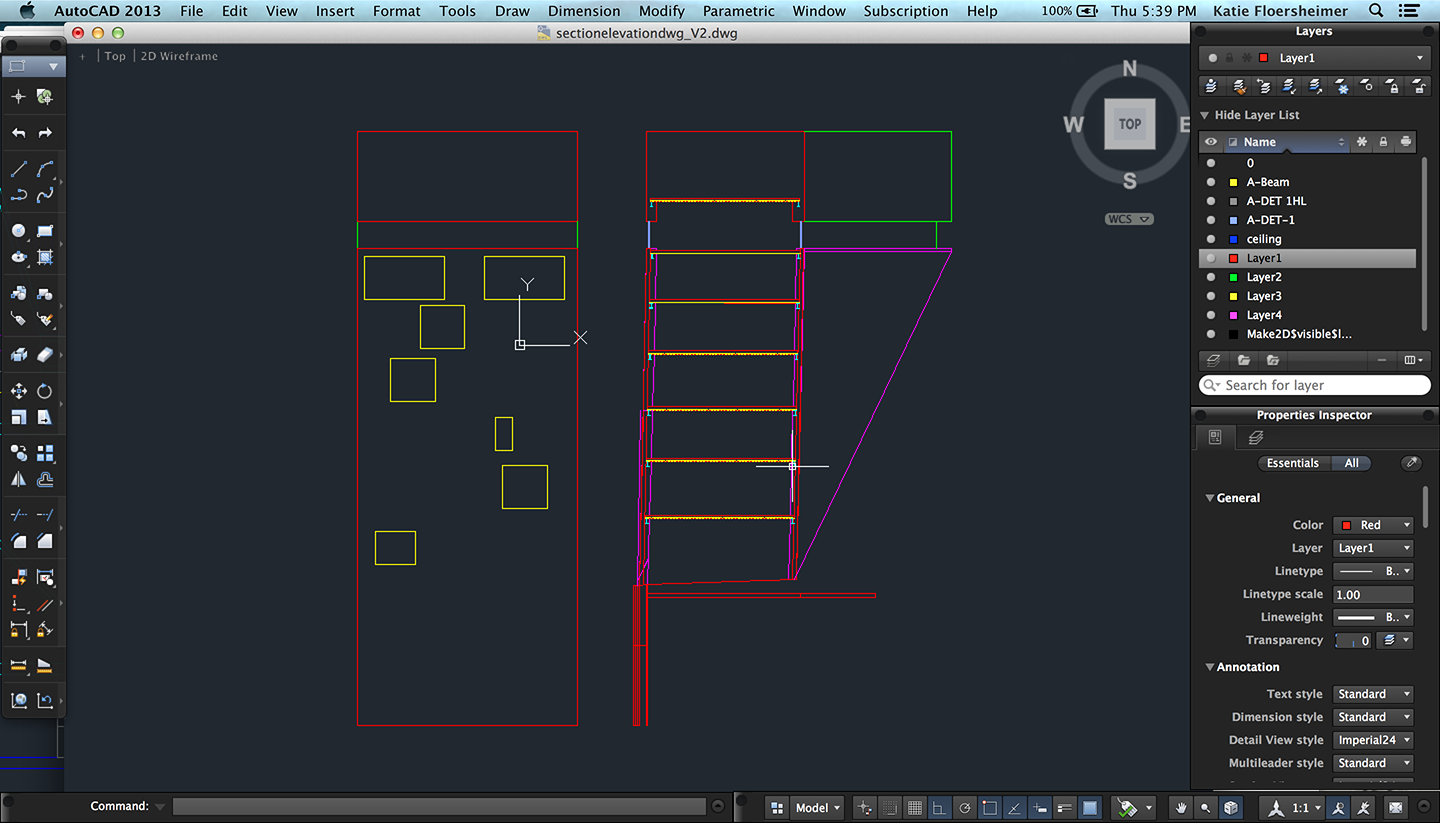
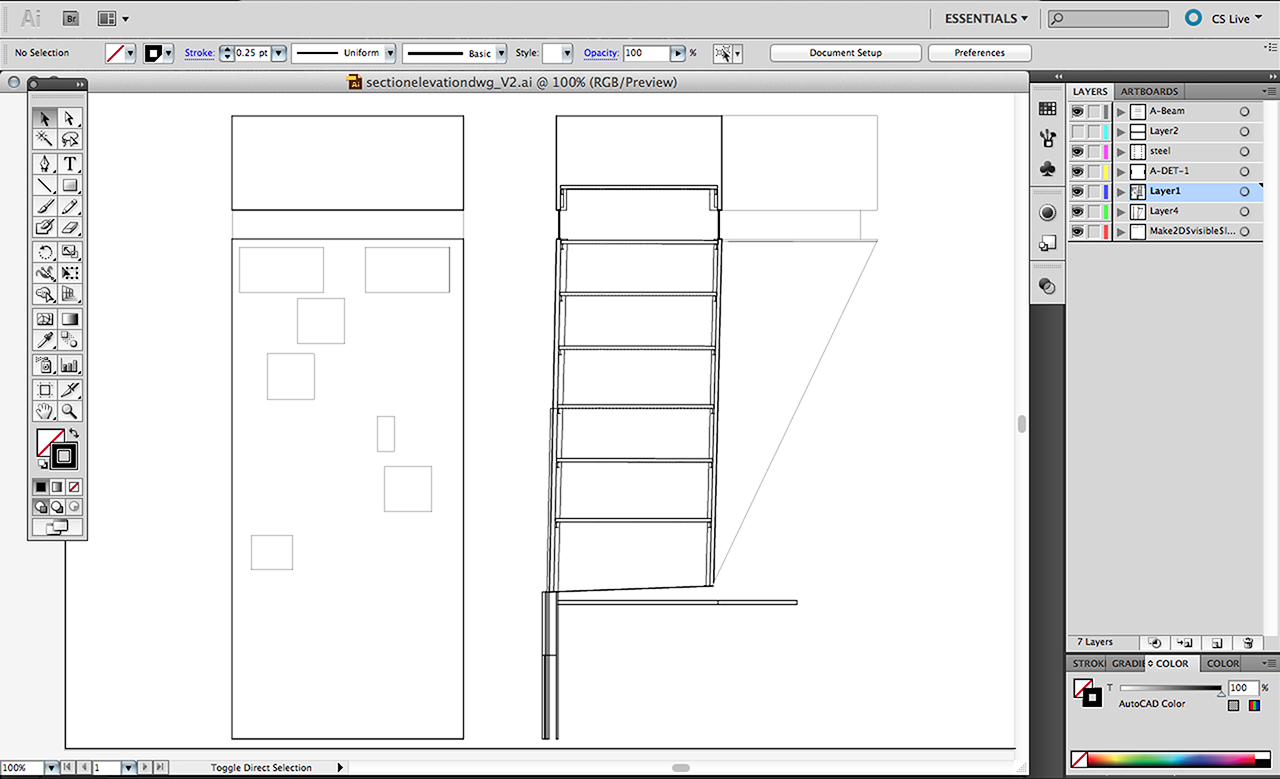
- Open to scale AutoCAD section-elevation orthographic drawing in illustrator to begin vector image. To recap on how to export a drawing to scale in AutoCAD reference last weeks workflow on AutoCAD here:
Course:100b s13 creedon session 935495 |AutoCAD (Part I)
-
- Place rendered V-Ray image into Illustrator
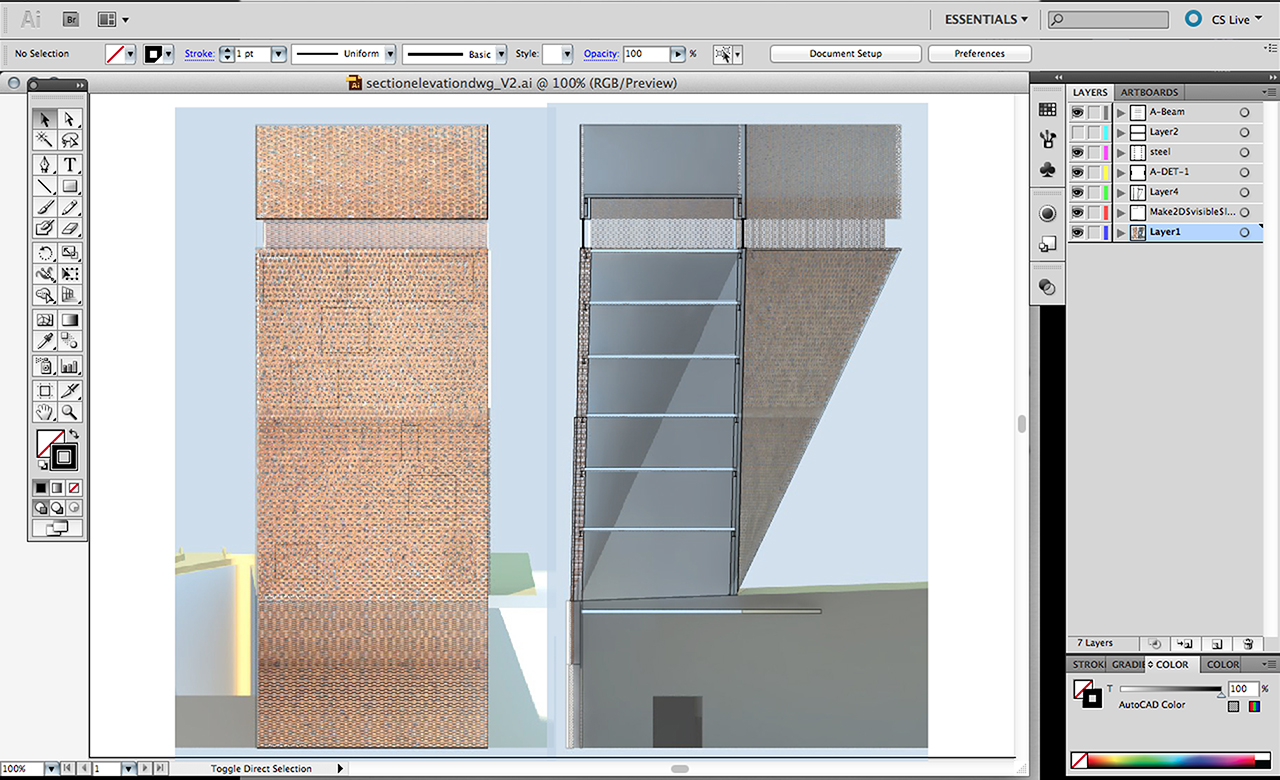
Go to file > Place > Select the rendered V-Ray Images to place into the art board. Transform the V-Ray render to match your orthographic drawing and place the render BEHIND the line work. You may need to adjust the transparency of the rendered image to allow for a clearer base section-elevation reading prior to importing into Photoshop.
The current composite drawing is not reading as one and there are several inconsistencies with the spatial depth, shadows, and overall legibility in the composition as a whole. Because of these discrepancies, we will import the image into Photoshop to create a stronger representation of the design intent.
Before opening Photoshop, export the image as a high resolution PDF and save to an accessible location. To do this, go to File > Save As > Adobe PDF > Select High Quality Print. Note: Keep your Illustrator file open because we will need to “Place” the final Photoshop drawing within the same composition towards the end of the workflow.
-
- Using Photoshop Tools to Strengthen Design Intent
For this section of the workflow, we will be focusing on the following tools to enhance the image; Lasso, Burn, Magic Wand, Levels, and Brush. With these tools, we will enhance emphasize the connection between the section and elevations, support the activity in the building, and sculpt the light and shadow qualities within the space.
- First, we will need to get rid of the excess information on the original rendered image. Select the Polygonal Lasso tool to select the exterior frame of the building and to rid of all excess information. Once you have lassoed around the image, you will need to select the “inverse” of what was Lassoed. This is to avoid cutting out the portion of the drawing needed for the final. Go to Select > Inverse > Then Cut the selected excess.
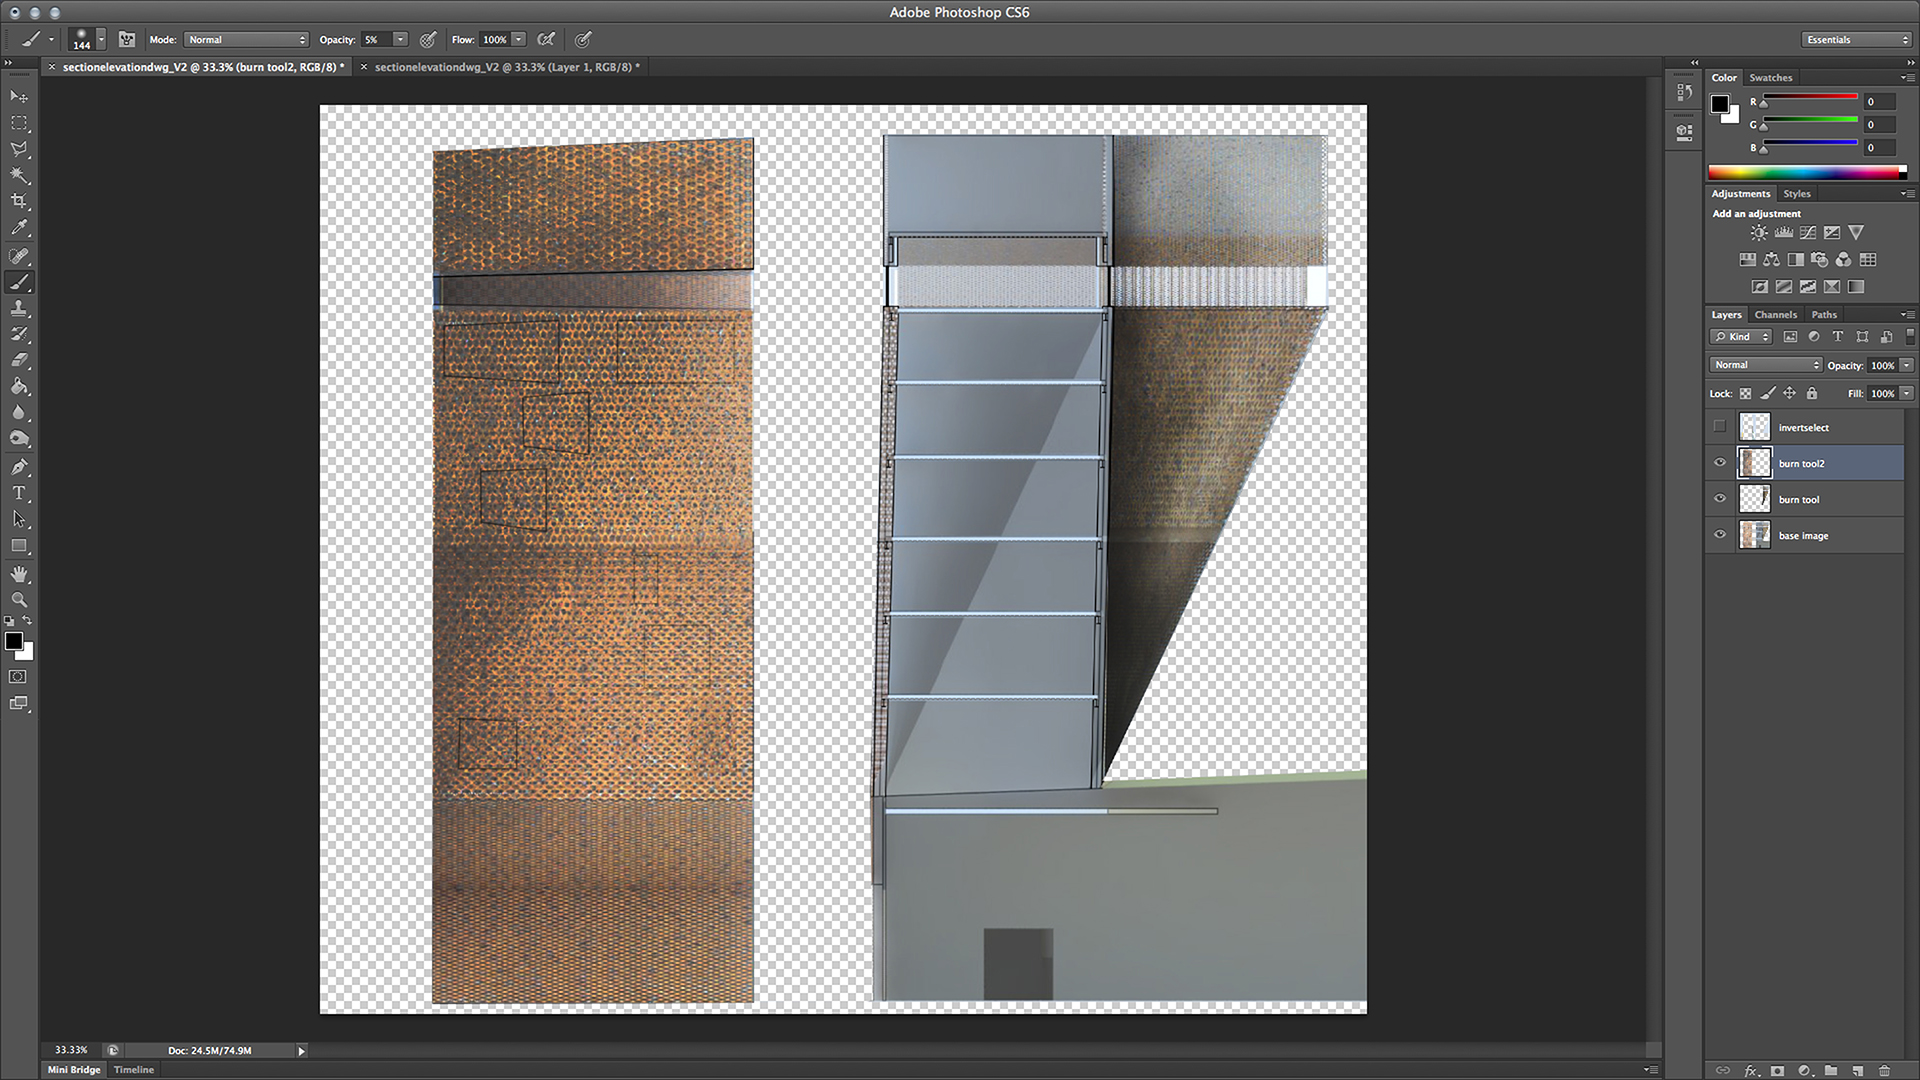
Next, we will aim to deepen the shadows within the elevation in order to strengthen the reading of the tower bending in space. We will do this by using both the lasso selection tool and the Burn tool. Set the Burn tool to select the “Midtones” in order to bring out the mid range shadow values within the area you selected. This will allow for an even distribution along the surface. Vary the diameter of the tool as well in order to get an even range in effect across the drawing.
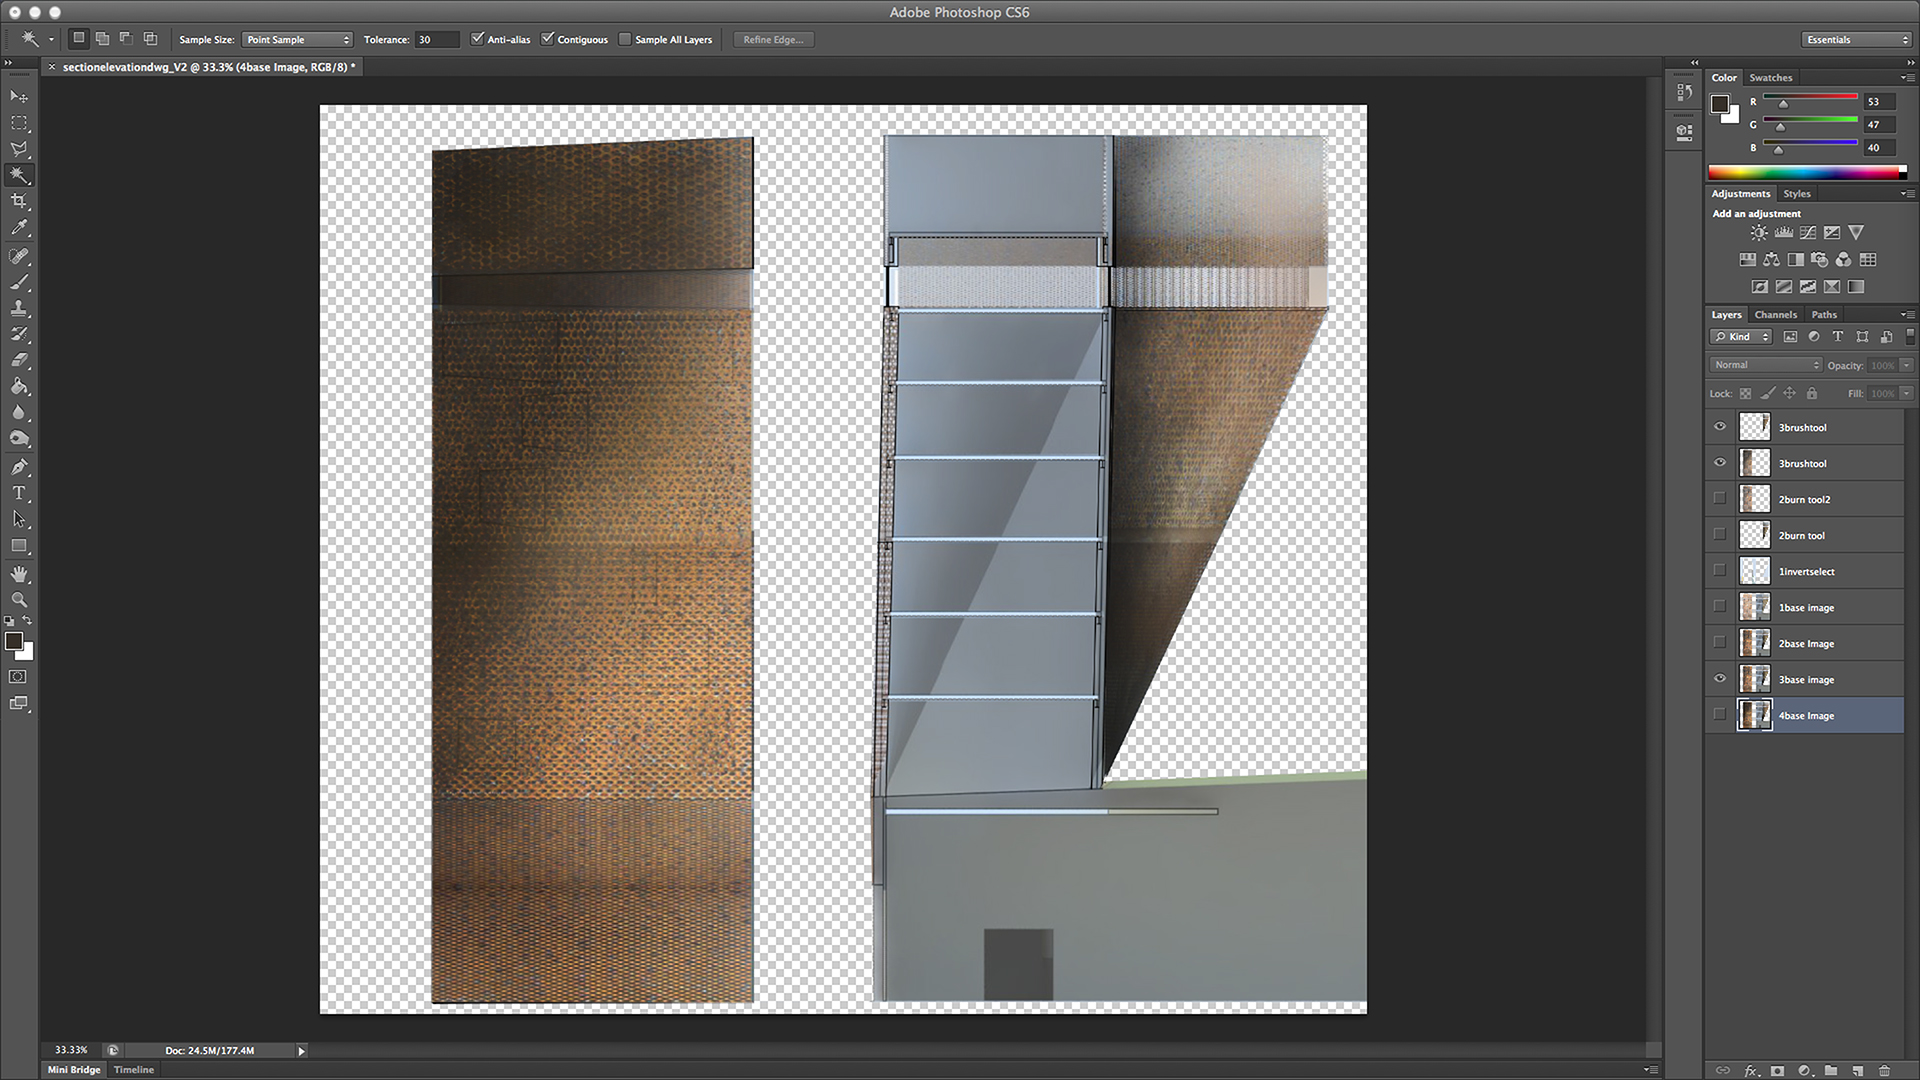
To deepen the shadows even further, highlight certain color tones, and enhance areas of light within the building, we will use the Brush tool. With this tool you can adjust the diameter, opacity, and flow. Be cautious that the brush tool will draw beyond the layer you are brushing over. A quick way to select an area to brush over is to use the Magic Wand tool. This tool will select, based on the tolerance you assign, the outer edge of an area. The higher the tolerance, the more selective the wand is with similar tones.
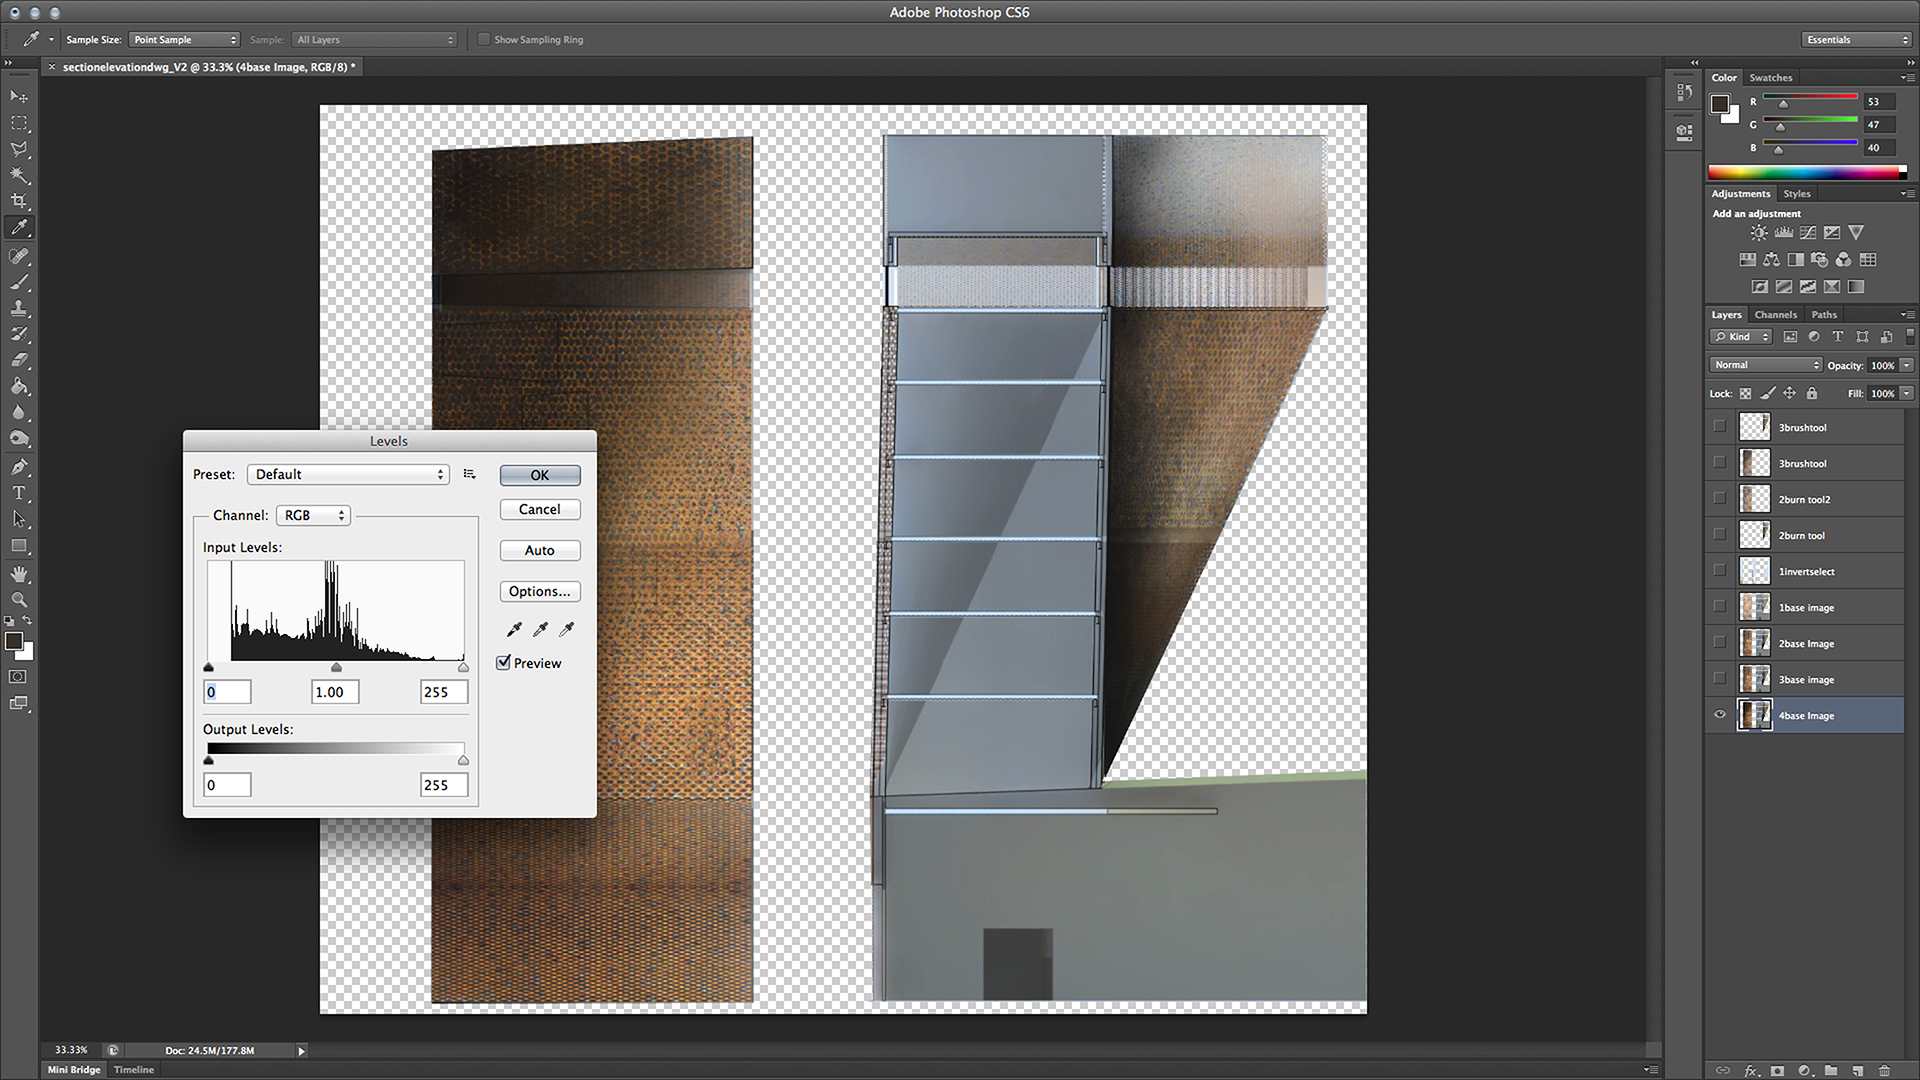
To adjust the range of shadow, light, and mid tones within the drawing use the Levels tool. This will contrast your drawing based on the three ranges. One can bring out any of the three ranges in the drawing with this tool.
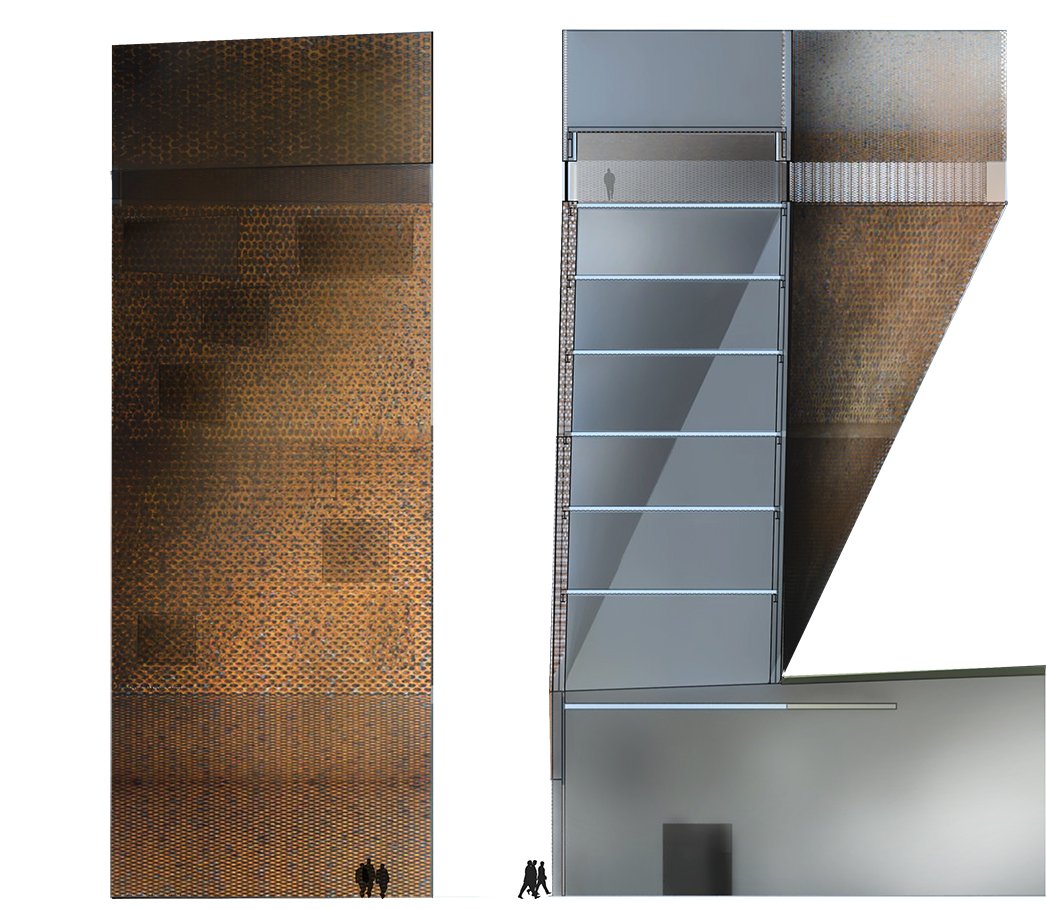
Now, there are several other tools one can utilize in Photoshop. The more tools one has access to the more advantages one will have in controlling and depicting the spatial character and design intent within the drawing. Here is an image of the final Photoshop image using solely the tools listed above.
-
- Bringing the Photoshop Render Back into Illustrator to finish Section-Elevation
Save your file as a high quality PDF in Photoshop and open in Illustrator. In Illustrator you can manipulate line weights again as well as create several vector layers to communicate both the tectonic and line aspects of your drawing.
-
- Common Problems
- Are you creating enough layers while using the brush tool? You will only be able to “undo” or “step backward” so many times. To avoid having to start a drawing over, utilize as many layers as possible!
- Make sure you continuously save your project in case of the program shutting down. Because the brush and burn tools are not exact each time, you do not want to risk losing the quality of your liking within the image and have to restart.

