| Week 13 - Composite Rendering | |
|---|---|
| Course | Arch 100a |
| Date | 2013/11/22 |
| Learning Objectives | In this follow up to the week 11 workflow, our goal is to define and develop images that are inbetween drawing and rendering . |
| Agenda |
|
| Uses Tool(s) | Rhinoceros for OSX , VRay , [[Tool:Photoshop CS6|]], Illustrator CS5 |
Today, we are going to include a couple of technique you've learned through this semester to produce a composite rendering perspective drawing. The workflows you might need to review are linked within the contexts in this session page.
Perspective line drawing may communicate basic technical, material, and spatial qualities through the mechanisms of line and line weight alone, additional imagistic devices found in raster images can provide for a stronger representation of design intent. A composite drawing should consider the following points carefully:
- Determination of hierarchy to reinforce emphasis and clarity
- Confirmation of the substance of design content
- Creation of degree of abstraction
- Selection of the graphic techniques
Steps
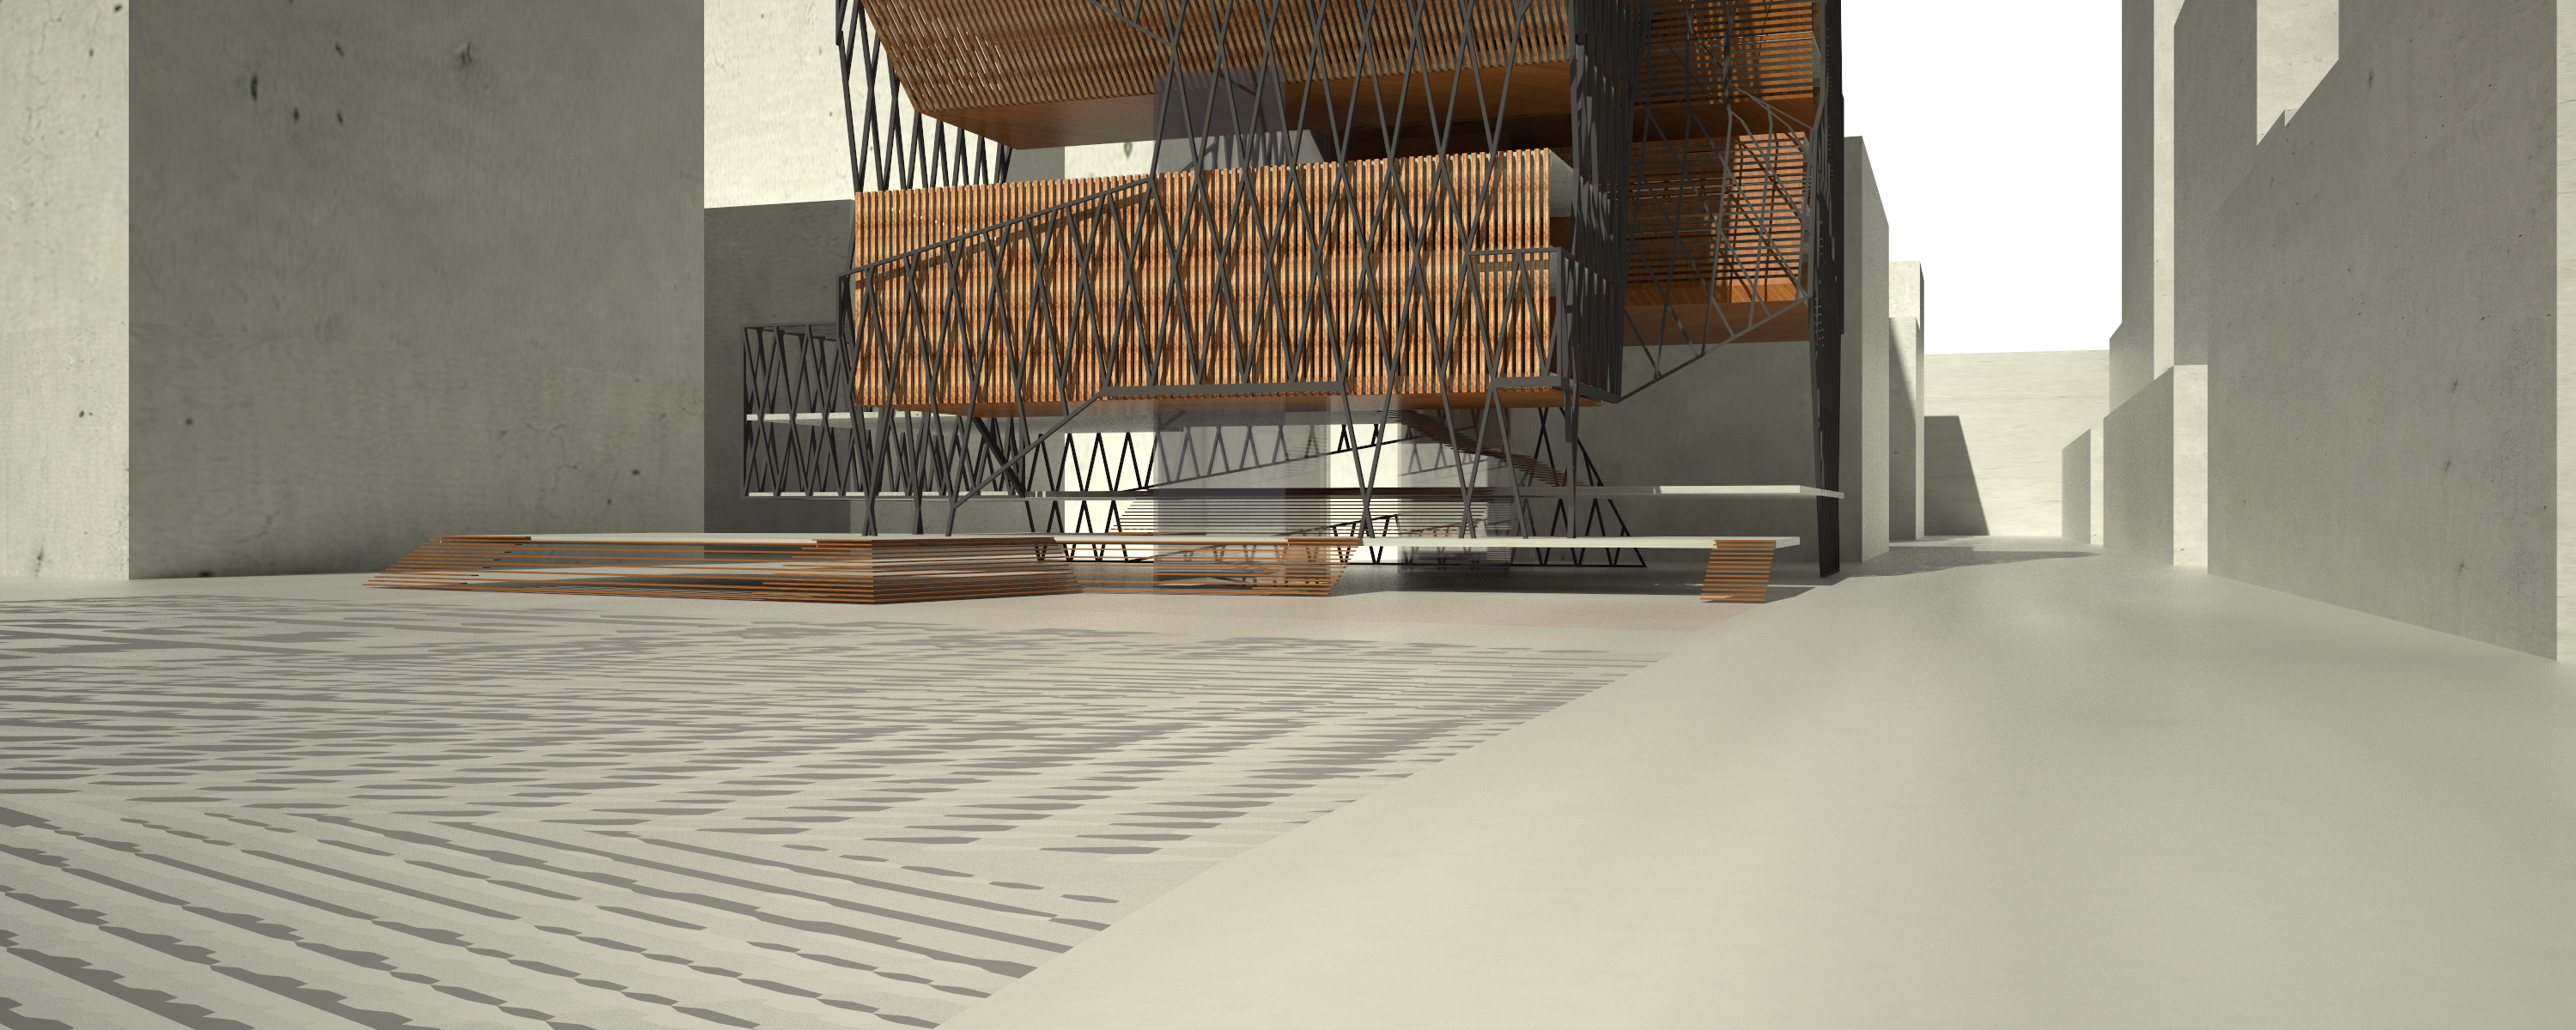
Create a VRay Base Image
For this step, we'll review how to composite material texture in V-Ray. Using the material editor dialog, we will edit the transparency, diffuse, and displacement layers to create the pattern of punches across the material, alter the color using an image map, and simulate the bumps of the material.
For further detail of VRay rendering techniques, please review the second part of week-07 Course:100a f13 manthripragada session 247288 and week-09 Representing Material Course:100a f13 manthripragada session 811623
Refer to the workflow on Creating Composite Materials Using Image-Maps in V-Ray here: http://studiomaven.org/index.php?title=Workflow:545199
Composite the line drawings and the V-Ray Render in Illustrator
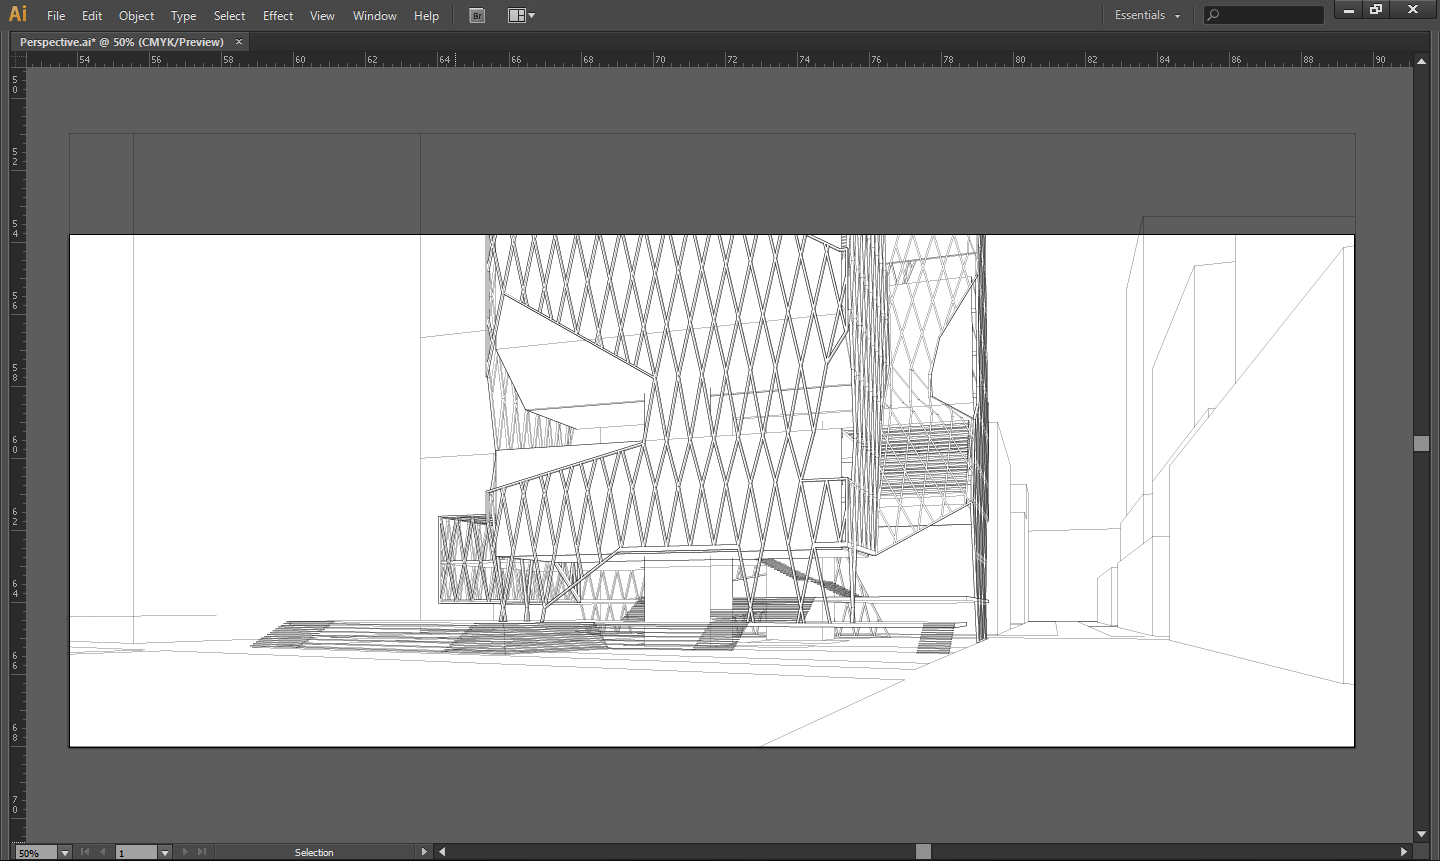
We can either overlay orthographic or perspective drawing in illustrator create the composite drawing. To recap on how to generate 2D lineworks, this workflow covers details of make2D operation in Rhino, this session page covers how to set up proper perspective view.
Place rendered V-Ray image into Illustrator
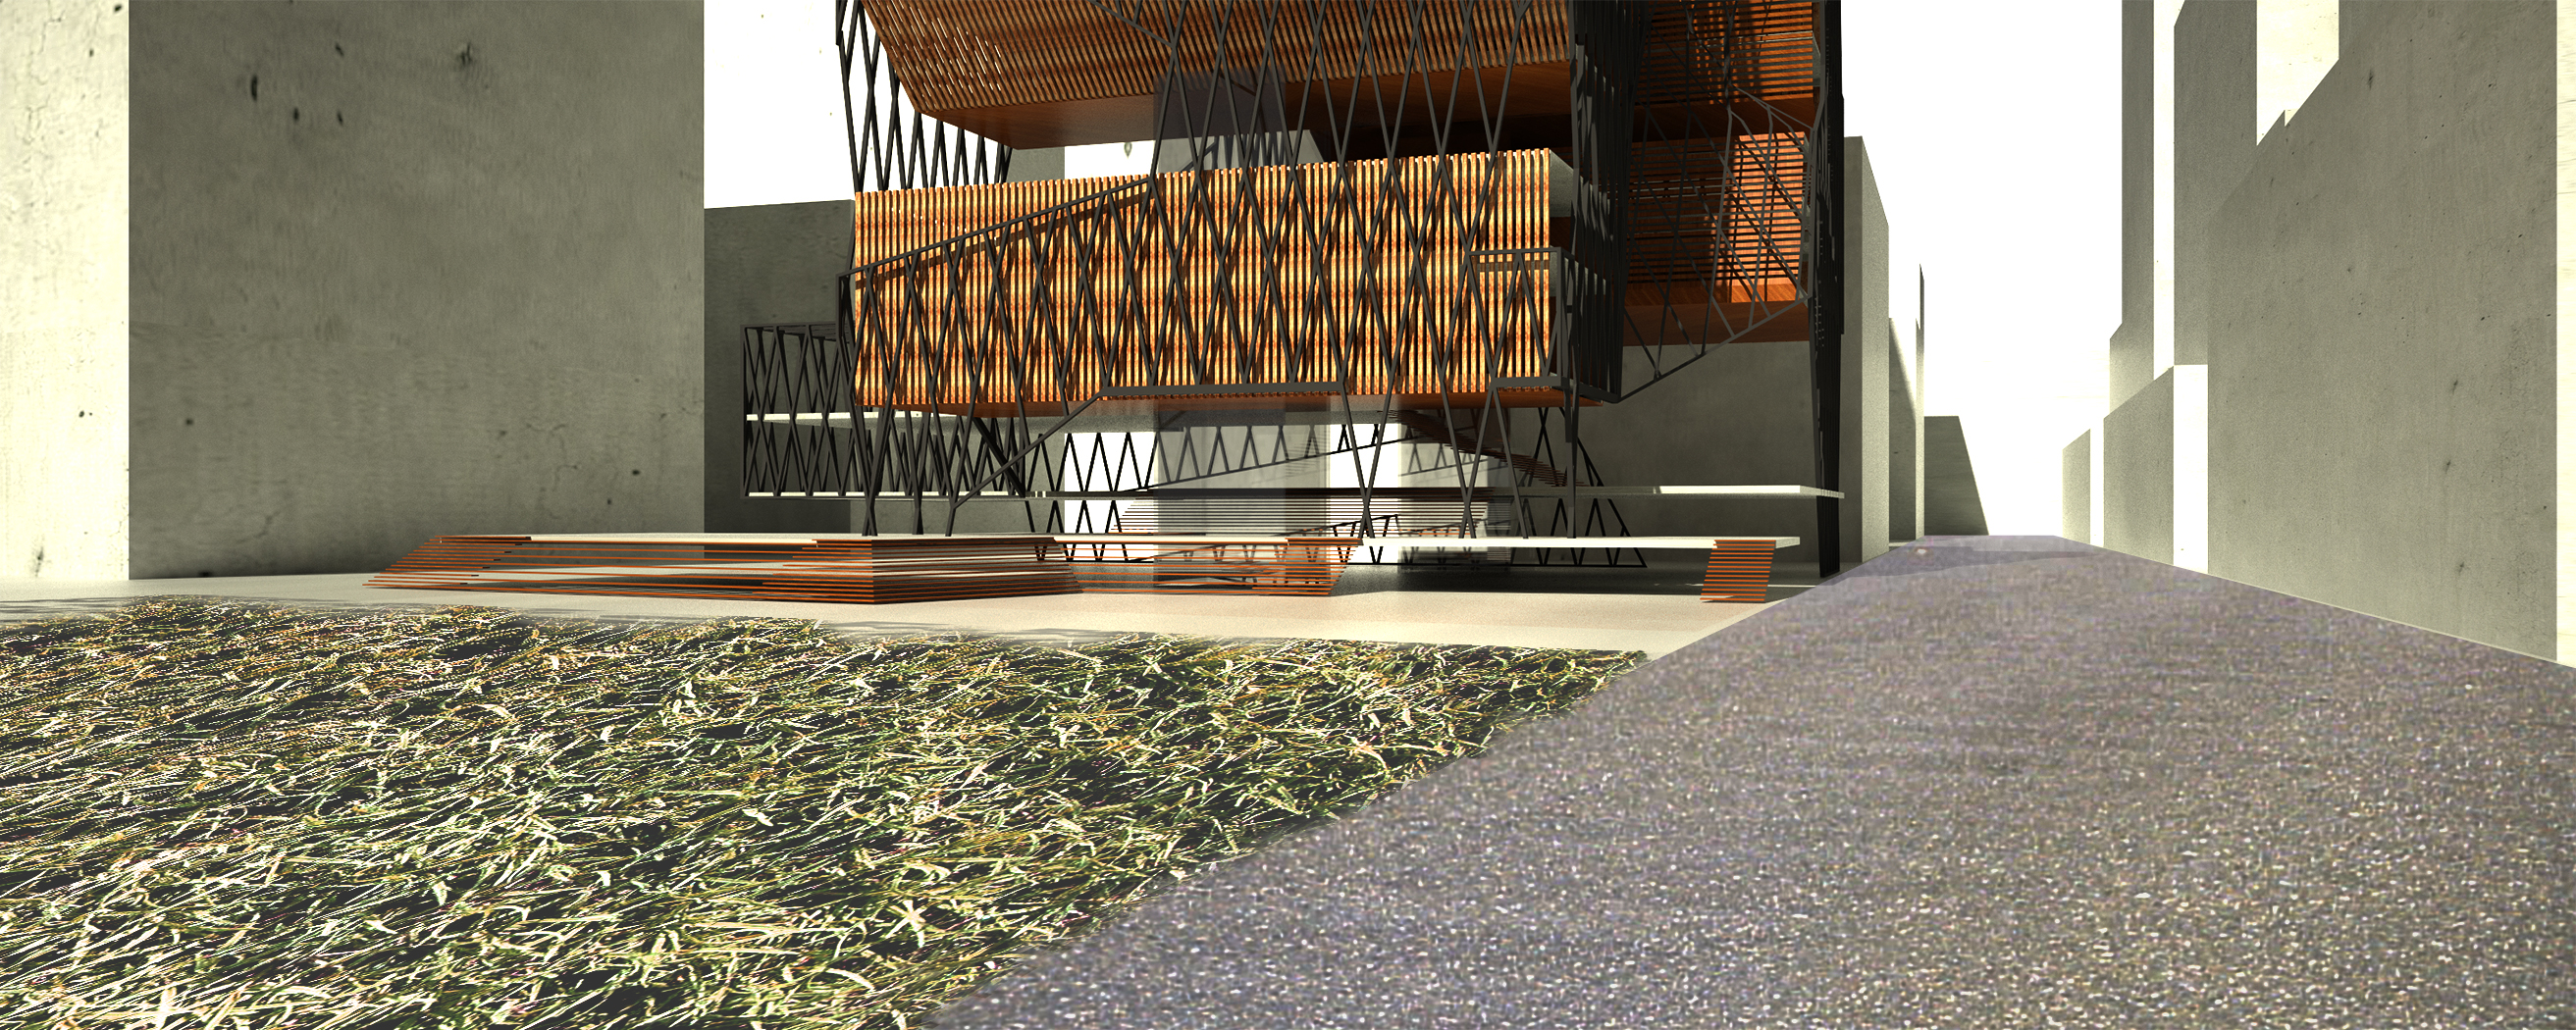
Go to file > Place > Select the rendered V-Ray Images to place into the art board. Transform the V-Ray render to match your drawing and place the render BEHIND the line work layer. You may need to adjust the transparency of the rendered image to allow for a clearer reading.
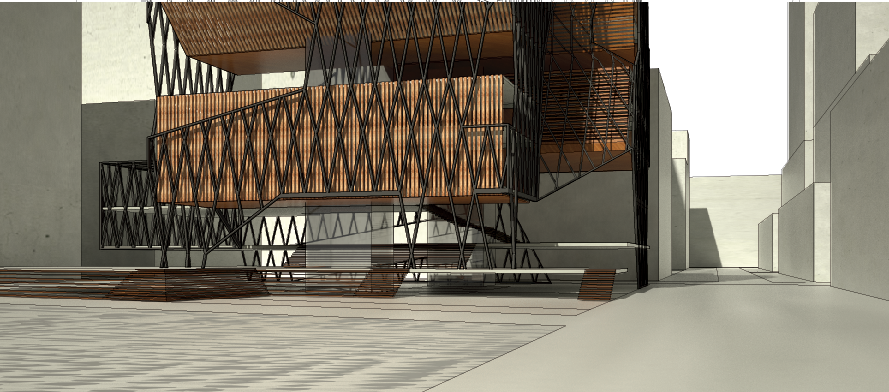 Overlay the image without change the transparency
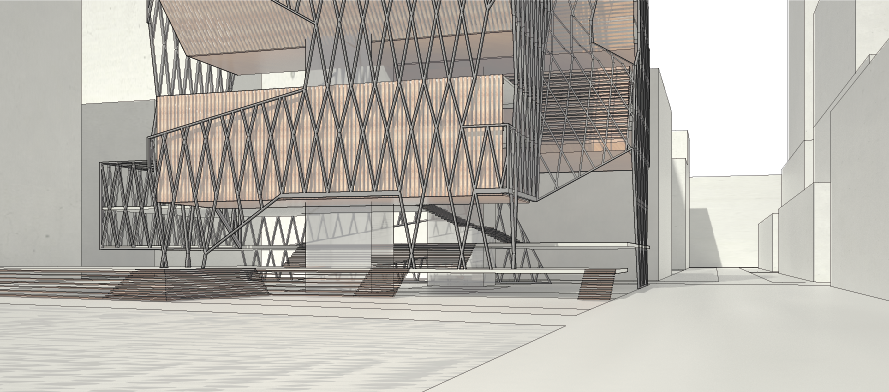 Overlay the image with 50% transparency
The current composite drawing is not reading as one and there are several inconsistencies with the spatial depth, shadows, and overall legibility in the composition as a whole. Because of these discrepancies, we will import the image into Photoshop to create a stronger representation of the design intent.
Before opening Photoshop, export the image as a high resolution PDF and save to an accessible location. To do this, go to File > Save As > Adobe PDF > Select High Quality Print. Note: Keep your Illustrator file open because we will need to “Place” the final Photoshop drawing within the same composition towards the end of the workflow.
Using Photoshop Tools to Strengthen Design Intent
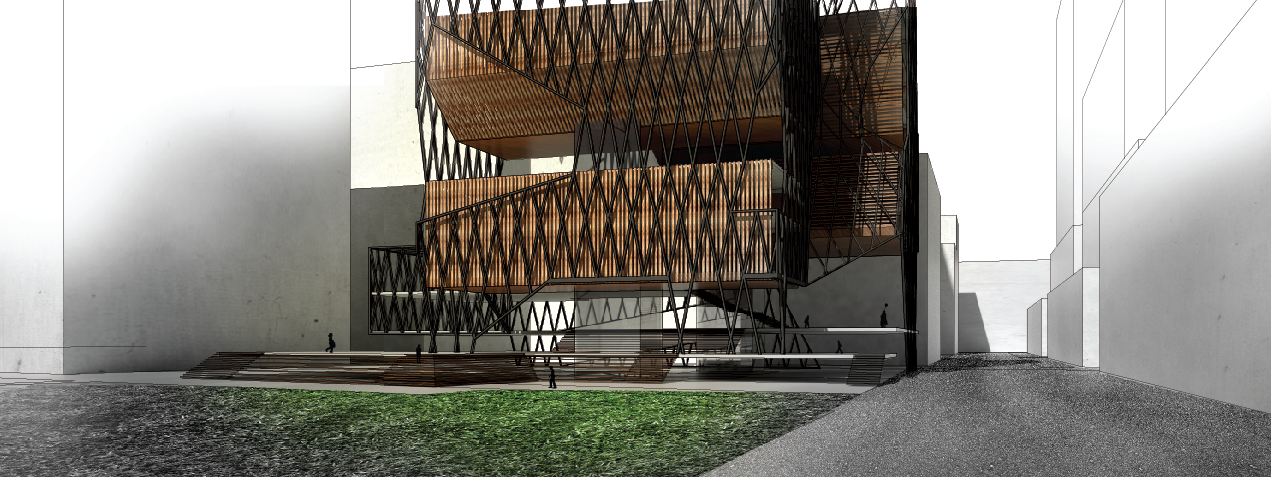
For this section of the workflow, we will be focusing on the following tools to enhance the image; Selection (including Magic Wand, Lasso, Polygonal), Burn, Transformation (including Scale and Skew), Levels, Hue, Saturation, Color Balance, and Brushes. With these tools, we will enhance and emphasize the connection between the section and elevations, support the activity in the building, and sculpt the light and shadow qualities within the space.
Bringing the Photoshop Render Back into Illustrator
Save your file as a high quality PDF in Photoshop and open in Illustrator. In Illustrator you can manipulate line weights again as well as create several vector layers to communicate both the tectonic and line aspects of your drawing.
Common Problems
Are you creating enough layers while using the brush tool? You will only be able to “undo” or “step backward” so many times. To avoid having to start a drawing over, utilize as many layers as possible!
Make sure you continuously save your project in case of the program shutting down. Because the brush and burn tools are not exact each time, you do not want to risk losing the quality of your liking within the image and have to restart.
