| Week 11 - Finalizing Renders | |
|---|---|
| Course | Arch 100a |
| Date | 2012/11/09 |
| Learning Objectives | Further discussion of VRay settings and controls, with special emphasis on interior renderings and finalizing renders in Photoshop. Quick intro to texture mapping – transparency, glossiness, etc. Discussion about being strategic when working between rendering + Photoshop, understanding how to layering different renderings and photographs together for final composition. Overview of render channels and how to use them, along with Photoshop selection tools. |
| Agenda |
|
| Uses Tool(s) | Rhinoceros , VRay |
Recap from Last Week
- Remember to clearly represent the ground cut condition. Leaving it blank or placing your cut model on a plane that does not have a cut where the section cut occurs can be confusing.
- Add a sky and entourage to finalize.
- Some good examples:
-
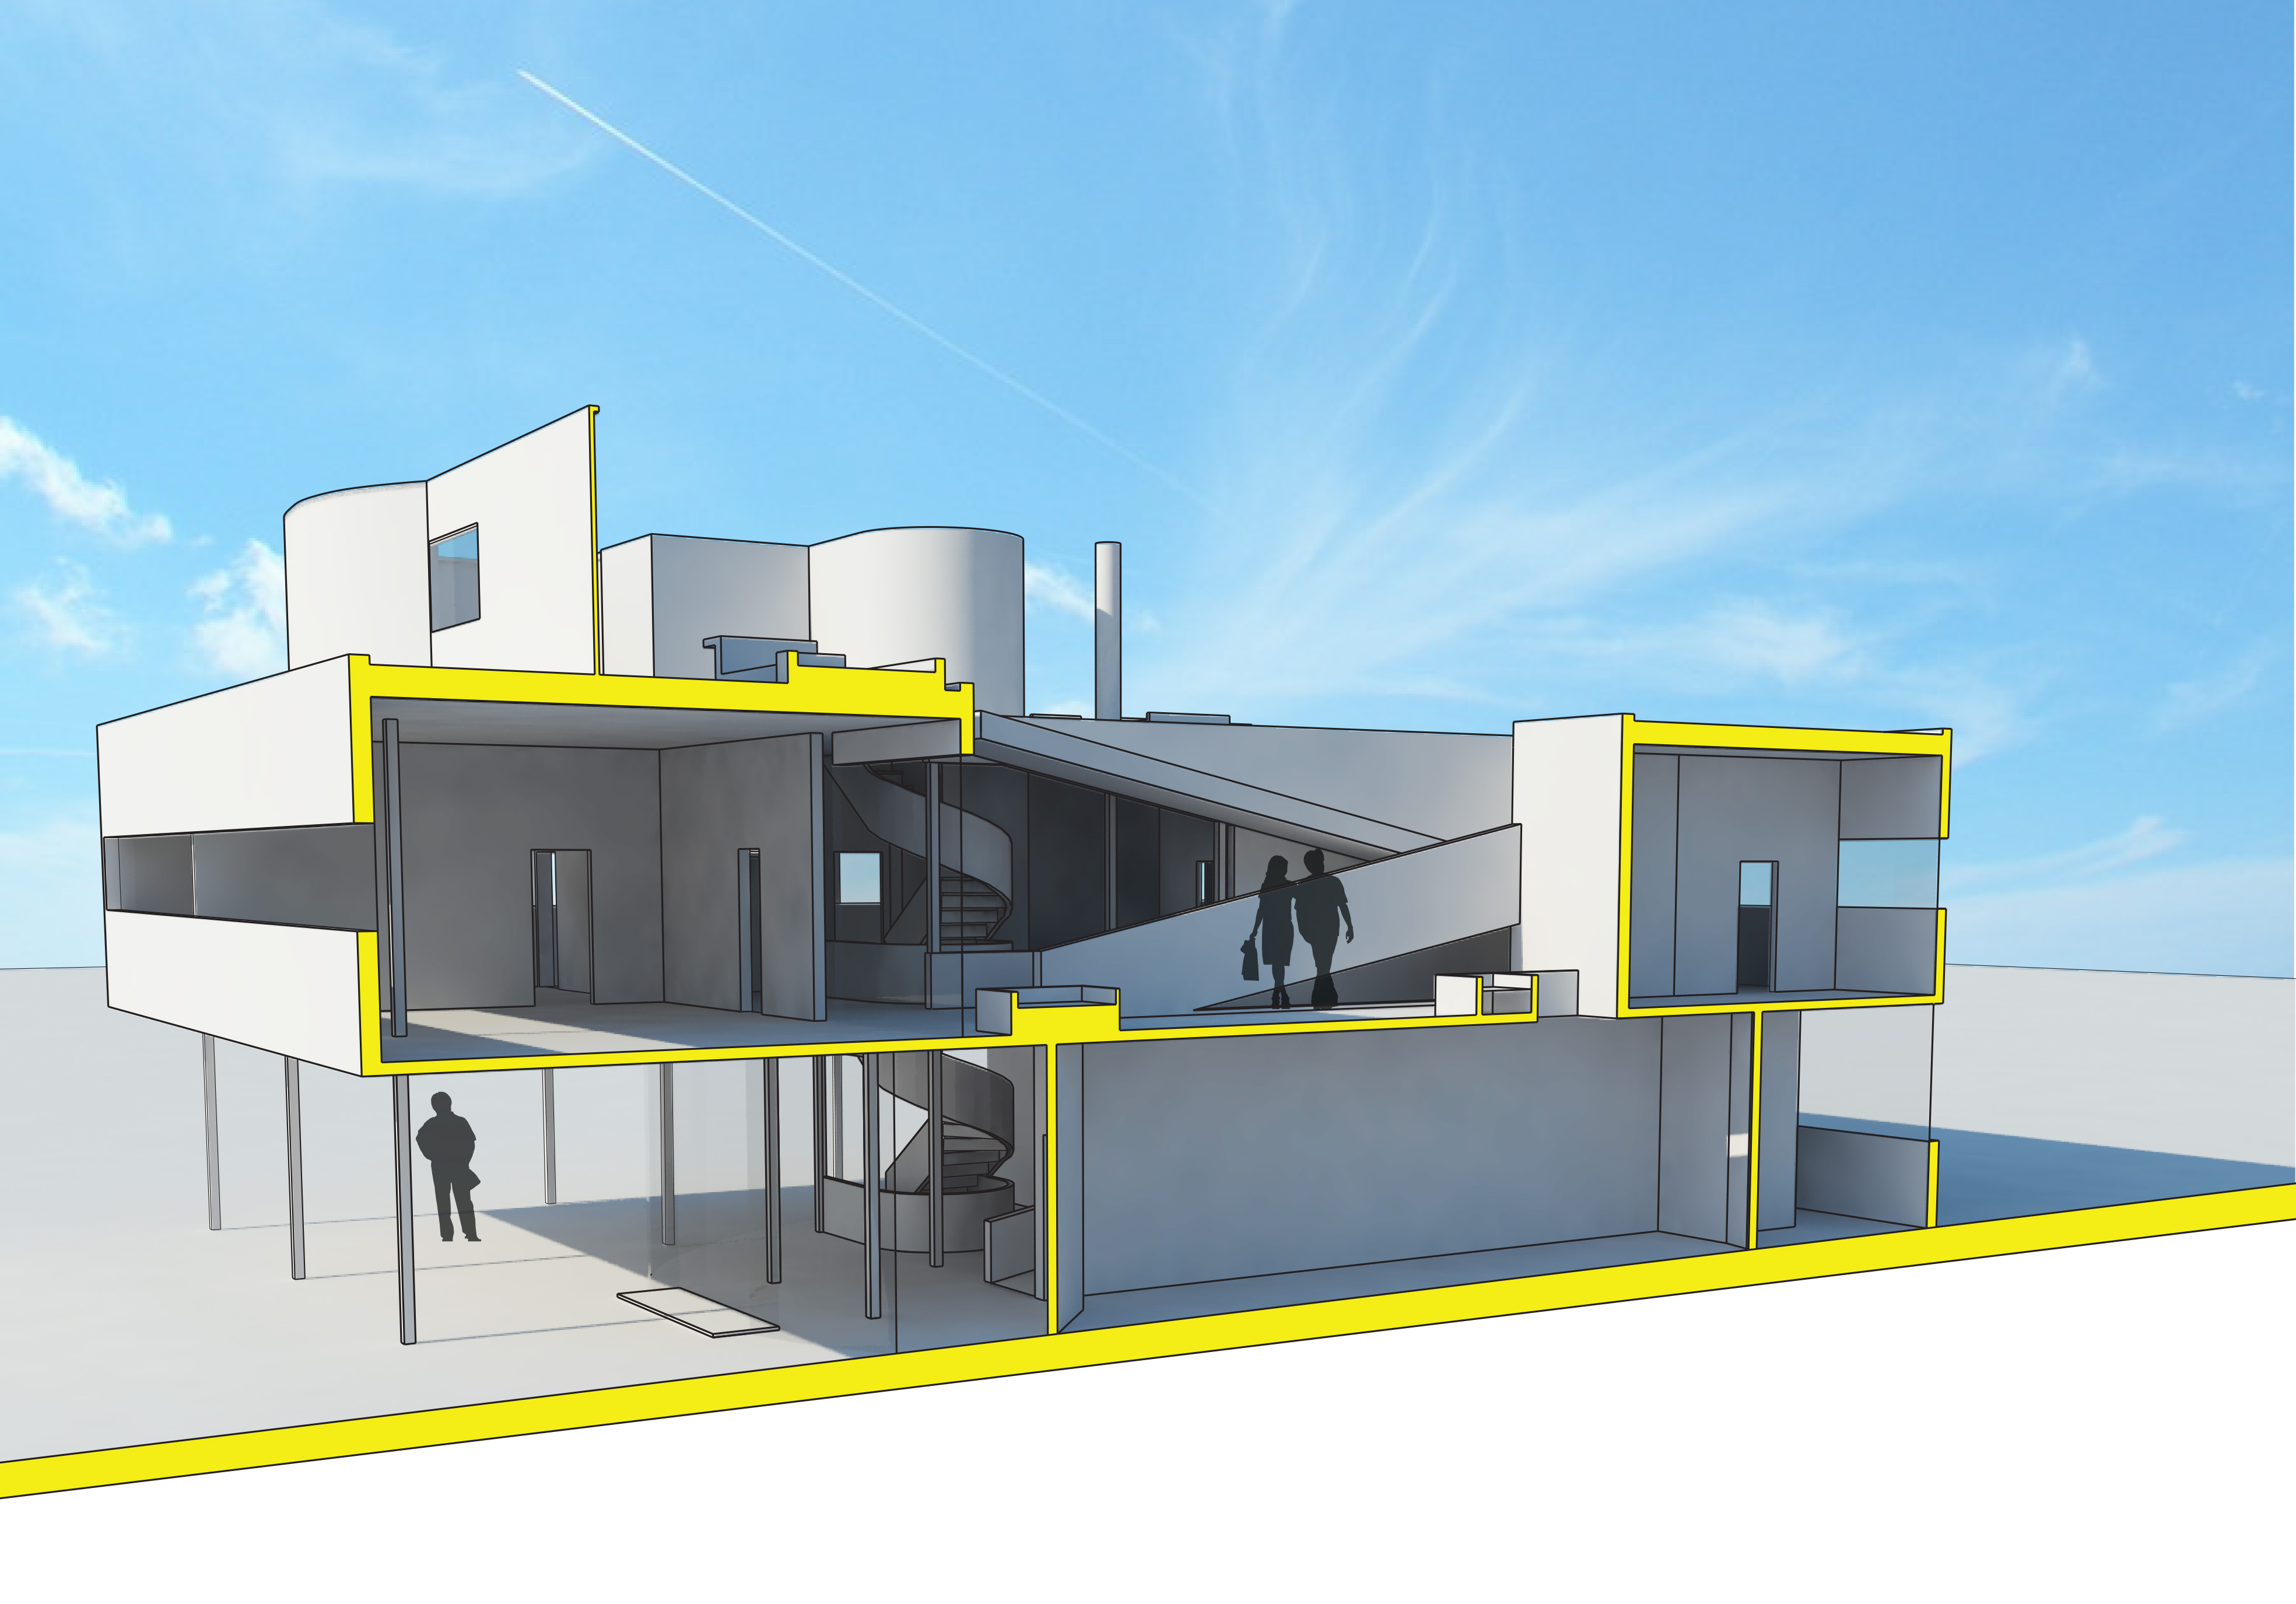
Good lighting + color. Ambiguous ground condition
-
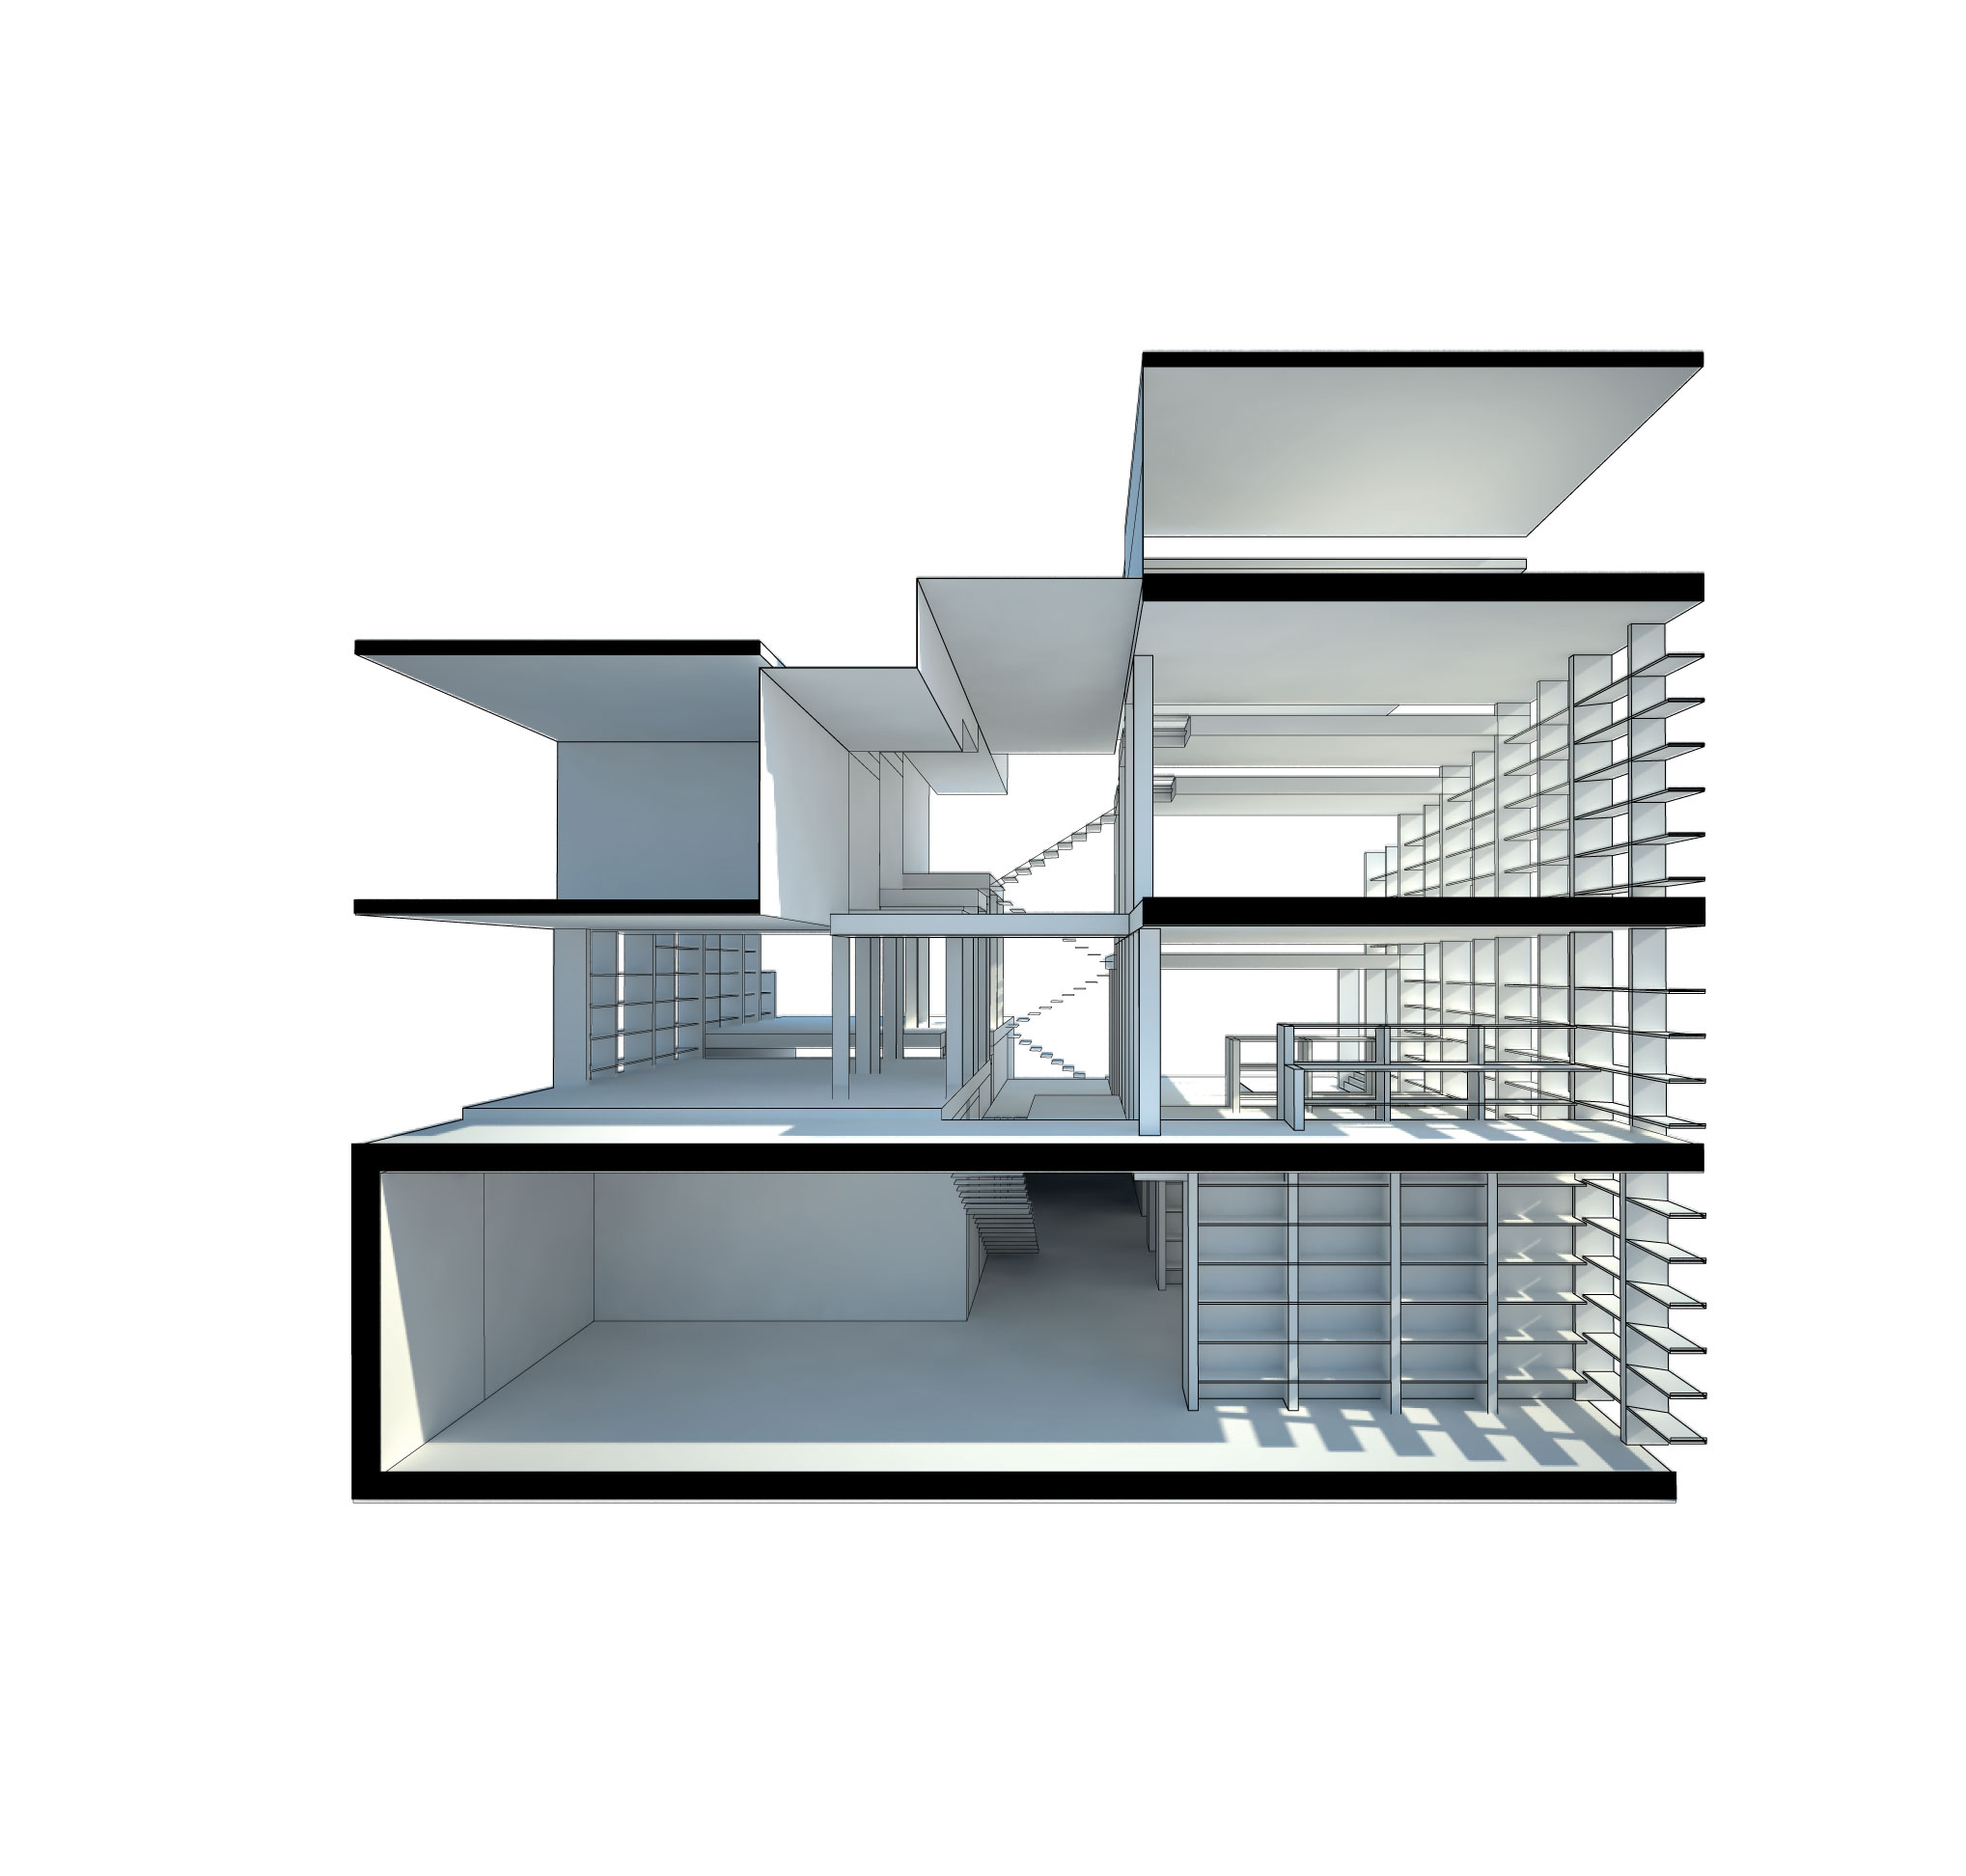
Nice shadows to highlight the bookshelves / louvers
-
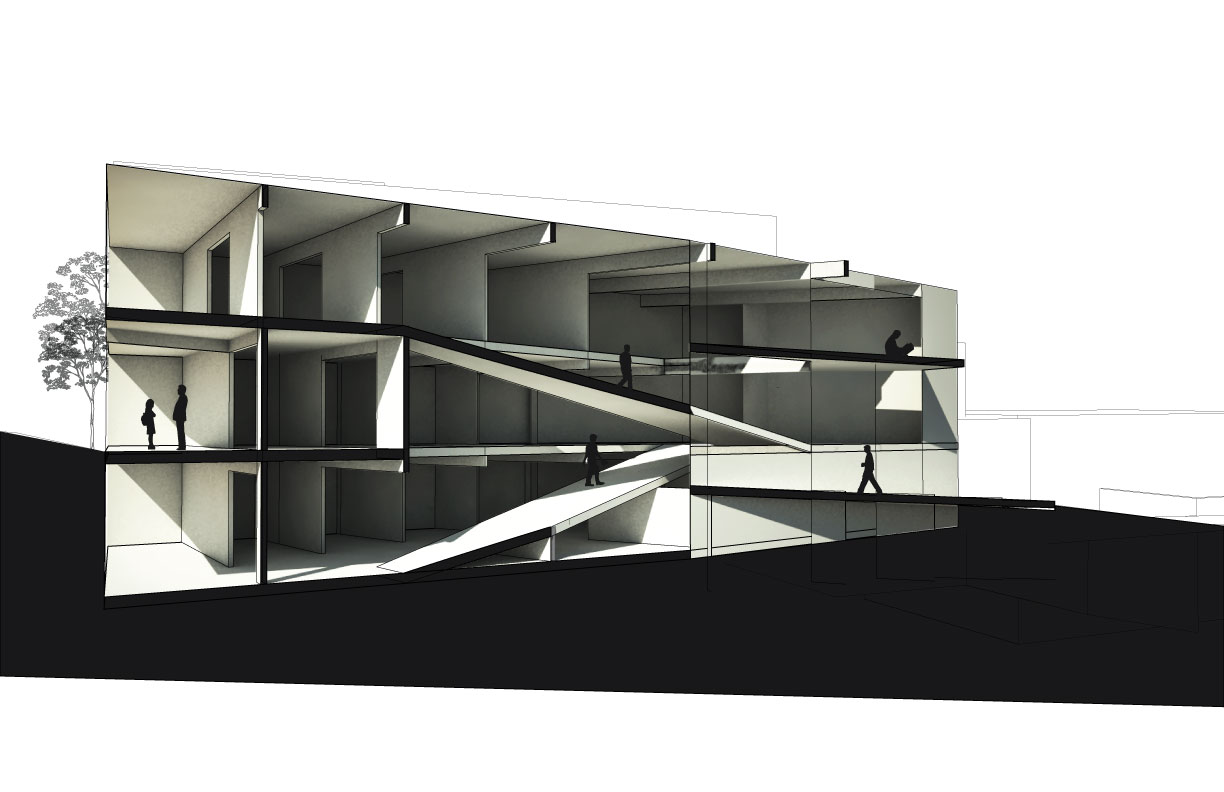
Situated nicely in the site with additional linework and context.


NEXT WEEK

This is our last presentation of workflows with associated exercises for the semester. After this, the focus will be on helping you all prepare for the final review and troubleshooting problems you may be having. We will have a SHORT lecture reviewing common problems, and then break out to studio where you can work on your studio project while the GSIs walk around to answer questions.
FOR NEXT WEEK: Submit a question to "100aDigital@gmail.com" regarding issues you may be having with rendering, Illustrator, building in rhino, etc. Please send in your questions before Thursday Nov. 15th AM!
General Rendering Composition
- What makes a successful render (With good/bad examples).
- Different styles of renders.
- Overview of different work paths (Mention other programs/ tools).
Further Vray Discussion
Material Editing
Emissive materials
Lighting
- In general - using the GI lighting can be adequate lighting for your model with some modification (removing unseen walls, etc.)
- For exterior (st. view) renders, re-visit the lighting settings from week 7. Remember that a good final render requires a good base - that means the lighting has to be adequate in your render. Use a variety of lighting to achieve your desired results.
- For interior renders consider adding various artificial lights. Select "render" from the rhino tool bar and select from various light options. Many of these will require moving and rotating the lights you create. Generally the closer the light to the model the stronger the light.


- Use these resources for comprehensive light options:
Post-Processing
Resources
Related Workflows
- Workflow - Best practices in Vray rendering
- Workflow - Combining Photos in Photoshop with Photomerge
- Workflow - Creating a Composite Image with the Selection Tool in Photoshop
- Workflow - Creating Composite Materials Using Image-Maps in Vray
- Workflow - Layer Management and Image Merge in Photoshop
- Workflow - Lighting Adjustments & Select Pixel Editing in Photoshop
Related tools
- Tool - V-Ray - Sun and Sky
- Tool - V-Ray - Global Illumination
- Tool - V-Ray - Lights
- Tool - V-Ray - Interior Lights
- Tool - Photoshop - Adjustments
- Tool - Photoshop - Selection and Masks
- Tool - Photoshop - Blending Modes
- Tool - Photoshop - Refine Edge
Online Resources
- VRay for Rhino Manual
- This guide is INCREDIBLY helpful and detailed for students wishing to learn more about VRay. Numerous image swatches help explain how different settings can affect your final image.
- Immediate Entourage
- Large, free collection of cropped images including people, trees, cars, and other random objects you may want to place into composed renders.
- Vyonx - Free resources
- Collection of free cutout trees, people, and textures.
- Flying Architecture
- Free rhino blocks for furniture with pre-set render materials. Warning - these can make your file very large, very quickly!
- Gallery of Vray Renderings
- Collection of renderings created with Vray
Interior Render

- Workflow - Creating an interior view render
- Using your studio project, create an intior render and then compile photographs into windows or other openings. Insert entourage and other necessary objects with post-processing.
- Simple interior scene aided by context and lighting. Render by Studio Ö.
Birds Eye Render

Birds eye renders typically focus on the entirety of the design in relationship to the site. Rather than relying on aerial photographs (not always available), these renders typically use a digital model of the site that is render with the building design. Often the surrounding buildings will be simplified or whitewashed to draw attention to the proposed design.
Street View Render

- Workflow - Creating a Street View Render
- Using existing photographs, create a matching render to place into the photographs themselves. This workflow shows how to use the Wallpaper in Rhino to match perspectives and various tools in Photoshop to work with existing images for various effects.
Exercise
Exercise: Interior and St. View Render